Why Is My Crawl Space Access Hatch Covered in Condensation?
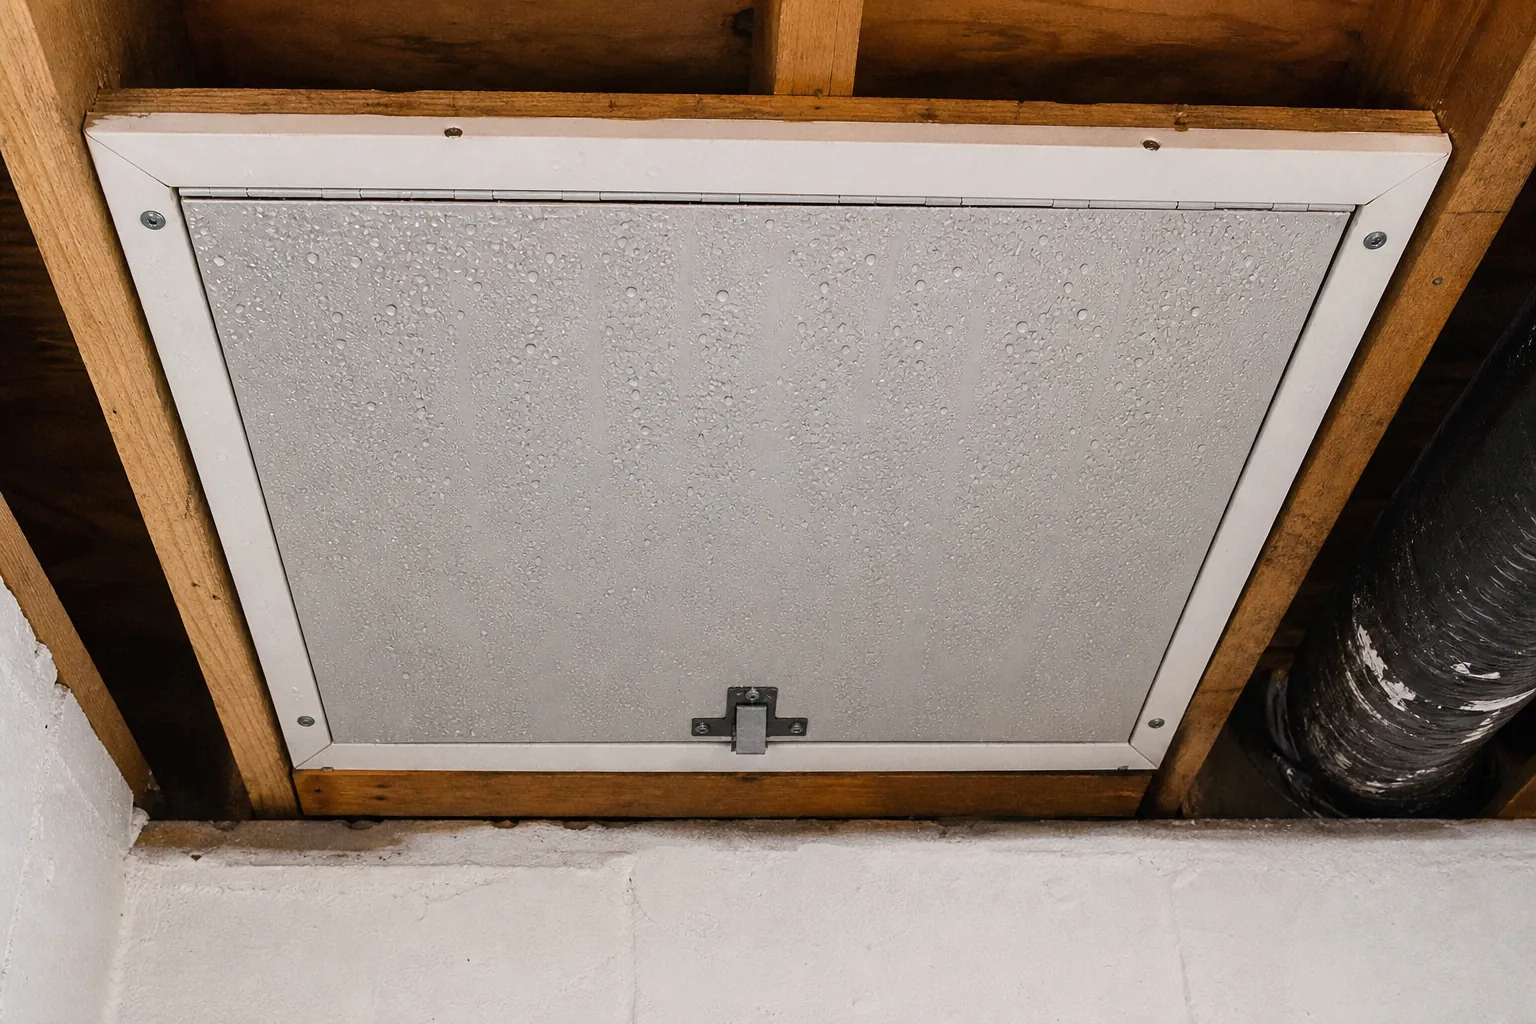
Condensation on a crawl space access hatch is a visible sign that warm, moisture-laden air is contacting a cooler surface. In North Carolina, changing temperatures and humid conditions can make this especially noticeable on metal doors, fasteners, frames, or nearby wood. The water may come from condensation rather than a plumbing leak, but identifying the source matters before you decide what to do. Start by noting exactly where the moisture appears, when it develops, and whether other parts of the crawl space are also damp.
Why Condensation Forms on an Access Hatch
Condensation occurs when humid air reaches a surface cold enough for airborne moisture to become liquid water. A crawl space hatch can become that cold surface when its temperature differs from the air on either side. The hatch may sit between outdoor air and the crawl space, or between an indoor area and the space below the home. Its material, fit, and exposure all influence its surface temperature.
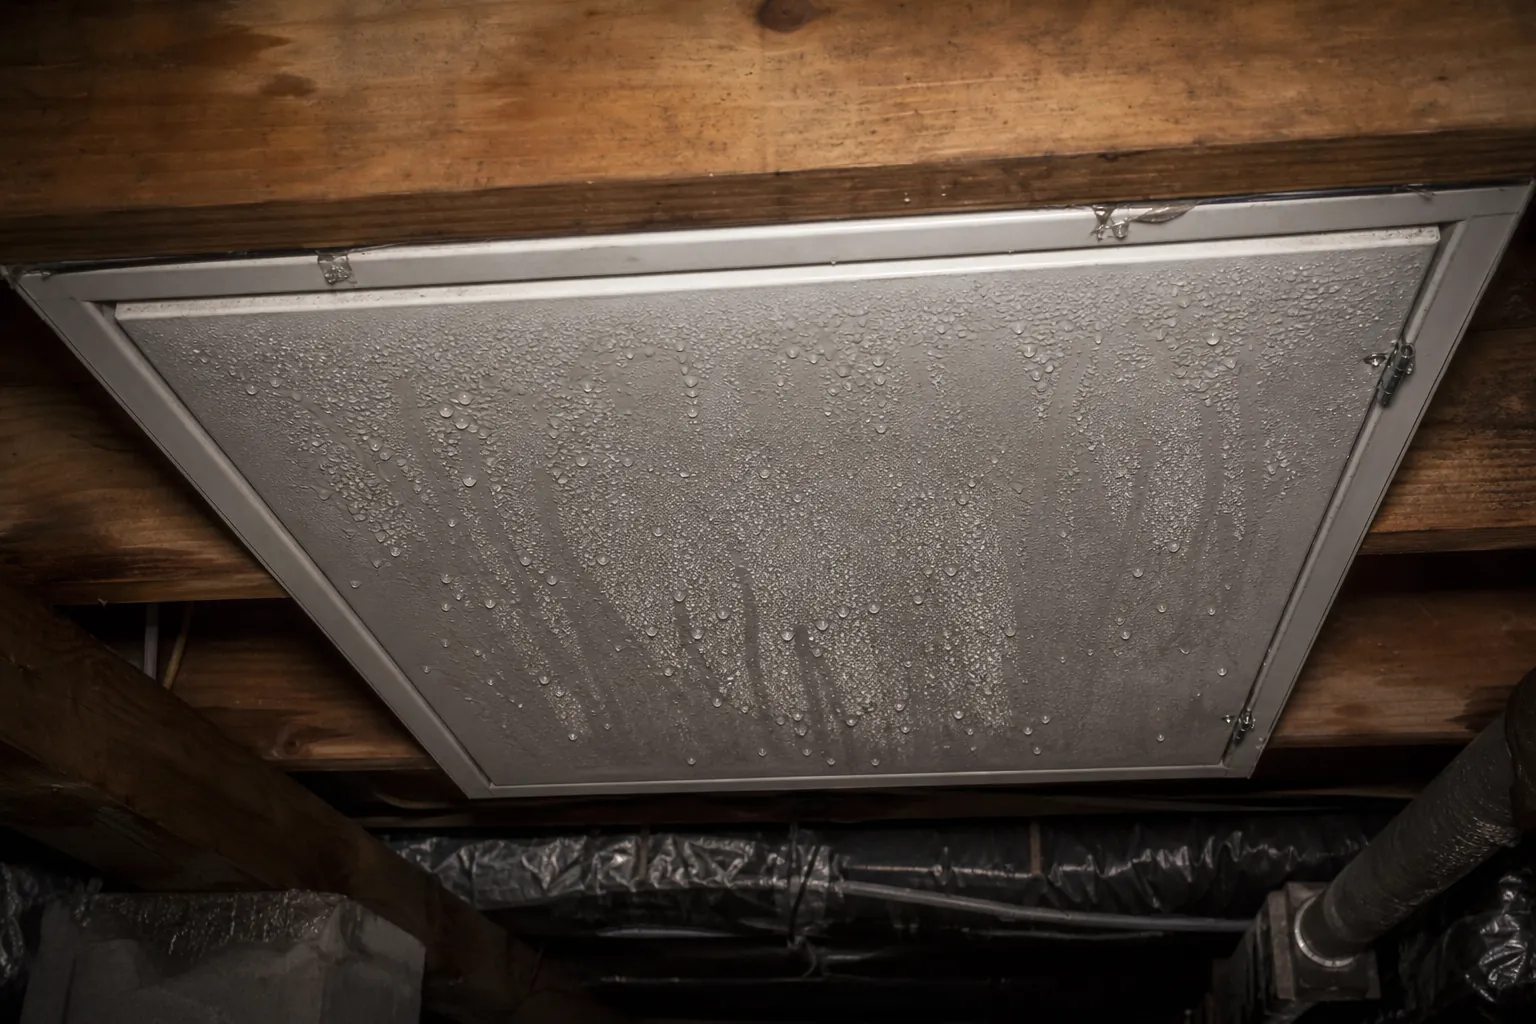
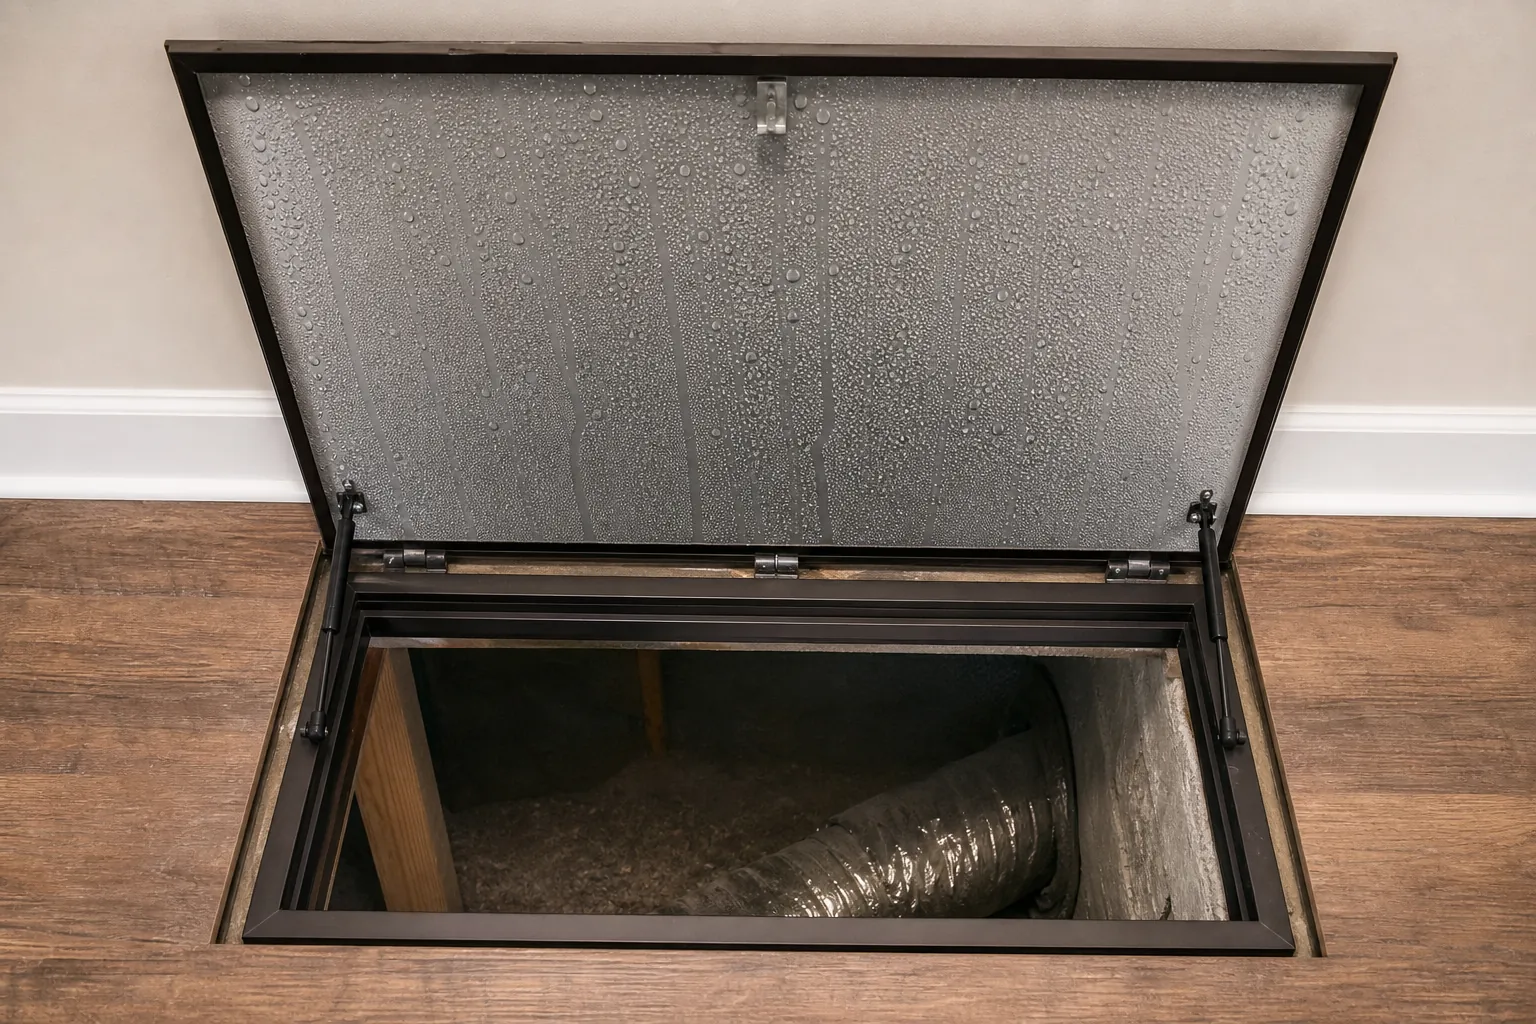
The location of the water provides useful clues. Droplets spread evenly across the face of the hatch often point toward surface condensation. Moisture concentrated along gaps may indicate humid air moving around the perimeter. Water stains beginning above the opening or running down one side deserve a closer look because they may have another source.
Do not assume every wet hatch proves the same problem. Weather, recent rain, indoor cooling, and crawl space conditions can overlap. Observe the hatch on both wet and dry days before drawing conclusions.
What the Moisture Pattern Can Tell You
Before wiping the hatch dry, photograph the moisture pattern. This creates a record you can compare after weather changes or basic corrections. Check whether the water is on the crawl space side, the exterior-facing side, or both. Also look at the frame, threshold, nearby foundation surfaces, and the ground immediately below the opening.
Use a careful visual check to separate likely condensation from possible water entry:
- Fine droplets across a cool surface are consistent with condensation.
- Wet edges may suggest air passing through gaps around the hatch.
- Mud, splash marks, or debris near the bottom can point to rainwater reaching the opening.
- A defined trail from above may indicate water traveling from another location.
- Damp duct surfaces nearby can show that condensation is not limited to the hatch.
A pattern is more informative than one isolated observation. Record recent weather and whether heating or cooling equipment was operating when the moisture appeared.
Inspect Beyond the Hatch Before Deciding
The hatch may be the first place you notice water, but it should not be the only place you inspect. From a safe position, use a bright light to look at nearby framing, masonry, pipes, ducts, insulation, and ground surfaces. You are trying to determine whether the issue is limited to the hatch or reflects broader moisture conditions.
Check for damp patches, staining, rust, displaced materials, standing water, or visible droplets on other cool surfaces. If ductwork is also wet, read this related guide about crawl space condensation on ductwork in North Carolina. That comparison can help you understand whether several surfaces are responding to the same humid conditions.
Avoid disturbing wiring, plumbing, insulation, or materials you cannot identify. Do not enter a crawl space that appears unsafe, has standing water, or lacks adequate clearance. A visual record from the access opening can still support a more informed conversation.
Practical Steps You Can Take Now
Begin with documentation rather than a quick cosmetic cover-up. Dry the hatch and note how long it takes for moisture to return. Take photos at the same time each day for several days, including after rainfall and during dry weather. Write down whether the water appears only while indoor cooling is running or during a particular part of the day.
Clear leaves, soil, or stored items away from the outside of the opening so you can see the frame and surrounding grade. Confirm that visible water is not being directed toward the hatch by runoff or a nearby discharge. Look for obvious gaps, damage, corrosion, or a hatch that no longer sits evenly in its frame.
Resist the urge to seal every opening or replace materials before the moisture source is understood. A change made without a complete assessment can hide evidence or shift where condensation becomes visible. Your notes should establish timing, location, weather conditions, and whether nearby components are wet.
How to Make a More Informed Decision
Your next step should match the evidence. If the hatch becomes wet only after rain and water marks lead toward the opening, investigate exterior water movement. If fine droplets repeatedly form during humid weather, temperature differences and air movement deserve attention. If moisture appears on ducts, pipes, framing, or multiple surfaces, evaluate the crawl space as a connected environment rather than treating the door alone.
When discussing the issue, be ready to explain which side of the hatch is wet, how quickly droplets return, and whether the pattern changes with rainfall or indoor cooling. Share photographs and mention any standing water, staining, odors, rust, or damaged materials you observed. These details help keep the conversation focused on conditions actually present at your home.
Do not rely on promises based only on a photograph. The same visible symptom can have different contributing factors, so a decision should follow a careful review of the hatch and surrounding area.
Talk Through What You Are Seeing
If condensation keeps returning on your crawl space access hatch, Carolina Encapsulation Company can discuss the conditions you have observed. For a calm conversation about your next step, call 704-207-9348.
Call 704-207-9348 to talk through next steps.