How Long Should a Crawl Space Dry After a Pipe Repair Before Encapsulation?
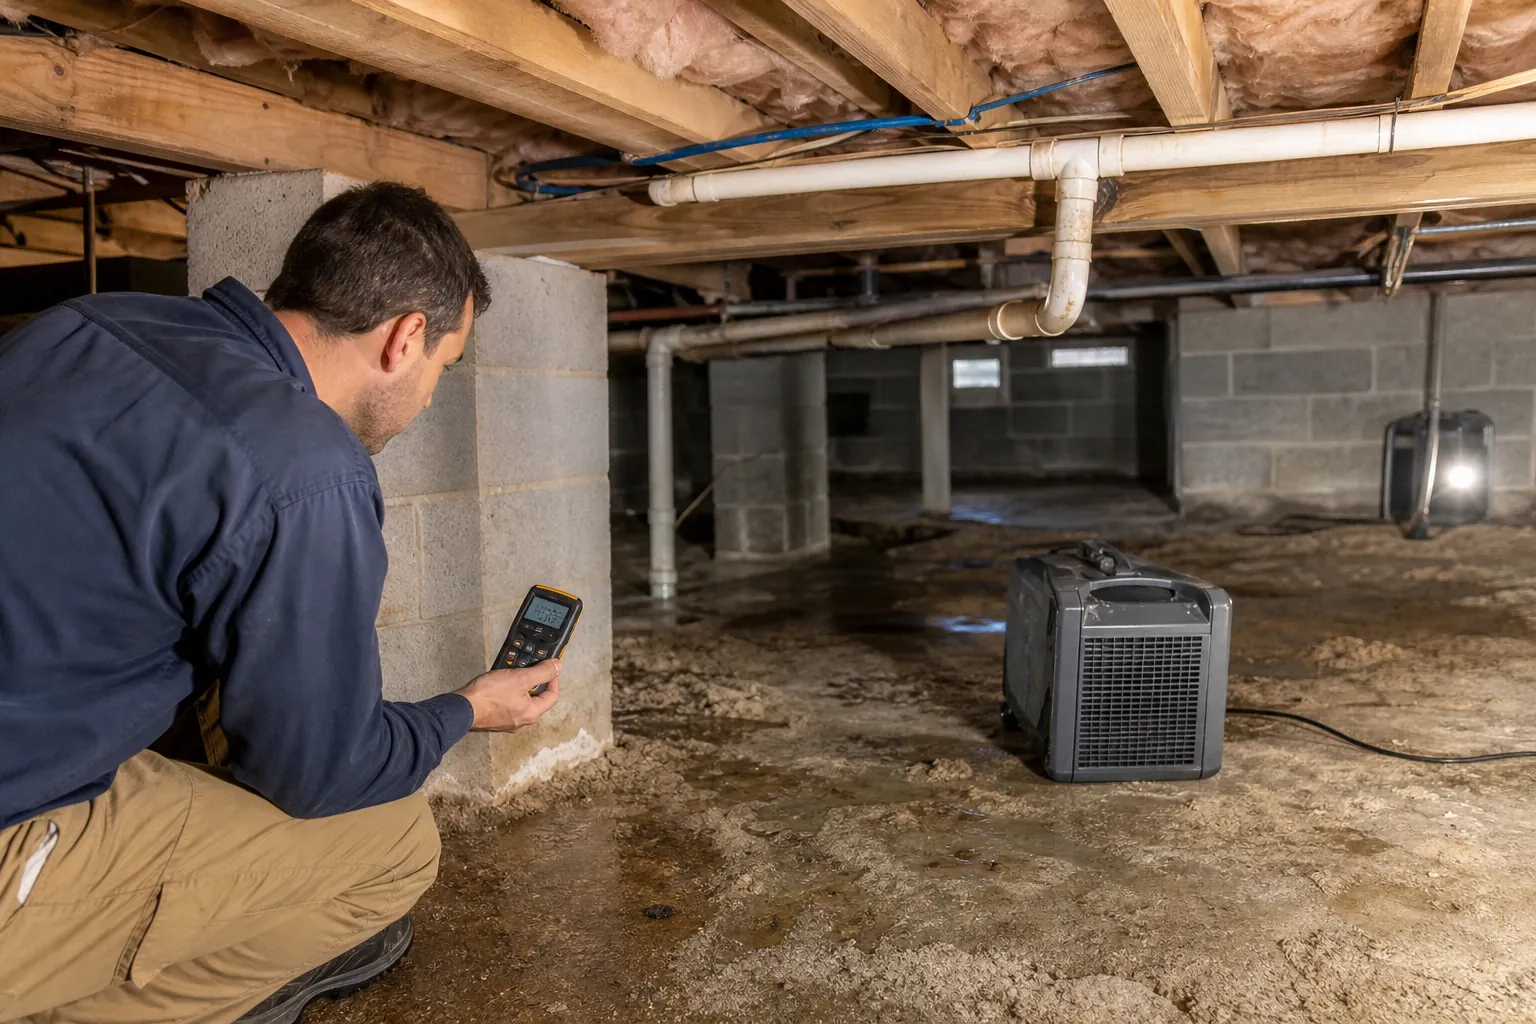
A repaired pipe stops the source of a leak, but it does not instantly dry the crawl space. Water may remain in soil, insulation, wood, masonry, or stored materials. Encapsulation should follow an assessment of actual conditions rather than a fixed waiting period. Before moving ahead, confirm that the repair is holding, remove standing water and wet debris, and check whether affected materials have dried sufficiently. The right timing depends on how much water escaped, how long the leak continued, which materials became wet, and whether outdoor humidity or condensation is adding moisture.
Start by Confirming the Pipe Repair Is Holding
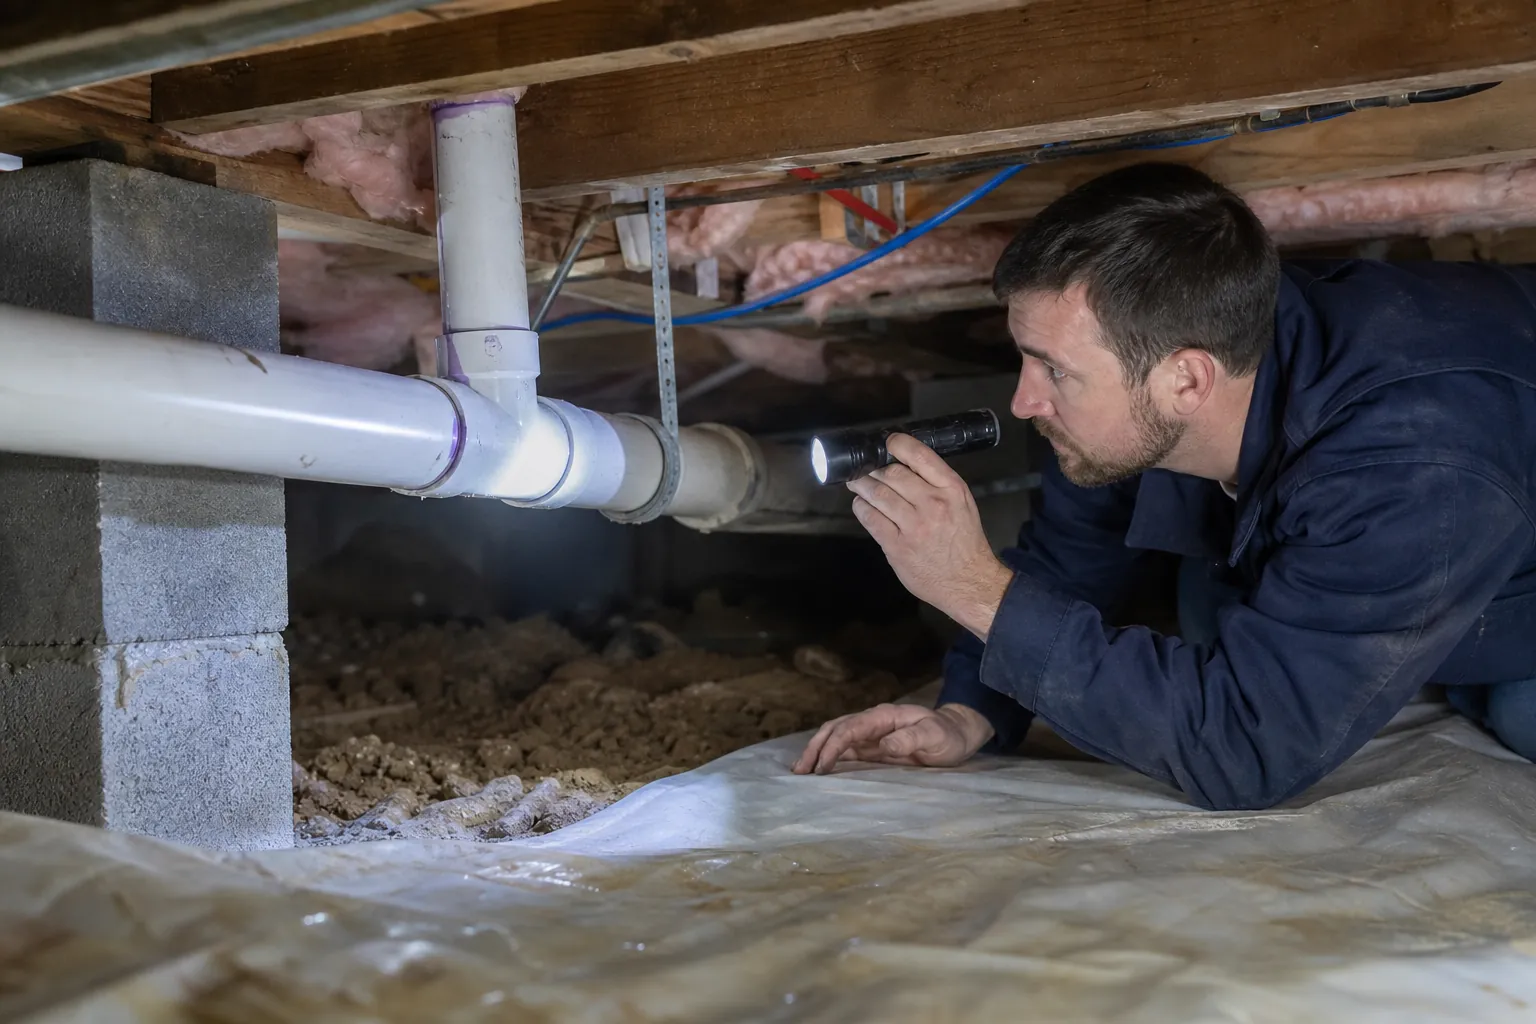
Do not treat the date of the plumbing repair as the beginning of an automatic countdown. First, make sure the leak has actually stopped. A fitting can appear dry immediately after work but show seepage once the plumbing system is used normally. Look at the repaired area after fixtures and appliances connected to that line have operated. Check the pipe, nearby joints, and surfaces below the repair for new drops, staining, or dampness.
Also consider whether more than one moisture source is present. A plumbing leak may have drawn attention to the crawl space while groundwater, humid outdoor air, drainage problems, or condensation continued to add moisture. If water reappears away from the repaired pipe, waiting longer will not resolve an active source.
Document what you see. Photos taken from the same position on different days can help distinguish old staining from changing conditions. If the repair area becomes wet again, address that issue before planning encapsulation. Covering a crawl space should not replace confirming that the original water source is controlled.
Remove Water and Materials That Cannot Dry in Place
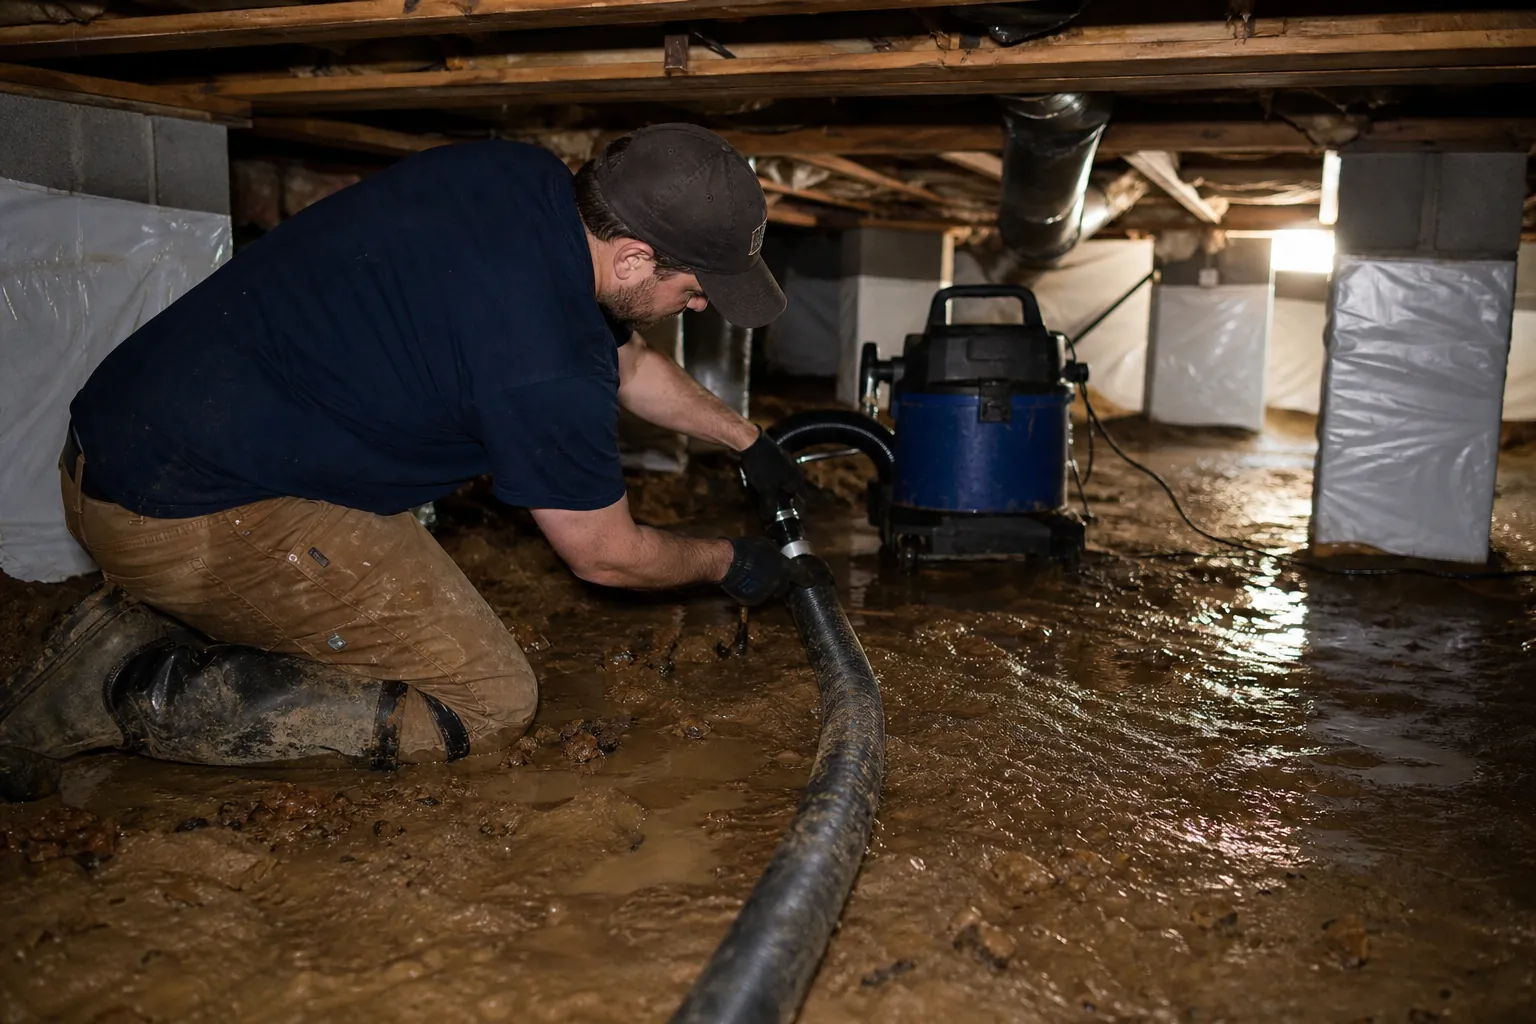
Drying begins with removing liquid water and moisture-holding debris. Standing water should not be left to evaporate beneath the home. Wet cardboard, paper, fabric, and similar stored items can hold moisture and obstruct inspection. Remove them so the soil and structural surfaces can be evaluated clearly.
Insulation needs particular attention. Wet insulation may sag, compress, or conceal damp wood. Its surface can feel dry while moisture remains within or behind it. Whether a material can dry in place depends on its condition, how saturated it became, and whether air can reach all sides. Damaged or contaminated material should not simply be covered.
- Verify that no standing water remains.
- Clear wet storage, loose debris, and other obstructions.
- Inspect insulation above and around the leak.
- Check wood, masonry, soil, and nearby mechanical components separately.
- Record visible staining, odors, soft materials, and recurring dampness.
This cleanup creates a reliable starting point. Without it, a dry-looking path through the crawl space may hide wet areas where water collected or traveled.
Use Conditions, Not a Fixed Number of Days
There is no single waiting period that fits every pipe repair. A small, quickly discovered drip affects a crawl space differently from a leak that soaked insulation and pooled on the ground. Weather also matters. Warm, humid conditions can slow evaporation, while ventilation alone may introduce additional moisture when outdoor air is humid.
The practical question is not, “How many days have passed?” It is, “Are the affected materials dry and stable?” Visual inspection is useful, but touch and appearance cannot establish conditions inside wood or behind insulation. Moisture readings can provide better information when interpreted in context and compared across affected and unaffected areas. One isolated reading should not replace an inspection of the full leak path.
Look for a stable pattern rather than a brief dry surface. Conditions should not improve for a day and then worsen after rain, plumbing use, or a change in outdoor humidity. If dampness returns, identify the source before covering the ground or enclosing crawl space surfaces. Encapsulation timing should be based on verified readiness, not pressure to finish quickly.
Separate Leak Moisture From Condensation
A pipe can remain wet even when it is not leaking. In a humid crawl space, condensation may form on cold water lines, ducts, or other cool surfaces. This can make a completed repair appear unsuccessful, or it can mask a slow leak. Observe where moisture forms. Leakage commonly begins at a specific defect or joint, while condensation may appear broadly across a cool surface.
Ductwork deserves a separate check because moisture there may indicate a crawl space humidity issue rather than a plumbing problem. For a closer explanation, read crawl space condensation on ductwork in North Carolina. That distinction is important when deciding whether conditions are ready for encapsulation.
Do not assume every droplet has the same cause. Dry the pipe and surrounding surfaces, operate the plumbing, and observe whether water returns from one point or develops across the surface. Also check nearby wood and insulation. If condensation continues, additional waiting by itself may not create stable conditions. The moisture source must be understood before the crawl space is enclosed.
Make a Readiness Decision Before Encapsulation
Before scheduling encapsulation, conduct a final walk-through of the entire crawl space, not only the area directly below the repair. Water can travel along a pipe, joist, insulation facing, or low area of soil before becoming visible. Inspect the route from the repaired line to any place where water could have collected.
A sound decision includes several confirmations: the plumbing repair remains dry during normal use, standing water and wet debris are gone, affected materials have been evaluated, and no separate moisture source is continuing to wet the space. Conditions should also remain reasonably stable through ordinary changes in weather and household water use.
If any area is inaccessible, concealed, or still questionable, resolve that uncertainty first. Encapsulation should begin with a clear understanding of what caused the moisture and whether the crawl space has dried. This approach avoids relying on an arbitrary calendar date and gives you a practical basis for discussing the project. Keep notes and photos from the repair, cleanup, and follow-up checks so the sequence of events is clear.
Discuss the Next Step Calmly
If you are deciding when to move forward after a pipe repair, call Carolina Encapsulation Company at 704-207-9348. Describe when the leak was repaired, what became wet, what has been removed, and whether moisture has returned. Those details can support a more useful conversation about current crawl space conditions.
Call 704-207-9348 to talk through next steps.