
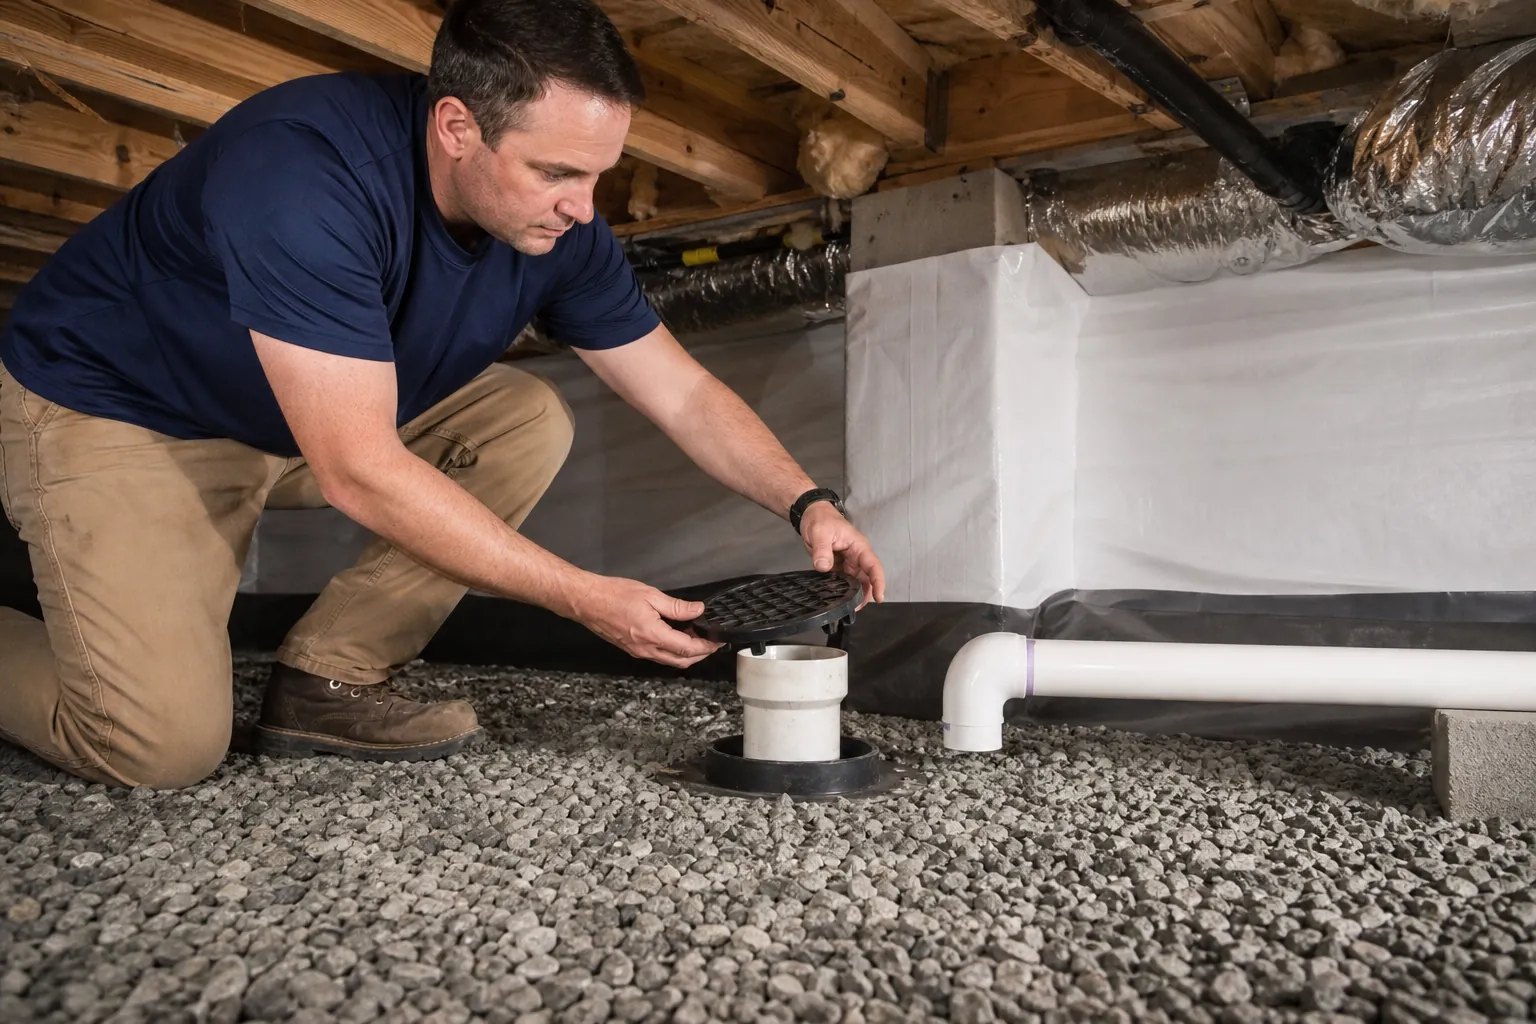
A crawl space can look clean and dry after encapsulation yet still be difficult to maintain. One commonly overlooked detail is access to drain cleanouts. If a cleanout cap ends up beneath a sealed liner, behind insulation, or beyond an unsafe crawl route, a future blockage can become harder to diagnose and repair.
Good crawl space drain cleanout access gives a technician room to locate the fitting, remove its cap, and use the appropriate equipment without unnecessarily damaging the moisture-control system. For North Carolina homeowners, this detail belongs in the planning conversation before work begins, not after a drain backs up.
Carolina Encapsulation Company encourages homeowners to consider future service needs alongside vapor barriers, drainage, and humidity control. Here is how to evaluate cleanout access and coordinate an encapsulation project that remains practical to maintain.
Understand which drain system you are looking at
The word drain can refer to several different systems beneath a house. Identifying the system matters because access requirements, maintenance methods, and qualified service providers are not interchangeable.
A plumbing cleanout is a fitting that provides access to a drainage pipe. It commonly has a removable threaded cap or plug, although configurations vary. A plumber may use it to inspect a line or clear a blockage. The fitting might serve a branch drain, a building drain, or another portion of the sanitary drainage system.
A crawl space water-management system is different. It may include perimeter drains, collection piping, a sump basin, and a discharge line. Some systems have designated maintenance or inspection points. Those openings should remain accessible according to the system design and manufacturer instructions.
A condensate line from HVAC equipment or a dehumidifier is another separate item. Its routing, maintenance needs, and termination should not be confused with either a sanitary cleanout or a groundwater drainage access point.
- Ask a licensed plumber to identify uncertain capped fittings before anyone covers or relocates them.
- Ask the drainage installer which components require periodic inspection or flushing.
- Record each system separately so future contractors do not mistake one access point for another.
Do not open an unidentified cap simply to see what is inside. Wastewater, trapped water, or other unpleasant conditions may be present. If sewage is backing up or leaking into the crawl space, address the plumbing problem and contamination before proceeding with encapsulation.
Why cleanout access belongs in the encapsulation plan
Encapsulation changes the surfaces and working conditions beneath a home. A ground vapor barrier is installed, seams and penetrations are detailed, and walls or other areas may receive additional materials. Depending on the project, drainage and humidity-control equipment may also be added.
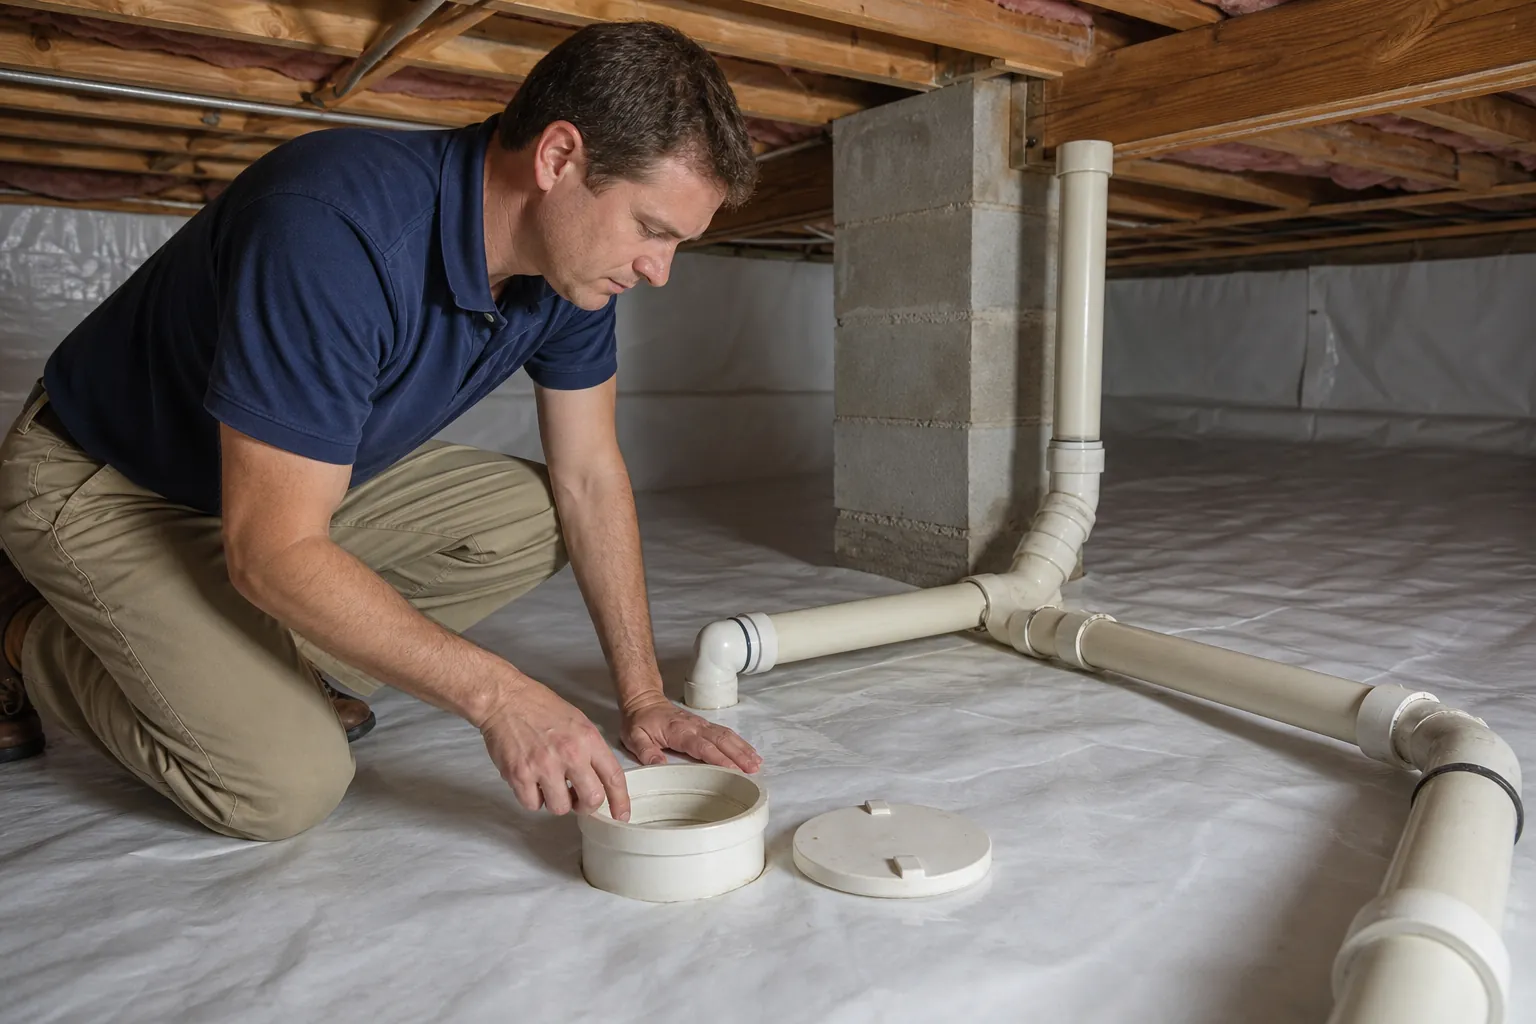
These improvements should not bury necessary service points. Covering a cleanout with an uninterrupted sheet of liner may create a tidy appearance, but it can force a future technician to cut the material just to reach a cap. That cut then needs a compatible, properly sealed repair.
Access involves more than keeping the top of the cap visible. A worker must be able to approach the fitting, position tools, and remove the cap without interference. Nearby pipes, low framing, ductwork, and equipment can make a visible cleanout effectively unusable.
The right solution depends on the fitting location and the crawl space layout. Some sites allow a clearly identified exposed fitting with a carefully sealed liner transition around the pipe. Others need a coordinated access detail that permits service without dismantling surrounding materials.
There is no single access detail that fits every crawl space. A liner installer and plumber should agree on how the moisture barrier will terminate around the plumbing and how the cleanout will remain usable. Do not treat tape across a removable cap as a substitute for a planned detail.
Evaluate the full route from the entrance to the fitting
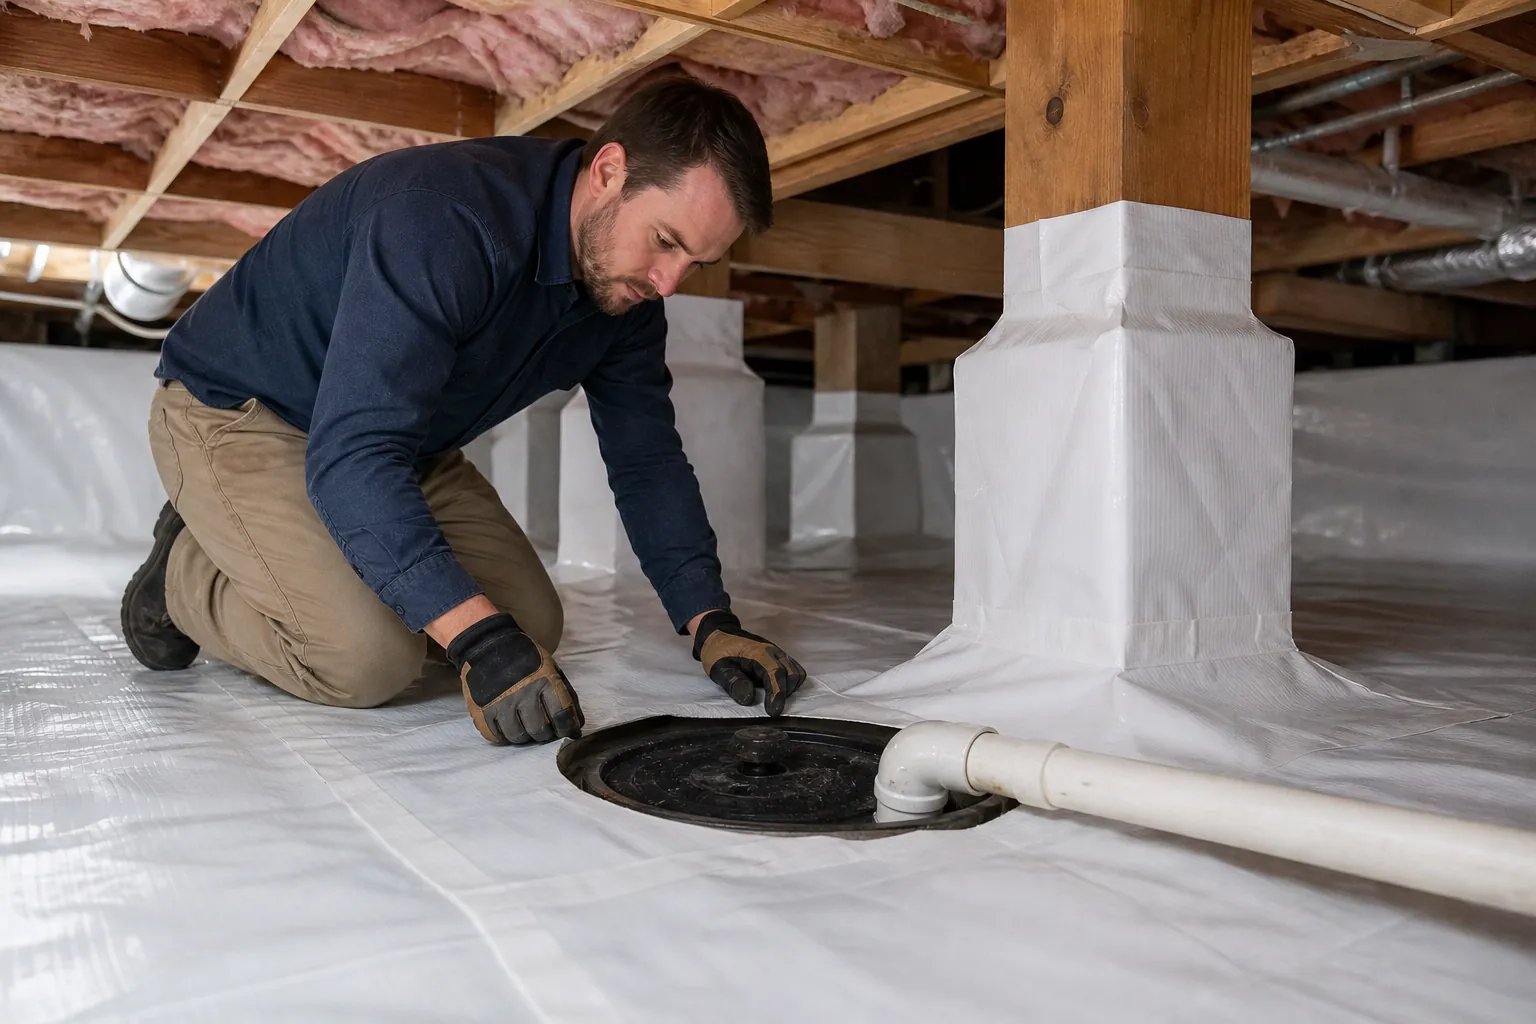
Before encapsulation, walk through the service route with the project team, or have them document it when entry is unsafe for you. The route starts at the crawl space entrance and ends at the working area around each cleanout.
An entrance may be large enough for a person but awkward for drain-cleaning equipment. Tight turns, abrupt changes in elevation, and low clearances can add difficulty. A cleanout at the far end of the foundation may require a different plan than one just inside the access opening.
The condition of the route matters, too. Standing water, unstable soil, loose debris, exposed sharp objects, and damaged wiring should not become accepted obstacles. Address relevant hazards before expecting anyone to use the space for routine maintenance.
- Confirm that the entrance opens fully and is not blocked by landscaping, stored materials, or equipment.
- Identify obstructions between the entrance and the cleanout, including ducts, plumbing, and new support posts.
- Check that a technician can reach the cap and use tools without pressing against vulnerable pipes or electrical wiring.
- Discuss how equipment and hoses will travel across the finished liner without damaging it.
- Keep access to sump equipment and dehumidifiers clear as well as access to plumbing cleanouts.
A photograph can show where a fitting sits, but it does not prove that tools will fit. Ask the plumber to evaluate functional clearance rather than relying only on a visual inspection from the entrance.
Detail the vapor barrier without trapping the cleanout
The vapor barrier controls moisture movement from the ground when installed as part of an appropriate system. Penetrations and transitions deserve careful attention because careless cuts or loose edges can compromise continuity.
Where a pipe passes through the liner, the installer should use a detail compatible with the selected materials. The goal is to seal around the penetration while leaving the removable cleanout component available for service. The cap should not be permanently bonded to the liner.
If an access flap or removable protective cover is proposed, ask how it works. It should be straightforward to identify and reopen, and the surrounding assembly should remain protected during normal use. A loose scrap of plastic over an opening is not the same as a durable access plan.
Cleanouts close to the ground require particular coordination. Simply wrapping the entire fitting can conceal the cap and make tool placement difficult. Whether a fitting should be raised, reoriented, or otherwise modified is a plumbing decision, not an improvised liner-installation step.
A licensed plumber should evaluate proposed changes and applicable requirements. The encapsulation contractor can then coordinate the liner detail around the approved plumbing configuration. Do not cut, extend, or glue drain components solely to make the barrier installation easier.
Also consider how the area will be restored after service. Keep product information for the liner and repair materials with the project records. When a barrier is disturbed, compatible materials and a sound repair method help preserve the original moisture-control strategy.
Account for North Carolina moisture and site conditions
North Carolina homes face different crawl space conditions depending on location, soil, slope, construction, and weather exposure. A coastal property, a Piedmont home, and a mountain house may need different water-management approaches. Cleanout access should be evaluated within the actual site conditions.
Heavy rain can reveal drainage problems that are not obvious during a dry inspection. Water entering along a foundation wall or collecting around low spots may affect both the cleanout area and the route leading to it. Encapsulation alone is not a repair for active plumbing leaks or every source of bulk water.
Surface drainage, foundation conditions, and any crawl space drainage system should be assessed when water intrusion is present. Sump equipment, if included, also needs access for inspection and replacement. Do not solve one maintenance problem by placing new equipment directly in front of a plumbing cleanout.
Humidity management is another consideration. Depending on the home's design and applicable requirements, the project may include a dehumidifier or another approved approach. Its placement, filter access, drainage, and electrical supply should be coordinated with existing service routes.
North Carolina code requirements and local enforcement can affect crawl space work, plumbing changes, and related equipment installation. Ask the appropriate licensed trade professional or local inspection department about permits and required access. Avoid using a generic internet clearance measurement as proof that your particular installation complies.
Use a pre-installation checklist to prevent conflicts
The most useful time to resolve access issues is before materials cover the ground and walls. A brief planning review can prevent confusion among the homeowner, plumber, and encapsulation crew.
Start with a simple crawl space sketch. Mark the entrance, known cleanouts, major plumbing routes, sump basin, dehumidifier location, and any difficult passages. The sketch does not need architectural precision, but it should be clear enough for someone unfamiliar with the home to follow.
- Have existing cleanouts identified and note any that are damaged, leaking, or difficult to operate.
- Ask whether plumbing repairs or drain investigation should happen before encapsulation begins.
- Agree on the liner detail around each service point before the crew reaches that area.
- Verify that planned drainage piping, insulation, and equipment will not obstruct the access route.
- Clarify which contractor is responsible for plumbing modifications and which is responsible for sealing the barrier afterward.
- Request completion photos showing both the fitting and the surrounding finished area.
Put important decisions in the project documentation. A verbal instruction to keep everything accessible can mean different things to different people. A marked photo and a short written note about each cleanout make the expectation more concrete.
If a cleanout is already inaccessible, do not assume encapsulation should proceed around it unchanged. Have the condition evaluated first. Correcting a poor location may require plumbing work, but that decision is easier before the new liner is installed.
Inspect the completed access detail before sign-off
A final walkthrough should evaluate maintainability as well as appearance. Ask the installer to show you every identified cleanout and explain how a technician would reach it. If you cannot safely enter the crawl space, request photos or a video walkthrough.
Check that caps are recognizable and that seams, tape, insulation, or protective coverings do not prevent their intended removal. Confirm that the finished route is free of leftover materials and that any protective walking surface does not conceal a fitting.
Labels can help when several similar pipes or access points are present. They should describe the component accurately without making unsupported assumptions about where the line runs. A plumber can help confirm appropriate identification.
Look for strained or unsupported piping around the newly finished area. Encapsulation materials should not pull on drain fittings or conceal an unresolved leak. If a cap is cracked, corroded, or appears to be leaking, request plumbing evaluation rather than treating it as a cosmetic issue.
This walkthrough is not a substitute for a plumbing inspection or code approval. Its purpose is to confirm that the project's agreed access plan was actually implemented and that maintenance instructions are available to the homeowner.
Keep access usable after the project is finished
Even a well-planned crawl space can become difficult to service if later work changes the layout. HVAC replacements, plumbing repairs, new wiring, or structural work may introduce obstructions or disturb the liner.
Tell future contractors that the crawl space is encapsulated and point out the cleanouts before they begin. Ask them to protect the barrier, avoid unnecessary cuts, and report any damage. If a repair requires opening the liner, establish who will restore it before the job starts.
- Keep the access map and completion photos with your home maintenance records.
- Avoid storing boxes, leftover building materials, or other items along service routes.
- Check accessible areas for visible liner damage after other contractors work beneath the home.
- Follow the maintenance instructions for drainage and humidity-control equipment.
- Arrange professional evaluation if wastewater odors, damp spots, or new standing water appear.
There is no universal schedule for opening or cleaning every drain line. Plumbing maintenance should reflect the home's history, symptoms, and professional recommendations. A cleanout provides service access, but its existence does not mean the cap should be routinely removed by the homeowner.
If several fixtures drain slowly, wastewater backs up, or a leak is suspected, contact a plumber. If the concern involves a disturbed vapor barrier, blocked equipment access, or changing moisture conditions, contact the appropriate crawl space professional. Some situations require coordination between both trades.
Plan for maintenance, not just installation day
Effective crawl space drain cleanout access is a small detail with a practical purpose: keeping future diagnosis and repair possible without avoidable disruption. It requires identifying the right components, protecting the route, coordinating plumbing and liner details, and documenting the finished work.
For a North Carolina home, those decisions should be part of a broader plan for bulk water, ground moisture, humidity, and equipment maintenance. A finished crawl space should support the home's service needs rather than hide them.
If you are planning encapsulation or want to discuss access concerns in an existing crawl space, call Carolina Encapsulation Company at 704-207-9348. Ask about reviewing cleanout locations and service routes as part of your project planning, with plumbing questions referred to the appropriate licensed professional.
Call 704-207-9348 to talk through next steps.