

The last day of a crawl space project should include more than a quick look through the access door. A proper crawl space encapsulation final walkthrough helps you understand what was installed, how the moisture-control system works, and what maintenance remains your responsibility.
For North Carolina homeowners, that conversation matters. Humid summers, changing groundwater conditions, and heavy rain can expose weaknesses that are not obvious on a dry installation day. A clean appearance is encouraging, but the real goal is a system that addresses the moisture sources identified in your project.
Use this guide to review the finished work with your contractor. Carolina Encapsulation Company encourages homeowners to ask practical questions, compare the installation with the written scope, and leave the walkthrough with clear operating instructions.
Start with the written scope, not appearances
Before entering the crawl space, pull out your proposal, approved change orders, and any drawings or equipment selections. These documents establish what the contractor agreed to provide. Not every encapsulation includes drainage, a sump pump, insulation changes, structural repairs, or a dehumidifier.
Review the project one item at a time. If a component looks different from what you expected, ask whether the change was approved and why it was necessary. Field conditions sometimes require adjustments, but those adjustments should be explained and documented.
- Confirm that the installed liner matches the material and thickness specified in your agreement.
- Check that drainage, electrical work, access improvements, and moisture-control equipment included in the scope are complete.
- Identify any excluded work, such as foundation repairs, plumbing repairs, pest treatment, or exterior grading.
- Request copies of applicable permits, inspection results, equipment information, and approved change orders.
The walkthrough is also a good time to distinguish completed work from recommended future improvements. An item discussed during an estimate is not necessarily part of the signed contract.
Make the inspection safe and easy to follow
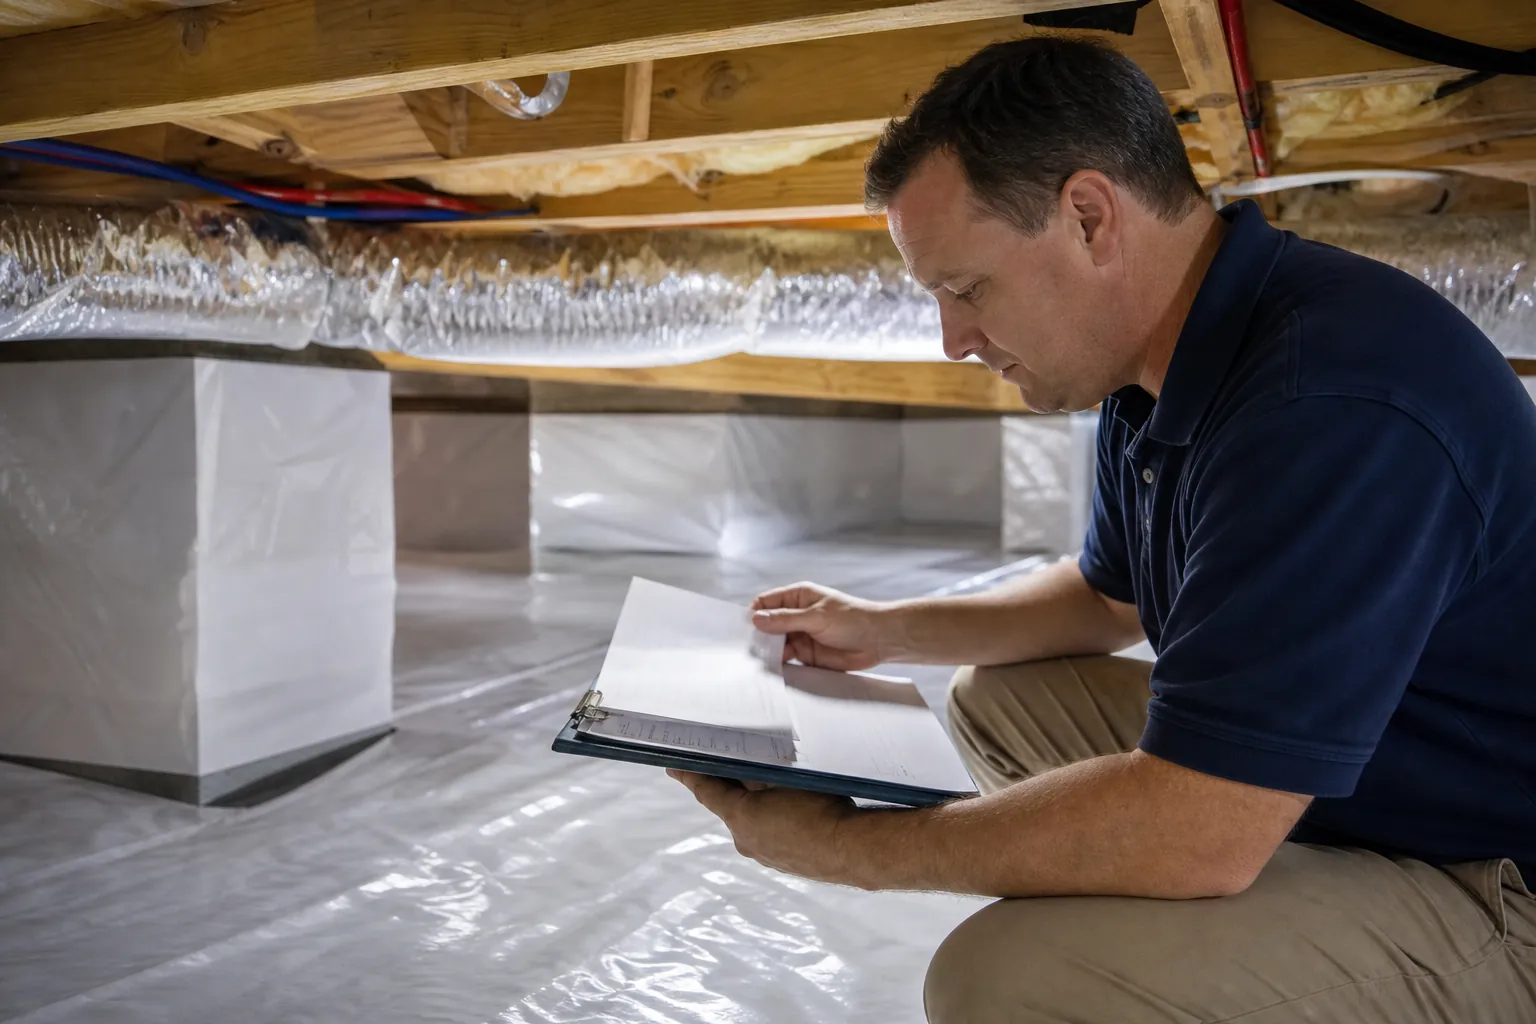
Ask the contractor to guide the walkthrough rather than entering alone. Crawl spaces can have low clearance, sharp surfaces, exposed utilities, and areas that should not be stepped on. Wear suitable clothing and follow the contractor's directions about where to move.
If you cannot safely enter, request a video walkthrough and labeled photographs. Images should cover the access opening, corners, piers, seams, equipment, and any drainage components. A single wide-angle photograph rarely shows enough detail to evaluate an entire installation.
Do not touch electrical connections, pull at fasteners, or deliberately disturb seals to test their strength. You can ask the installer to demonstrate a component or explain its attachment method without damaging the finished system.
Keep a simple checklist and take notes while the contractor is present. Record the location of each concern so everyone is discussing the same area. Specific observations are more useful than a general statement that something looks unfinished.
Inspect the ground liner and its seams
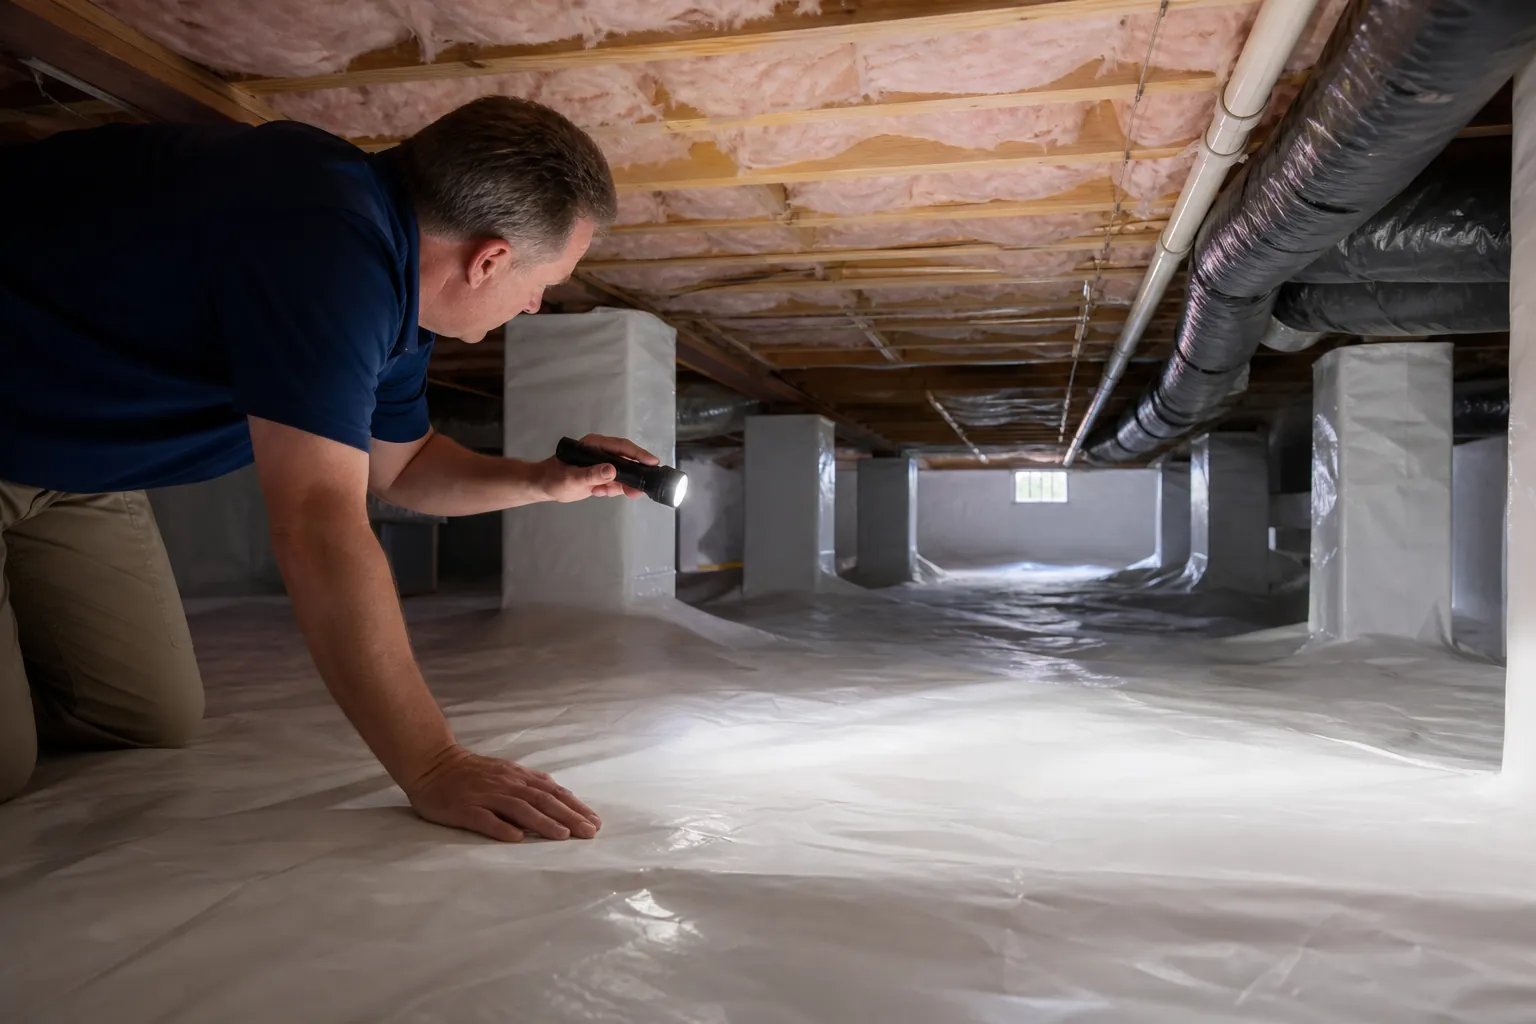
The ground liner should provide continuous coverage of the intended soil area. Look for exposed earth, open seams, punctures, and unsealed transitions around obstacles. The liner should be installed according to the agreed system and the material manufacturer's instructions.
Some folds and wrinkles are normal because crawl space floors are rarely perfectly flat. A wrinkle alone does not establish a defect. More important questions are whether the material is intact, whether seams are sealed, and whether routine access is likely to damage it.
- Ask the contractor to show how overlapping liner sections are joined and sealed.
- Check that the liner fits around piers, pipes, and other penetrations without leaving obvious gaps.
- Look for tears or holes along common travel routes and near recently installed equipment.
- Confirm that sharp debris was removed or otherwise addressed before the liner was installed.
- Ask whether protective material is recommended where technicians will regularly crawl.
Pay particular attention to transitions between different materials. A seam may look closed while still having an unsecured edge. Have the installer explain questionable areas rather than judging the entire system by how flat it looks.
Review walls, piers, vents, and access seals
Where wall coverage is included, check that the liner is supported and terminated using the specified installation method. Loose sections, detached fasteners, or unfinished corners deserve clarification. Attachment details can vary with masonry conditions and the selected encapsulation system.
Pier wrapping and wall coverage should also account for inspection access where required. In North Carolina, termite inspection considerations can affect how materials are installed near wood and masonry. Ask your contractor and pest professional to explain any required inspection gaps rather than assuming every visible strip should be covered.
For systems designed as closed crawl spaces, included vents and other exterior openings should be addressed consistently with the project design and applicable requirements. Encapsulation does not mean every opening can be sealed without considering appliances, ventilation needs, and local rules.
- Check that the access door closes securely and that included weatherstripping makes consistent contact.
- Ask which wall openings were sealed and which were intentionally left accessible.
- Confirm that utility penetrations were addressed with materials suited to the opening and its use.
- Verify that plumbing shutoffs, cleanouts, junction boxes, and serviceable equipment remain reachable.
If fuel-burning equipment is present, ask how combustion air and servicing requirements were considered. That question should be resolved by qualified professionals, not by sealing an opening during the walkthrough.
Trace the water-management path
A vapor barrier helps control moisture moving from soil into the crawl space. It does not, by itself, solve water entering through a foundation or collecting after storms. If your project included water management, ask the contractor to trace the entire path from collection to discharge.
Review the location of any interior drain, sump basin, pump, and discharge piping. Ask what conditions the system was designed to handle and whether exterior improvements are still recommended. Gutters, downspouts, and grading may remain important even after interior work is complete.
- Have the contractor demonstrate the pump's operation using an appropriate test method.
- Ask where discharged water goes and whether the outlet is accessible for inspection.
- Confirm that any included check valve, alarm, backup equipment, and basin cover are installed and explained.
- Ask what to do if the alarm sounds, the pump runs continuously, or water appears above the liner.
A successful test on installation day confirms basic operation, not performance through every future storm. Schedule a safe visual check after substantial rain. Report pooling water, wet wall areas, or unusual pump behavior promptly rather than waiting for the next routine service visit.
Understand the humidity-control equipment
If a dehumidifier is part of your project, the walkthrough should include a demonstration of its controls and drainage. Ask why the unit was selected for your crawl space and how air will circulate through the treated area. Equipment placement should allow practical filter access and servicing.
Have the installer explain the intended relative humidity setting. Around 50 to 55 percent is a common operating target, but the appropriate setting depends on system design and conditions. Ask what reading or sustained change should trigger a service call.
Do not expect every moisture measurement to stabilize immediately. Damp building materials may take time to dry, and readings can vary by location, weather, and instrument. A single number at the access opening does not describe the entire crawl space.
- Confirm that the unit powers on and that its controls respond.
- Ask the contractor to show the condensate route, including any pump or drain connection.
- Locate the filter and learn the recommended inspection and cleaning schedule.
- Record the model number, serial number, initial setting, and installation date.
- Ask how the system should restart after a power outage.
If no dehumidifier was included, ask how the installed design is intended to manage humidity. The answer should relate to your actual crawl space, not a general promise that liner installation alone always keeps the space dry.
Check utilities, insulation, and service access
Encapsulation changes the working environment around plumbing, ductwork, wiring, and insulation. During the final inspection, look for disturbed materials or blocked service points. The contractor should explain any work performed near utilities and identify issues outside the encapsulation scope.
Insulation details vary depending on whether the project uses floor insulation, foundation-wall insulation, or another approved approach. Compare the finished work with your contract and ask about loose sections, exposed areas, or materials that appear damp. Do not assume that one insulation layout is appropriate for every house.
Electrical connections serving new equipment should be completed through appropriate methods and by qualified personnel where required. Ask which circuit supplies the equipment and whether any included electrical work received the required inspection.
Access also matters over the long term. A plumber should not have to cut through the liner simply to locate a routine shutoff. Ask the installer to point out common service areas and explain how future technicians should protect the liner while working.
If the walkthrough reveals a leaking pipe, disconnected duct, damaged wire, or deteriorated wood, document it. Determine which professional should evaluate the issue and whether it affects acceptance of the contracted work.
Use moisture readings as a baseline
Ask whether the contractor recorded initial or completion moisture readings. Useful records identify what was measured, where it was measured, and when. Relative humidity, temperature, and wood moisture content describe different conditions and should not be treated as interchangeable.
For example, a humidity sensor reports conditions in the surrounding air, while a wood moisture meter evaluates the material at the test location. Wood readings can vary with meter type, settings, species, and testing technique. Comparing consistent measurements over time is usually more informative than comparing unrelated numbers.
Request a baseline that you can use during future checks. Photographs of meter displays are helpful when accompanied by location notes. Avoid drawing conclusions from an unlabeled image or a reading taken only near the dehumidifier outlet.
A homeowner humidity monitor can help identify trends, but it should not be your only inspection tool. A normal reading does not rule out a plumbing leak, a blocked drain, or isolated water intrusion.
Create a clear punch list before signing off
A punch list is a written record of items that need correction, completion, or clarification. It protects both parties by making expectations specific. Separate actual incomplete work from questions that can be resolved through an explanation or supporting document.
- Describe each concern and identify its location, such as an open seam beside the rear-center pier.
- Attach a photograph when the issue is difficult to locate or explain.
- Record the agreed action, responsible party, and expected completion date.
- Note whether a return visit, equipment test, or additional document is needed.
- Confirm how you will receive notice that the item has been completed.
Review any completion form before signing. Understand whether it acknowledges a walkthrough, confirms acceptance, or relates to payment. If work remains, make sure the written record reflects that status accurately.
Questions about contract obligations or disputed work may require advice beyond the installation team. For ordinary finish items, a calm discussion and a precise list often prevent confusion and unnecessary repeat visits.
Leave with warranty and maintenance instructions
Your final project folder should explain who to contact, what is covered, and what maintenance is expected. Manufacturer warranties and contractor workmanship warranties may have different terms. Neither should be assumed to cover every moisture problem that could occur later.
Read the actual documents for exclusions, registration requirements, service conditions, and transfer provisions. Ask whether equipment registration is your responsibility or whether the contractor handles it. Keep proof of purchase and installation with the model and serial numbers.
Maintenance instructions should be specific enough to use. Depending on your system, they may include filter care, condensate checks, pump testing, discharge inspections, and periodic liner inspections. Follow the equipment manufacturer's guidance and the contractor's system-specific recommendations.
Ask about professional service options and the signs that justify an earlier visit. Persistent elevated humidity, new odors, visible water, equipment alarms, and damaged liner sections warrant attention. Avoid changing settings repeatedly without understanding why the original setting was selected.
Plan your first follow-up after completion
The final walkthrough is a starting point for ownership, not the last time the crawl space needs attention. During the first several weeks, observe humidity trends and check for equipment alerts. After heavy rain, inspect accessible areas safely or arrange a professional check.
Look for changes rather than expecting a crawl space to remain visually identical forever. Minor dust or ordinary liner folds are different from new tears, standing water, or detached seals. Keep dated notes and photographs so a contractor can evaluate the development more efficiently.
Before another trade enters the space, tell them it is encapsulated. Ask them to protect the liner and report accidental damage. After their work, inspect the travel route and any area around the repair, or request photographs if you cannot enter safely.
Finish with confidence, not unanswered questions
A useful final walkthrough leaves you able to explain how the system controls moisture, where water goes, which equipment needs maintenance, and whom to call when something changes. It also gives you a clear record of the installation and any remaining work.
If you are planning crawl space work in North Carolina or want to discuss what a completion review should cover, call Carolina Encapsulation Company at 704-207-9348. Bring your questions about the scope, operating instructions, and maintenance so the conversation stays focused on your home.
Call 704-207-9348 to talk through next steps.