
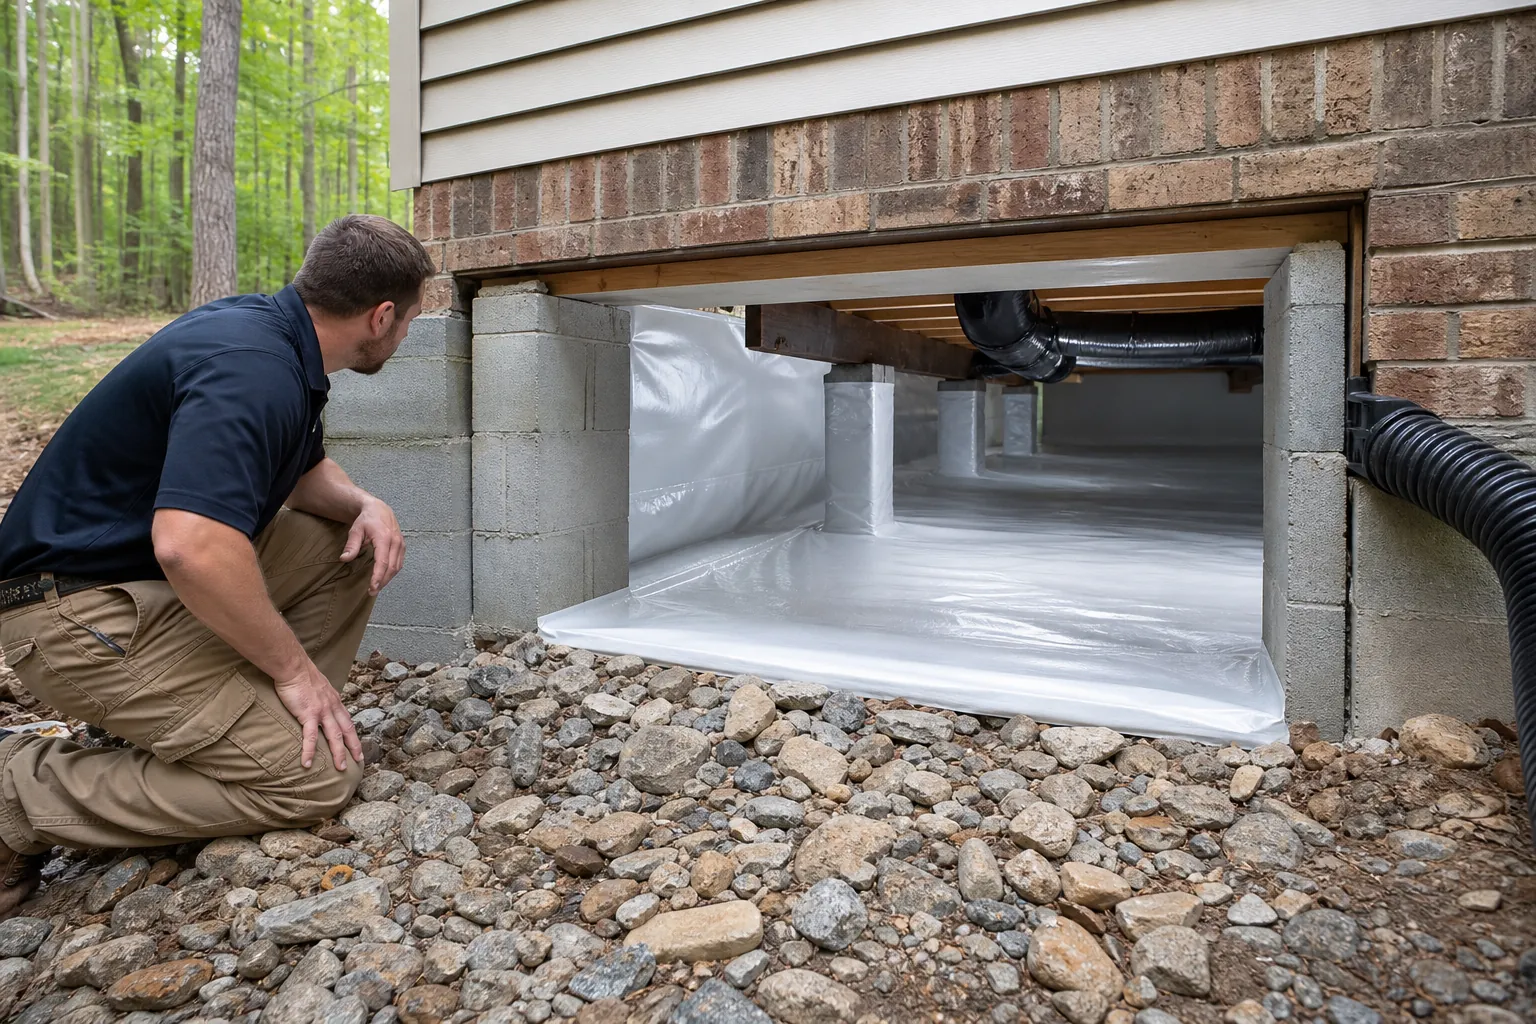
A crawl space with exposed rock presents a different challenge than one with a smooth dirt floor. Sharp edges can damage a vapor barrier, shallow bedrock can limit excavation, and irregular surfaces can leave places where water collects. Those conditions do not automatically rule out encapsulation, but they do change how the project should be planned.
Successful crawl space encapsulation in rocky soil starts with understanding how water enters and moves beneath the home. The next step is designing drainage, surface preparation, liner installation, and humidity control around the actual site conditions. Simply covering the rocks without addressing those details can hide problems rather than solve them.
For North Carolina homeowners, Carolina Encapsulation Company can discuss the conditions that matter during an assessment. This guide explains what to look for, which installation details deserve attention, and what questions to ask before approving a proposal.
Why rocky crawl spaces need a different approach
North Carolina has varied ground conditions, from mountain terrain and Piedmont clay to sandy coastal soils. Even neighboring properties can have different amounts of stone, weathered rock, or shallow bedrock. A regional label alone cannot tell you what is beneath a particular house.
Loose stones are often a surface-preparation issue. Larger embedded rocks may require the liner to be shaped around them. Continuous bedrock can create a more significant constraint because drainage trenches, sump basins, and other components may be difficult to install at the desired depth.
Water behavior also matters. Rock itself does not necessarily cause a wet crawl space. Water may arrive through foundation openings, run downhill from surrounding ground, travel along soil and rock interfaces, or collect in low areas. Moisture can also enter as water vapor without visible puddles.
The practical goal is not to make every rocky floor perfectly flat. It is to create a durable ground cover, manage liquid water, and control moisture without disturbing the foundation or blocking necessary access.
- Loose, sharp stones may need removal or a protective layer before the vapor barrier is installed.
- Embedded rock may require fitted liner sections and carefully sealed transitions.
- Shallow bedrock may limit drain depth and change where water can be collected.
- Uneven ground may require additional attention to access routes and equipment placement.
Start with a water and foundation assessment
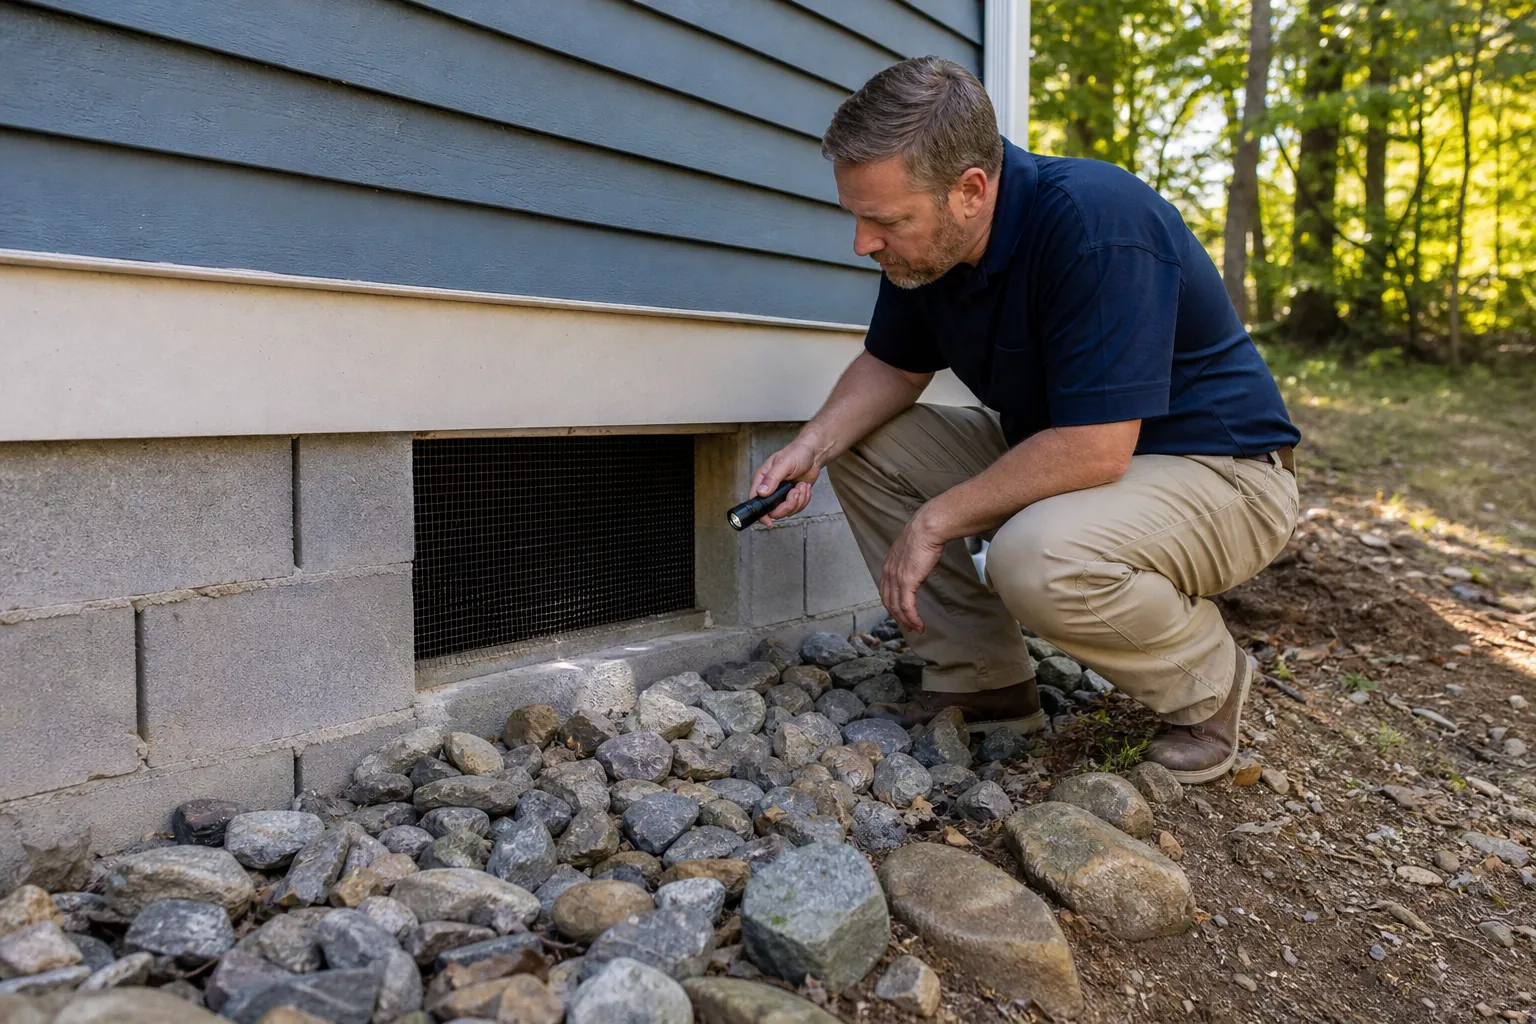
Before choosing a liner or dehumidifier, identify the source of the moisture. An inspection should examine the crawl space floor, foundation walls, piers, plumbing, wood framing, and exterior drainage conditions. Photos of the space after heavy rain can be especially useful.
Outside the home, look for overflowing gutters, disconnected downspouts, soil sloping toward the foundation, and runoff from uphill areas. Fixing an exterior problem may reduce the amount of water an interior drainage system must handle. It does not necessarily eliminate the need for encapsulation, but it can improve the overall design.
Inside, water stains and sediment trails can suggest flow paths. Dark soil may indicate moisture, although appearance alone is not a reliable measurement. Humidity readings and wood moisture measurements provide additional information, especially when interpreted alongside recent weather and site observations.
Plumbing leaks require their own repair. A vapor barrier and dehumidifier are not substitutes for fixing a leaking supply line, drain, or condensate connection. Similarly, damaged framing or concerning foundation movement should be evaluated before it is covered or made harder to access.
If a proposed installation involves excavation near footings, the plan needs particular care. Digging below or beside structural support without appropriate guidance can compromise the foundation. A qualified structural professional may be needed when the work could affect support or when existing damage is suspected.
Prepare the rocky floor without creating new problems
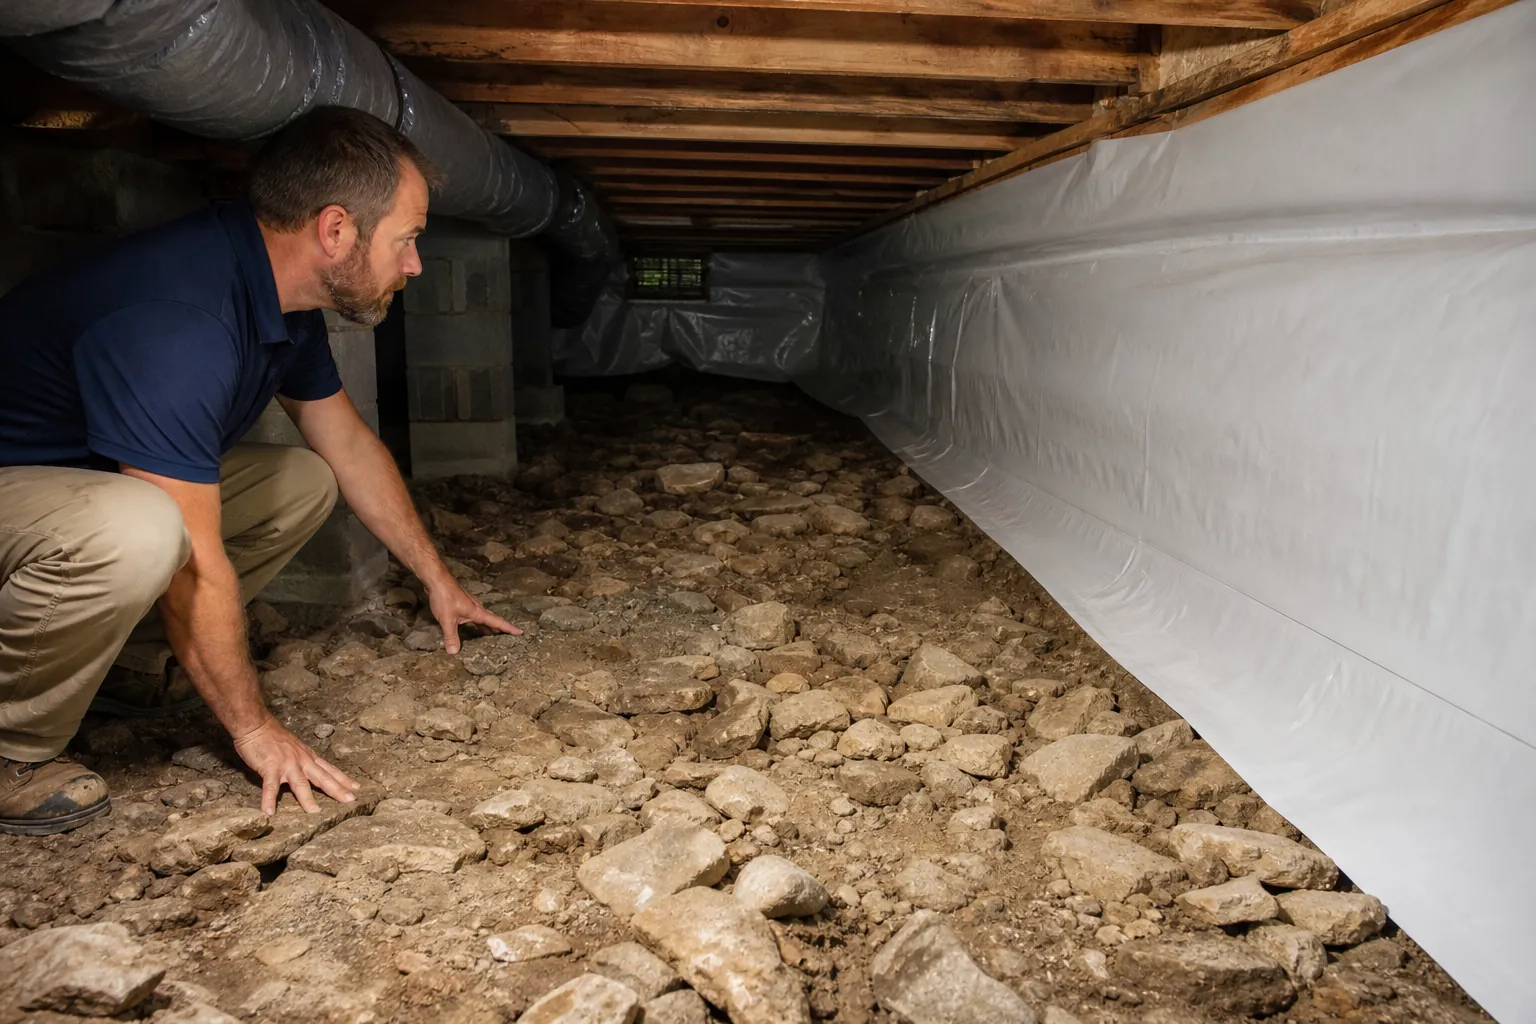
Surface preparation should balance liner protection with the limits of the site. Small debris, construction scraps, and loose sharp stones can often be removed. Large embedded rocks should not automatically be broken apart or excavated, particularly near footings, piers, utility lines, or other sensitive areas.
Some irregular surfaces benefit from an appropriate cushioning or protection layer beneath the vapor barrier. The material should be compatible with the encapsulation system and suitable for the expected moisture conditions. Its purpose is to reduce abrasion and puncture risk, not to conceal an unresolved water problem.
A contractor may propose limited leveling or fill in selected areas. Ask what material will be used, why it is needed, and how it affects drainage, clearance, and inspection access. Adding material indiscriminately can reduce working height or change where water collects.
Heavy rock removal is not always the safest or most economical path. In some spaces, adapting the liner around a stable outcrop is more practical than trying to produce a smooth floor. The finished detail should avoid stretching the liner tightly over a sharp point or leaving a fragile bridge across a deep gap.
- The preparation plan should identify which stones will be removed and which will remain.
- Any protective underlayment should be described in the written proposal.
- Work should preserve safe access to plumbing, electrical components, and inspection areas.
- Excavation should stay within limits that protect footings and other structural supports.
Design drainage around rock, not through guesswork
Encapsulation controls ground vapor and helps limit humid outdoor air entering the crawl space. It is not, by itself, a reliable solution for standing water. If liquid water enters the space, a separate drainage strategy may be necessary before the area is sealed.
In a conventional dirt floor, a drain trench may be relatively straightforward to excavate. Rocky ground can interrupt that route, prevent a consistent trench depth, or leave insufficient space for a sump basin. Those constraints should be identified before installation begins, not after most of the liner is in place.
Depending on site conditions, the solution may include exterior runoff improvements, a modified interior collection route, a sump system, or another site-specific drainage detail. Not every crawl space needs the same components. The design should explain how water reaches the collection point and how it leaves the property safely.
A gravity discharge requires suitable elevation and an appropriate outlet. A pumped discharge requires a suitable power source and a discharge route that does not return water to the foundation. Local requirements and property boundaries also matter when deciding where collected water can go.
Where shallow bedrock restricts collection depth, ask how the system will perform before water rises into vulnerable areas. If reliable drainage cannot be established with the proposed approach, the contractor should explain that limitation rather than promise that a thicker liner will compensate.
For a sump installation, discuss access for maintenance, check-valve placement, and options for backup operation where appropriate. A pump is mechanical equipment, so the homeowner should understand what happens during a power outage or equipment failure.
Choose a liner system for durability and difficult transitions
A rocky floor calls for more than a decision based on liner thickness alone. Reinforcement, puncture resistance, seam design, attachment methods, and protection in traffic areas all influence durability. Product specifications should be reviewed in the context of how the material will actually be installed.
The ground liner needs continuity across the floor and properly detailed transitions at walls and piers. Irregular rock can create additional cuts, folds, or fitted pieces. Each detail must maintain the intended moisture barrier rather than leaving unsealed gaps around obstacles.
Seams should use the overlap and sealing method required by the selected system. Tape or sealant needs compatible materials and suitable surface conditions. Dust, moisture, and excessive tension can undermine adhesion, so preparation matters as much as the sealing product.
At foundation walls, attachment should be appropriate for the substrate. Uneven masonry and rough surfaces may need a different detail than smooth concrete. An installation should also preserve any required termite inspection access and comply with applicable local requirements.
Do not assume that every exposed piece of rock should receive the same treatment. A large outcrop may require a fitted cover or a carefully designed transition. Ask the contractor to explain how that detail limits ground vapor while avoiding a liner arrangement that tears under normal use.
- The proposal should identify the liner product and its relevant durability characteristics.
- Seams and penetrations should be sealed using methods compatible with the system.
- Access paths should receive protection appropriate for expected foot traffic and servicing.
- Wall and pier details should maintain continuity without hiding required inspection areas.
Control humidity after the ground is covered
Covering the ground reduces a major moisture source, but humidity control involves the entire crawl space. Open vents, a poorly fitted access door, wall gaps, and other air leaks can still introduce humid outdoor air. These openings should be addressed as part of a complete design.
In a properly planned closed crawl space, a dehumidifier or another code-compliant conditioning approach may be used to manage humidity. Equipment selection should account for the size and condition of the space, air distribution, access, and drainage for condensate.
A common operating goal is relative humidity below about 60 percent, although the appropriate setting and performance expectations should be discussed for the specific home. A single reading is not enough to assess success. Conditions should be checked over time and through changing weather.
The dehumidifier should sit on a stable support rather than directly on an uneven rock surface. Its drain line needs a dependable route, and the unit needs sufficient room for filter cleaning and servicing. Electrical work should meet applicable requirements and be performed by qualified personnel when needed.
Closing vents can also affect combustion appliances located in the crawl space. Before air sealing, any fuel-burning equipment should be reviewed for combustion air and venting requirements. Encapsulation should not create an unsafe appliance condition.
Understand what changes the project cost
There is no reliable universal price for encapsulating a rocky crawl space. Square footage matters, but access, clearance, drainage needs, and the amount of detailed liner work can make two similarly sized homes very different projects.
A low-clearance space with numerous embedded rocks may require more labor than a taller space with scattered loose stone. Bedrock near a planned sump location can change the drainage design. Existing water damage, plumbing repairs, or structural concerns can add separate work that is not part of a basic encapsulation scope.
Rather than comparing only the bottom-line price, compare written scopes. A proposal that includes drainage, protective underlayment, a sealed access door, and humidity control is not equivalent to one that includes only a ground liner.
- Ask whether the price includes surface preparation and removal of loose debris.
- Confirm which drainage components are included and where water will discharge.
- Check whether equipment installation, electrical work, and condensate routing are included.
- Request an explanation of allowances or change-order conditions for unexpected rock.
- Review warranty coverage separately for materials, workmanship, and mechanical equipment.
A useful estimate also states what is excluded. Clear boundaries help prevent assumptions about mold remediation, pest treatment, foundation repairs, or exterior grading that may require a different specialist.
Inspect the completed work and keep it accessible
After installation, ask for a walkthrough or clear photographs of areas that are difficult to reach. Review liner seams, wall attachments, pier transitions, access-door sealing, and equipment placement. Pay particular attention to rocky areas where the material changes direction or spans uneven ground.
The finished liner should not be treated as a storage floor. Dragging tools, placing sharp objects on it, or walking repeatedly over an unprotected rock edge can cause damage. Service technicians should know that the crawl space is encapsulated and understand any designated access routes.
Maintenance should include checking humidity, cleaning dehumidifier filters as instructed, and inspecting drain lines and sump equipment where present. Following a major rain event, look for new water intrusion, displaced discharge piping, or signs that the drainage system is not keeping up.
Small liner punctures should be repaired with compatible materials rather than ordinary household tape. If water repeatedly appears above the liner, investigate the source. It could indicate a plumbing leak, drainage issue, or another condition that requires more than a surface patch.
Keep installation photos, product information, and warranty documents together. They are useful for future maintenance, contractor visits, and explaining the system when the home changes ownership.
Plan an encapsulation project around your home's conditions
Rocky soil does not make a crawl space impossible to encapsulate. It makes site assessment and installation details more important. The strongest plan addresses liquid water first, protects the liner from rough surfaces, preserves structural support, and provides a practical way to control humidity.
If you are considering crawl space encapsulation in rocky soil in North Carolina, start with a clear explanation of the existing conditions and a written scope tailored to them. Ask how the proposed system will handle embedded rock, drainage limitations, and future service access.
To discuss your crawl space with Carolina Encapsulation Company, call 704-207-9348. A conversation about the space, visible moisture, and access conditions can help you identify the next step without assuming that every home needs the same solution.
Call 704-207-9348 to talk through next steps.