
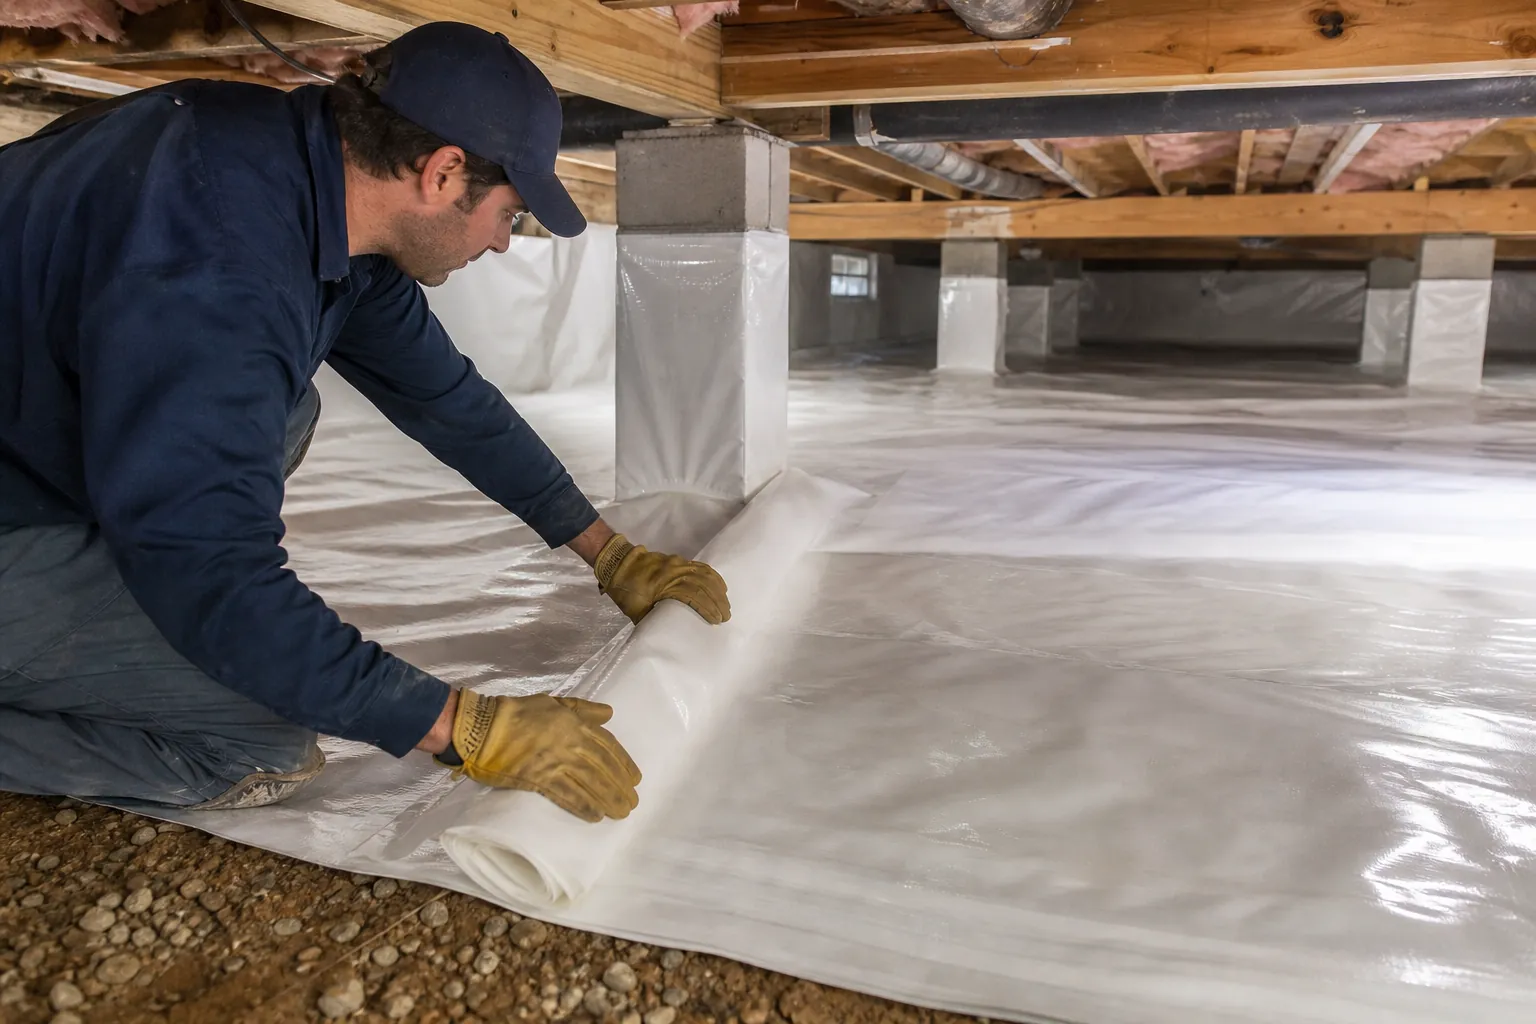
Encapsulating a crawl space does not always have to happen in one construction visit. Some North Carolina homeowners need to spread the cost across several stages. Others must address drainage, plumbing leaks, or structural repairs before a complete moisture-control system can be installed.
A crawl space encapsulation phased installation can work when each stage solves a defined problem and supports the finished system. It becomes risky when individual improvements are treated as unrelated projects. A ground liner, sealed vents, and a dehumidifier must ultimately work together, not compensate for problems left unresolved.
This guide explains how to sequence the work, what to avoid postponing, and how to evaluate a proposal. Carolina Encapsulation Company can help homeowners discuss a practical path toward a drier, more manageable crawl space.
What a phased installation should accomplish
A phased installation separates a complete encapsulation project into coordinated scopes of work. The goal is not to install the easiest component first. It is to reduce immediate risks while preserving a clear route to the final moisture-control design.
Encapsulation generally involves controlling bulk water, limiting moisture from exposed soil, sealing appropriate outside air openings, and managing humidity. Depending on the home, it may also involve insulation changes, drainage equipment, or repairs to existing materials.
The correct sequence depends on conditions beneath the house. A crawl space with standing water needs a different starting point from one with dry soil but persistent summer humidity. A low-clearance space may also require different access and installation planning.
- Each phase should have a written scope describing what will be installed, repaired, or inspected.
- The contractor should explain how the crawl space will manage moisture between phases.
- Later work should connect to earlier work without requiring avoidable removal or replacement.
- The proposal should distinguish temporary measures from permanent components of the finished system.
A good plan also identifies what would trigger an earlier return visit. New standing water, rising humidity, or an equipment failure should not wait simply because the next phase was scheduled for a later season.
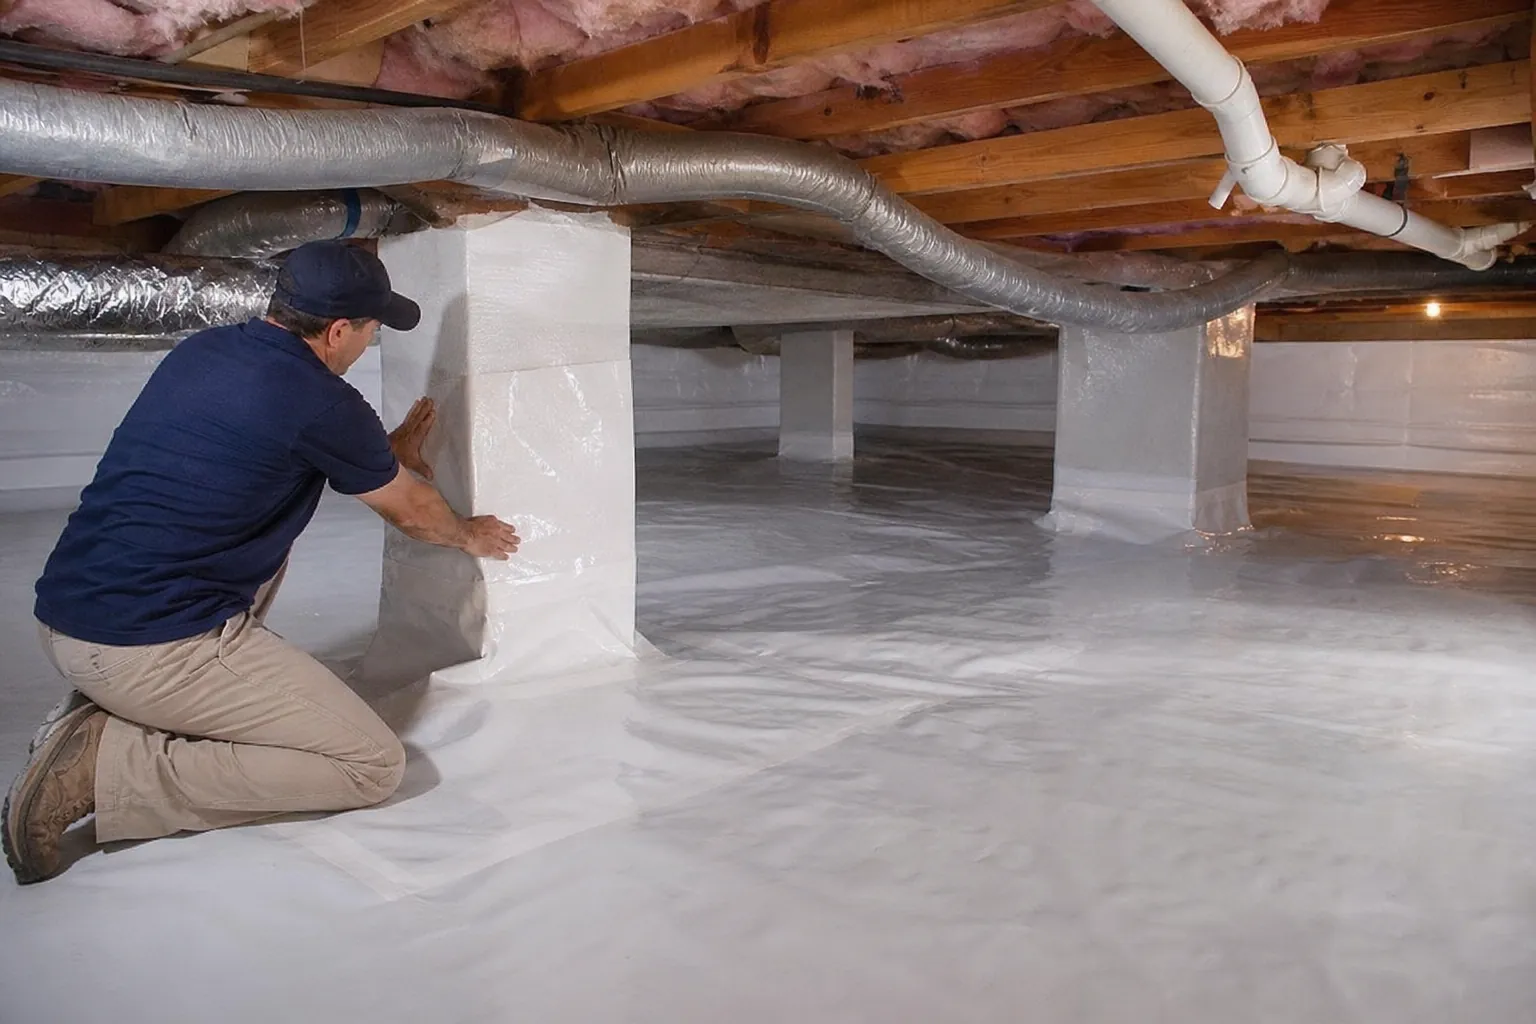
Start with an inspection, not a product list
The first step is understanding where moisture comes from and what it is affecting. An inspection should examine the crawl space and relevant exterior conditions. Looking only at the soil beneath the house can miss roof runoff, grading issues, or leaking water lines.
Ask for photos and a written description of observed conditions. Useful documentation includes standing water locations, exposed soil, damaged insulation, visible deterioration, and the arrangement of vents and access doors. Humidity readings and wood moisture measurements can help establish a baseline when collected and interpreted appropriately.
A single reading is only a snapshot. Conditions may change after rain, during humid weather, or when heating and cooling equipment operates. Tell the inspector when you notice odors, whether water appears after storms, and whether any previous repairs were made.
- Check gutters and downspouts for overflow or discharge close to the foundation.
- Look for plumbing leaks and condensate lines that release water into the crawl space.
- Review the condition of ducts, insulation, foundation openings, and the access door.
- Identify areas that need evaluation by a qualified structural, electrical, plumbing, or pest professional.
- Confirm that utilities and equipment will remain accessible after the work is complete.
Visible fungal growth or damaged framing should not be diagnosed casually from a photograph. Appropriate evaluation may be needed before those areas are covered. Encapsulation can improve moisture conditions, but it does not restore weakened wood or repair an active leak.
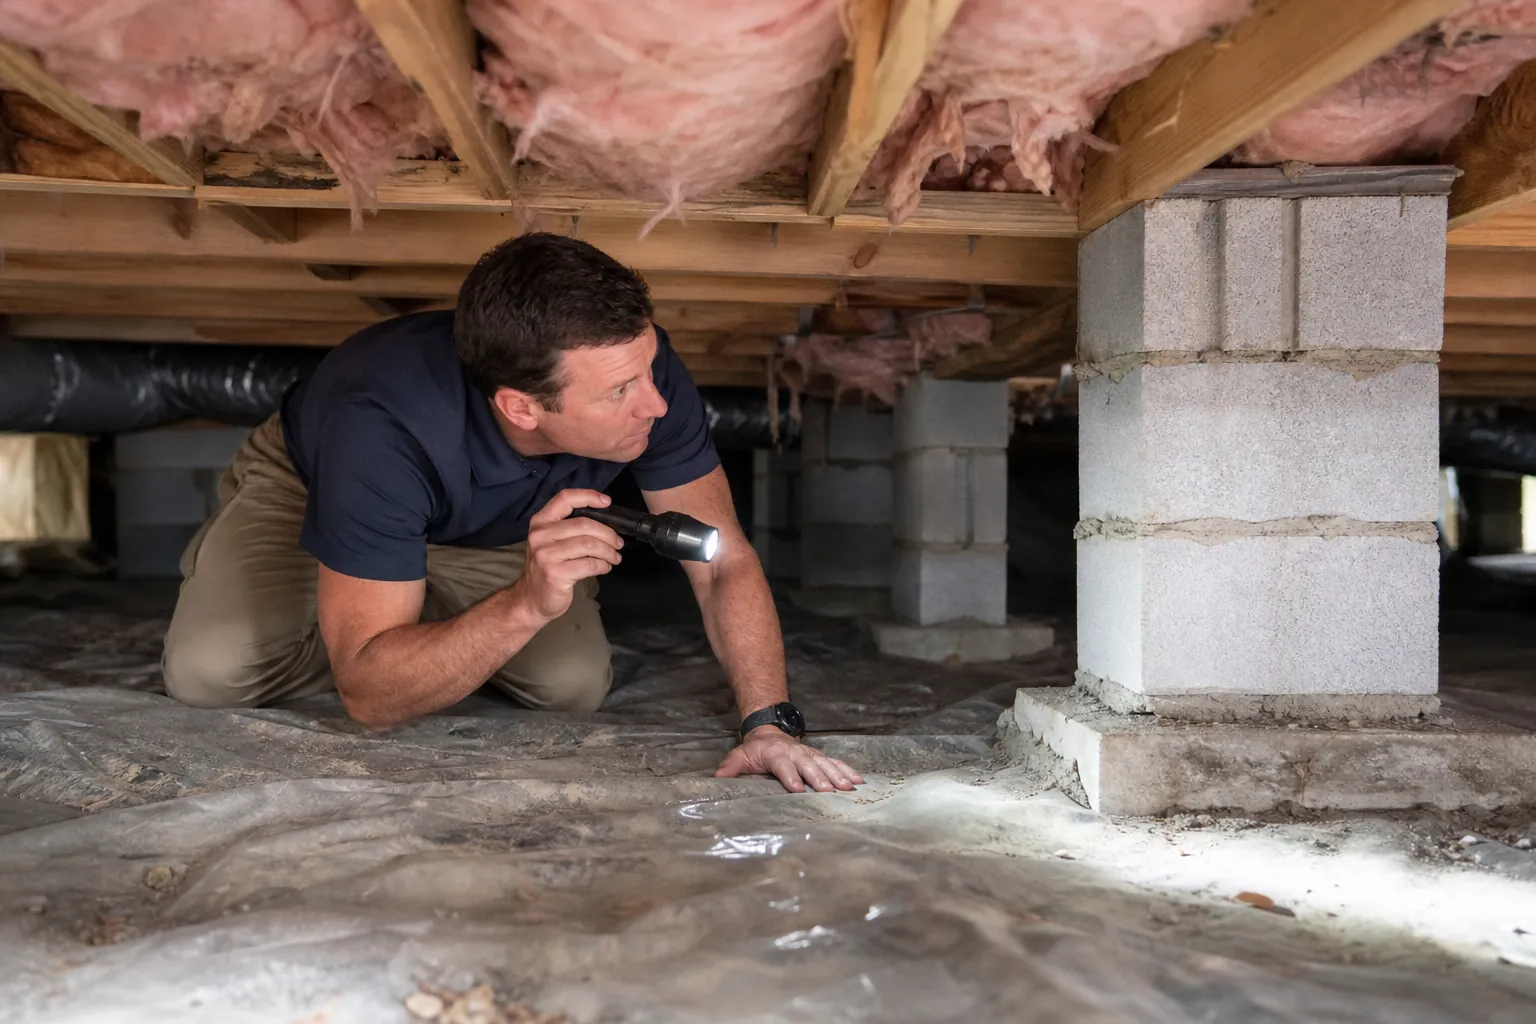
Phase one: address water entry and urgent repairs
Bulk water control usually comes before final liner installation. If water is flowing into the crawl space, a vapor barrier alone cannot solve the problem. Covering the soil without addressing water entry can conceal puddles and make later troubleshooting more difficult.
Start with the identified source. Correcting a downspout discharge may be more important than adding equipment beneath the house. Where groundwater or persistent seepage is involved, an appropriately designed drainage and pumping system may be necessary.
Drainage choices should reflect the site, foundation, water entry pattern, and a suitable discharge location. A sump pump is not a substitute for planning where collected water will go. Discharge should not send water back toward the house or create another property problem.
Urgent repairs may also belong in this phase. Active plumbing leaks, unsafe wiring, deteriorated framing, and pest-related damage can affect both installation safety and the durability of the finished system.
- Repair active leaks before installing materials that could hide them.
- Complete disruptive drainage work before placing the final liner over affected areas.
- Have structural concerns evaluated before relying on moisture control as the only remedy.
- Keep required pest inspection areas accessible according to the applicable requirements and inspection plan.
After this work, verify the result. Where practical, checking the crawl space after meaningful rainfall can help reveal whether the original water pathway has been controlled. A dry day immediately after installation is not enough to prove a drainage problem is resolved.
Phase two: prepare the crawl space and control ground moisture
Once urgent water and repair issues are addressed, preparation creates a sound base for the liner. This can include removing debris, dealing with unsuitable existing materials, and making sure workers can reach the areas that need sealing.
Sharp debris and rough obstacles can damage a liner. Old insulation may require removal if it is wet, falling, contaminated, or incompatible with the planned assembly. Decisions about insulation should account for the final crawl space design rather than simply copying what was there before.
The ground vapor barrier should be chosen and installed for the expected conditions. Material durability matters, but thickness alone does not determine performance. Seams, penetrations, attachment details, and protection in service areas also affect how well the installation holds up.
If the liner is installed in an early phase, the contractor should plan its connection to future wall coverage and sealing details. Leaving suitable material and using compatible components can reduce the chance of buying the same work twice.
- Ask how seams will be overlapped and sealed as part of the planned system.
- Confirm how the liner will fit around piers, pipes, and other penetrations.
- Discuss protection where technicians will travel to service equipment.
- Clarify which wall details will be completed now and which will remain for a later phase.
A ground liner may reduce soil moisture entering the air, but it does not necessarily create a fully encapsulated crawl space. Outdoor humidity can still enter through vents, gaps, and an unsealed access door. The interim scope should make that limitation clear.
Phase three: coordinate sealing and humidity control
Air sealing and humidity management need to be planned together. Closing vents changes how the crawl space exchanges air with the outdoors. The finished approach must account for drying, ventilation or conditioning requirements, equipment, and applicable code provisions.
In North Carolina, warm, humid outdoor air can add moisture when it enters a cooler crawl space. However, sealing openings without a suitable moisture-management strategy can also leave problems unresolved. The right design depends on the home rather than a universal instruction to close every opening immediately.
A dehumidifier may be part of that design. Its selection should consider crawl space size, moisture load, layout, operating conditions, and air distribution. The installation also needs a reliable condensate route and appropriate electrical service.
Equipment should remain accessible for filter changes, inspections, and repairs. It should not be placed where future liner work will require unnecessary relocation. If a pump handles condensate, its maintenance and failure implications should be understood.
- Ask what humidity range the completed system is intended to maintain and how it will be checked.
- Confirm that condensate will discharge through an appropriate route rather than onto the crawl space floor.
- Discuss how air will move through separated or hard-to-reach crawl space sections.
- Verify whether combustion appliances or other equipment require special evaluation before sealing.
Do not assume a portable household dehumidifier is an equivalent permanent solution. Any interim equipment needs suitable placement, drainage, electrical safety, and monitoring. Its role should be documented rather than left as an indefinite workaround.
Choose phase boundaries that avoid repeat work
The best place to pause is after a complete, useful scope has been finished. For one home, that might mean corrected drainage and leak repairs. For another, it might mean a protected ground liner with a documented interim humidity plan.
A poor stopping point leaves unfinished connections, inaccessible equipment, or water flowing beneath newly installed materials. It can also create confusion about whether the crawl space is protected enough to wait several months.
Ask the contractor to explain dependencies before signing separate agreements. Drainage trenches, structural work, and utility changes often disturb the areas where liners and sealing materials will go. Completing those tasks first can prevent unnecessary patching.
Scheduling matters as well. North Carolina weather varies by region and elevation, but extended humid periods or repeated rain can expose weaknesses in an unfinished system. A pause that is manageable during one season may require more monitoring during another.
- Identify which work must happen before the final liner and wall details are installed.
- Specify how finished materials will be protected when other trades enter the crawl space.
- Agree on who will inspect and repair any damage caused during later construction.
- Document the conditions under which the next phase should be moved forward.
If a long delay is expected, ask whether the proposed first phase still makes financial and technical sense. Sometimes a smaller, complete water-control project is a better interim investment than an unfinished encapsulation package.
Compare phased proposals by total scope and cost
Phasing can make payment timing more manageable, but it does not automatically lower the total project cost. Separate visits may involve additional setup, travel, preparation, and protection of previously installed materials.
Ask for both a complete-project proposal and an itemized phased option when possible. Comparing them can reveal whether staging adds costs or changes the final scope. Avoid comparing quotes solely by liner thickness or the price of a dehumidifier.
The important question is what the completed system includes. Two proposals may use similar language while differing substantially in drainage, wall coverage, sealing, access improvements, electrical work, monitoring, or cleanup.
- Request a clear description of the finished system, not just the first installation visit.
- Ask whether later-phase prices are fixed, estimated, or subject to a new inspection.
- Confirm whether permits, specialty trades, and disposal are included or handled separately.
- Review warranty start dates, coverage, exclusions, and maintenance requirements for each phase.
- Ask how responsibility will be divided if different contractors perform different stages.
There is no useful universal price for a phased project without inspecting the property. Access, existing damage, water conditions, crawl space layout, and equipment needs can all affect the scope. A written explanation of those factors is more valuable than an unexplained square-foot estimate.
Monitor conditions between phases and after completion
A phased project needs a simple follow-up routine. Record the original concerns, keep inspection photos, and note when each improvement was completed. This makes it easier to distinguish an old issue from a new one.
A humidity monitor can help track trends if it is placed appropriately and its readings are understood. Avoid drawing conclusions from a sensor placed directly beside a dehumidifier outlet. Ask the installer where monitoring will provide useful information.
Homeowners do not need to enter an unsafe or difficult crawl space to inspect it themselves. Use accessible observations and professional follow-up where needed. Persistent odors, visible water at the access opening, or equipment alarms deserve attention.
- Check for recurring water problems after substantial rain when inspection can be performed safely.
- Follow the equipment manufacturer's filter, drain, and service instructions.
- Arrange an inspection if humidity remains elevated or changes unexpectedly.
- Have liner damage repaired after plumbing, HVAC, or other service visits.
At final completion, request a walkthrough or photo review showing the installed components. Confirm that the access door closes properly, equipment is operating, drainage routes are identified, and maintenance instructions are available. Keep the documentation with your home records.
Build a practical plan for your North Carolina home
A crawl space encapsulation phased installation is most effective when it follows one coordinated design. Address water and urgent repairs first, prepare durable liner details, and coordinate sealing with humidity control. Make each pause intentional rather than leaving an unfinished system without oversight.
If you are considering staged work, ask Carolina Encapsulation Company to discuss the current conditions, your priorities, and the intended finished scope. Call 704-207-9348 to talk through your North Carolina crawl space project and whether a phased approach is appropriate for your home.
Call 704-207-9348 to talk through next steps.