
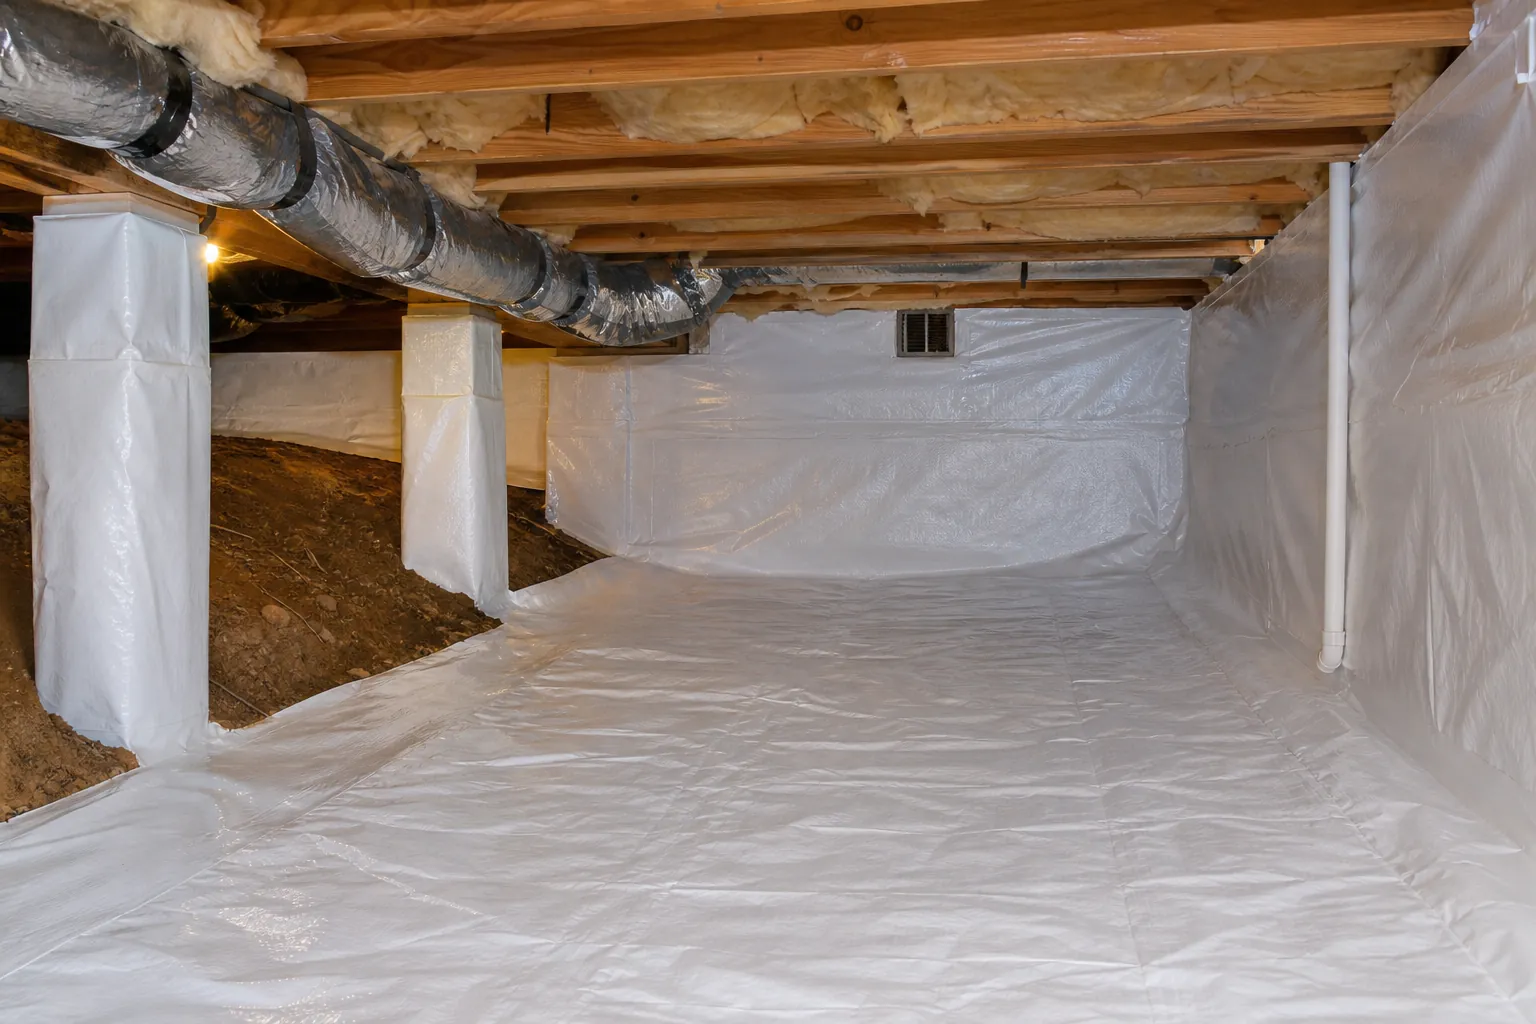
A crawl space does not need a perfectly flat dirt floor to be encapsulated. Many North Carolina homes sit on uneven ground, and their crawl spaces follow the hillside beneath them. The important question is not whether the floor slopes, but whether water, soil stability, access, and moisture control have been addressed before the liner goes down.
For homeowners researching crawl space encapsulation sloped dirt floor solutions, the best starting point is a careful site assessment. Covering a slope without understanding how water moves can conceal a problem rather than solve it. A well-planned system accommodates the terrain while creating a durable barrier between exposed earth and the home.
Carolina Encapsulation Company helps North Carolina homeowners understand these conditions and evaluate an appropriate approach. Here is what matters when the ground beneath your home is anything but level.
Can a sloped dirt crawl space be encapsulated?
Yes, in many cases. Encapsulation typically includes a sealed ground vapor barrier, sealed transitions around walls and piers, and a plan for managing humidity. Depending on the site, it may also involve drainage, a sump system, insulation, or mechanical drying.
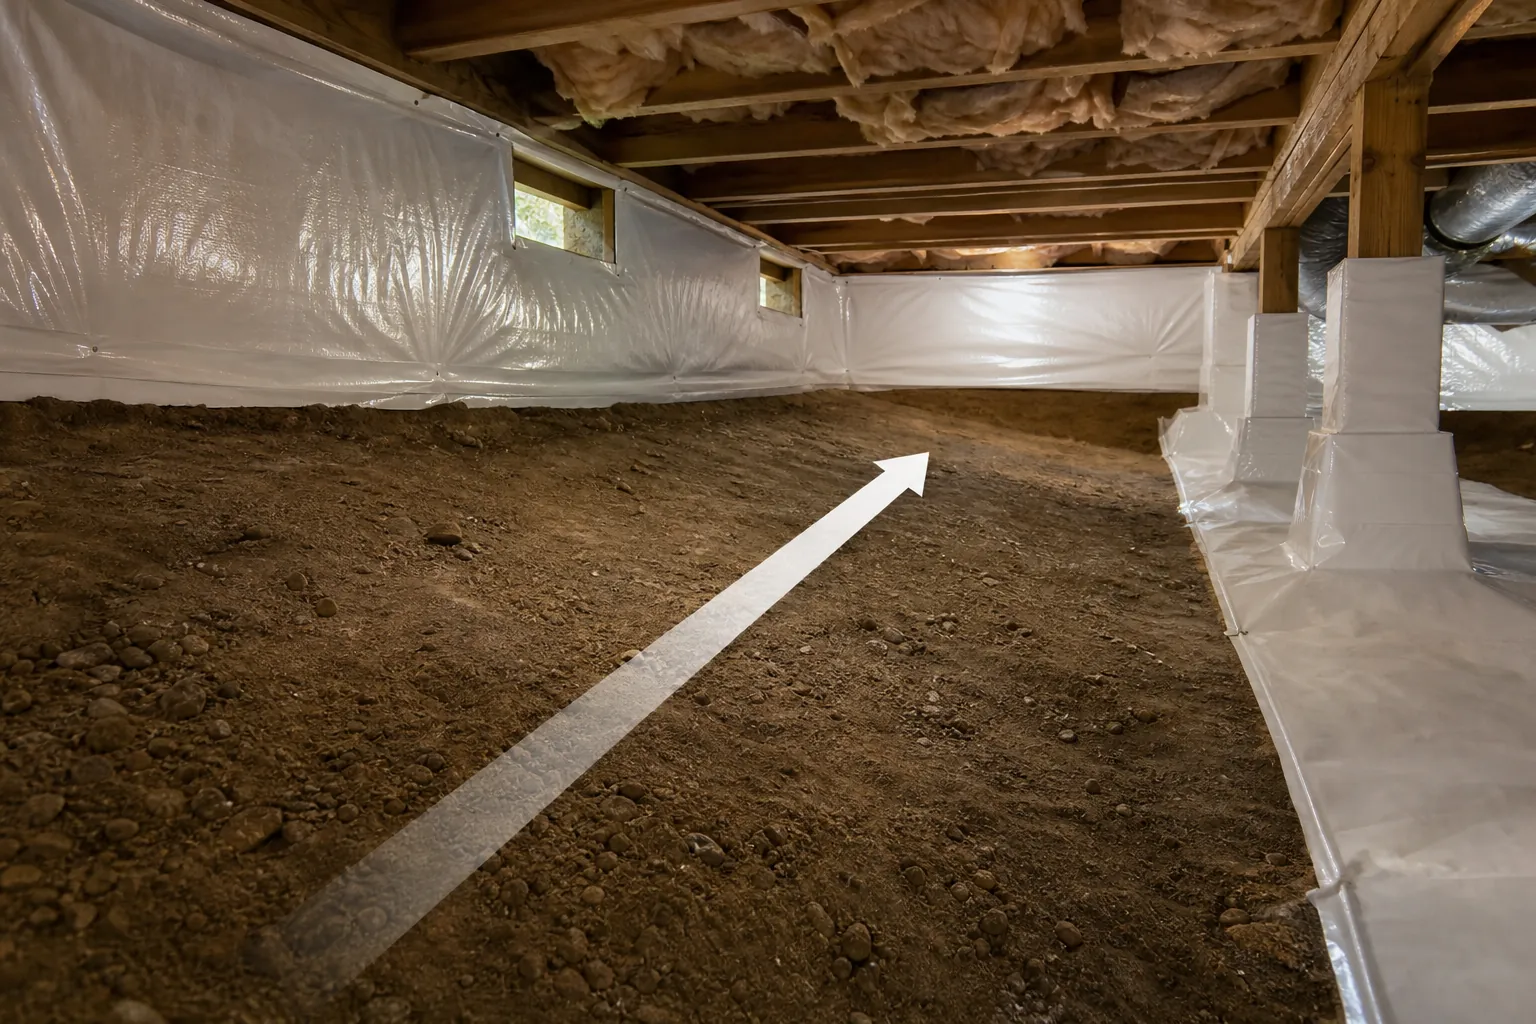
The liner can conform to changes in elevation. It does not have to create a level walking surface, and it should not be stretched tightly across depressions. Proper installation allows the material to rest on supported ground without unnecessary tension at seams or attachments.
However, encapsulation is not a substitute for correcting erosion, unstable soil, foundation movement, or recurring flooding. Those conditions need appropriate evaluation first. A moisture-control installer may need to coordinate with a foundation specialist, structural engineer, plumber, or drainage contractor.
The goal is a system suited to the existing crawl space, not an attempt to force every property into the same installation layout.
Why the direction of the slope matters
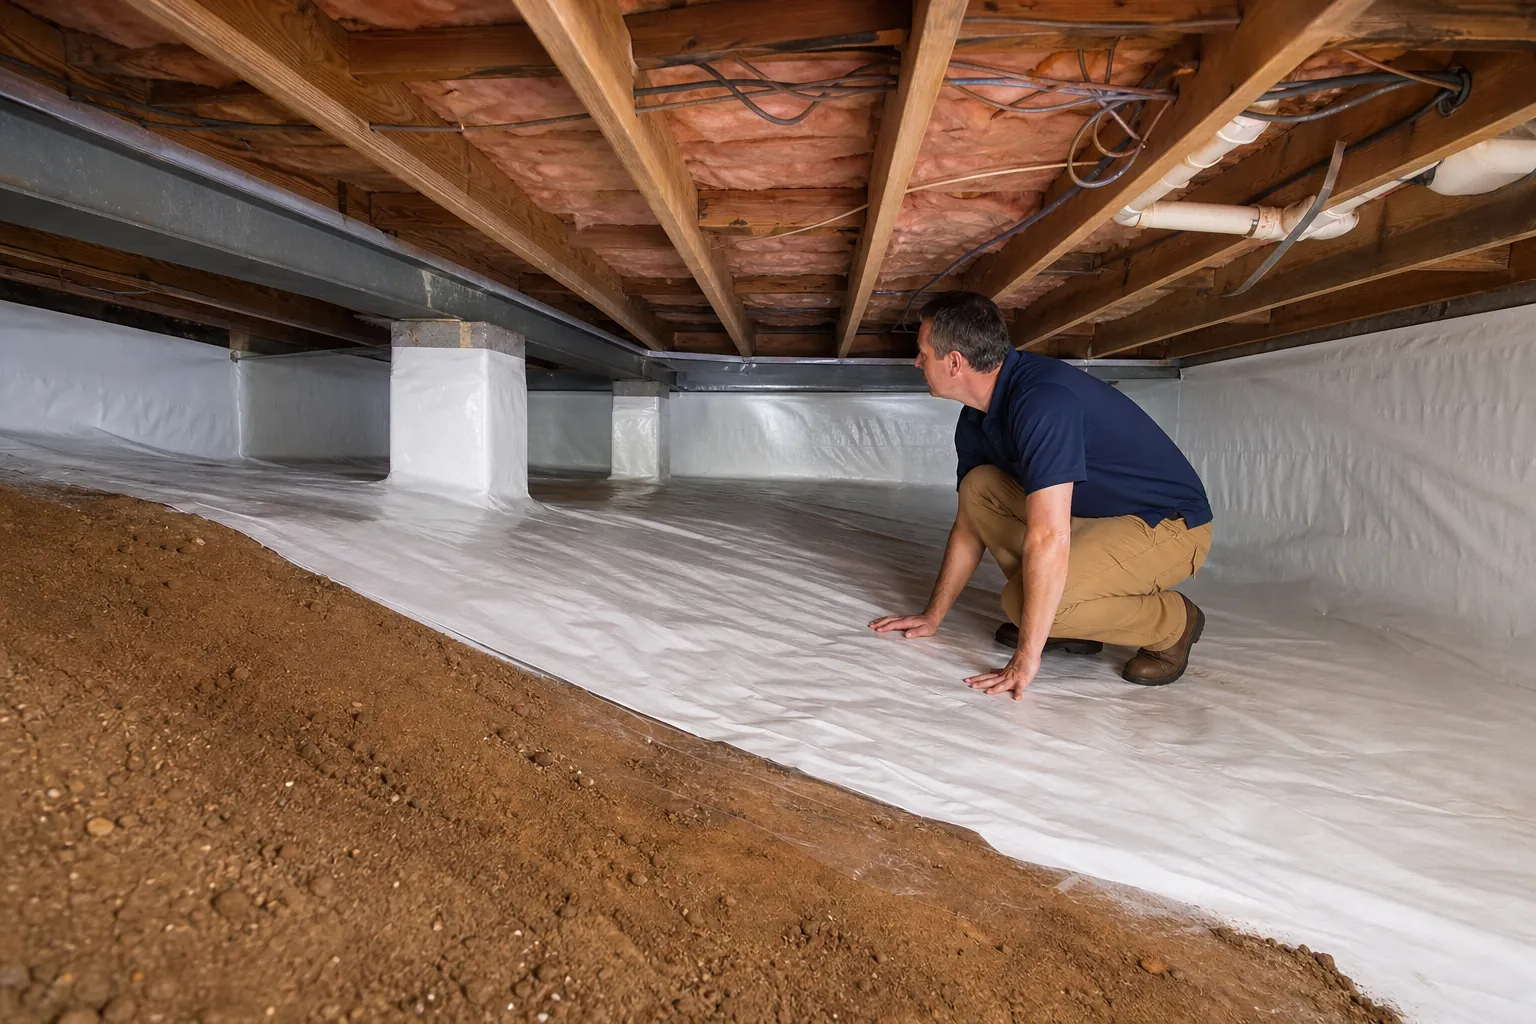
A sloped floor affects where water collects and how easily people can move through the space. The lowest point may be near an exterior wall, beside a footing, or in a pocket that is difficult to reach. There may also be several separate low areas rather than one obvious collection point.
Water does not always travel along the visible ground surface. It can enter through foundation walls, follow buried utility trenches, or emerge from saturated soil. A dry inspection on a sunny day may miss conditions that appear after sustained rain.
North Carolina properties vary considerably. Piedmont sites may have soils that drain slowly, mountain homes may receive hillside runoff, and coastal properties may face high groundwater or flood exposure. Conditions at the individual property matter more than a broad regional label.
- Identify the low points where water or sediment has collected after rain.
- Look for channels, exposed roots, and washed-out soil that suggest active erosion.
- Check whether roof runoff or uphill surface water is being directed toward the foundation.
- Note tight areas where a liner, drain, or future service technician would have limited access.
These observations help determine whether the floor can remain largely as it is or needs targeted preparation before encapsulation.
Address liquid water before installing the liner
A ground vapor barrier limits moisture moving from the soil into crawl space air. It is not designed to fix every source of liquid water. If runoff, groundwater, or a plumbing leak is entering the space, that source needs a separate solution.
Start outside. Gutters, downspouts, surface grading, and drainage paths should move water away from the house without creating a problem elsewhere. An exterior correction may reduce the amount of water that an interior system needs to handle.
Inside the crawl space, drainage should follow the actual flow pattern. A drain may need to intercept water before it spreads across a low area. Where gravity drainage is impractical, a properly designed sump system may be appropriate. Its location should account for access, collection points, discharge routing, and electrical requirements.
The lowest visible spot is not automatically the best sump location. Excavation near footings, obstructions, or multiple drainage zones can change the design. Pump discharge also needs a suitable destination where water will not immediately return to the foundation.
- Repair plumbing leaks before covering the affected ground.
- Evaluate standing water and recurring wet areas rather than assuming the liner will contain them.
- Keep drain and sump components accessible for inspection and maintenance.
- Consider backup protection when pump failure or power loss could cause significant damage.
A crawl space with known flood exposure requires additional planning. Flood vents and other required flood provisions should not be blocked as part of a standard encapsulation installation.
Should the dirt floor be leveled first?
Not necessarily. Full leveling can be unnecessary, expensive, or risky. Excavating soil to gain headroom or flatten a slope may affect footing support. Adding large amounts of fill can reduce clearance, change drainage, and place pressure where it was not anticipated.
Preparation often means removing debris, smoothing sharp projections, and addressing small irregularities instead of changing the entire floor elevation. Limited grading may be useful, but its purpose should be clear: improve liner support, preserve a drainage route, or create safer access.
Do not dig alongside or below a foundation footing simply to make the crawl space more comfortable to enter. The safe excavation limits depend on the foundation and soil conditions. When work could affect structural support, obtain qualified guidance before proceeding.
Likewise, avoid using loose fill to hide erosion or make wet ground look dry. If soil is moving, the cause needs attention. Covering an unstable area can make future inspection more difficult while leaving the underlying issue unresolved.
A reasonable preparation plan preserves foundation support, keeps necessary clearances, and gives the liner a stable surface. A perfectly flat floor is not the standard that matters.
How liner installation changes on uneven ground
On a sloped floor, liner layout and detailing matter as much as material selection. Installers need enough material to follow changes in grade and transition around piers, pipes, and equipment without pulling the liner taut.
Bridging a hollow creates an unsupported area that can tear when someone steps on it. Tight corners can also concentrate stress where the floor meets a wall. The barrier should fit the terrain with sufficient allowance for secure seams and attachments.
Seams should be joined using methods and materials compatible with the selected liner system. Wall and pier transitions need durable detailing, and penetrations should be sealed without interfering with the equipment or utilities passing through them.
A reinforced liner may offer useful durability in areas that receive service traffic. Thickness is only one consideration, however. Tear resistance, reinforcement, installation quality, and the manufacturer's intended use all affect performance.
- Choose a liner system appropriate for the expected ground conditions and service traffic.
- Allow material to follow depressions instead of suspending it above unsupported ground.
- Detail seams and penetrations so they remain secure despite the uneven terrain.
- Provide suitable protection along frequently used service routes where needed.
- Maintain access to plumbing cleanouts, valves, sump lids, and other service points.
A vapor barrier is not a finished floor. Steep areas can remain awkward or slippery, especially if dust or water is present. Discuss access needs before installation rather than discovering afterward that routine maintenance is difficult.
Sealing, humidity control, and insulation
Encapsulation works as a coordinated moisture-control system. Covering the ground while leaving significant outside-air leakage may not deliver the intended humidity improvement. Conversely, sealing a crawl space without an appropriate drying strategy can leave moisture trapped inside.
North Carolina's humid weather makes this balance important. Outdoor air can carry substantial moisture, especially during warm months. When that air enters a cooler crawl space, it can increase relative humidity and contribute to condensation on cool surfaces.
A properly selected dehumidifier or another code-compliant conditioning approach may be needed. Equipment sizing should consider crawl space volume, air leakage, existing moisture, and the manufacturer's operating limits. Sloped or compartmentalized spaces can also affect air circulation and equipment placement.
The unit needs a stable installation location, service clearance, an appropriate electrical supply, and a reliable condensate route. It should not simply be placed on a steep section of liner or installed where a technician cannot reach its filter.
Insulation choices should be coordinated with the crawl space design and applicable local requirements. Wall insulation, floor insulation, pest inspection access, and fire protection requirements can affect the final assembly. Existing wet or damaged insulation should be evaluated rather than automatically left in place.
Monitor humidity after installation. A commonly used operating goal is roughly 45 to 55 percent relative humidity, although the appropriate setting depends on conditions and equipment guidance. Avoid treating one reading as proof that the entire crawl space is performing well.
What should be checked before work begins?
A useful assessment looks beyond the dirt floor. Moisture may have already affected framing, insulation, ducts, or stored materials. Encapsulation can help control future moisture exposure, but it does not repair damaged wood or remove every existing contaminant.
Ask for a clear distinction between work included in the installation and conditions that require another professional. That prevents the assumption that sealing the crawl space also resolves structural damage, active pest activity, or mechanical safety concerns.
- Inspect accessible framing for visible deterioration, staining, and signs that need further evaluation.
- Check for active pest concerns and coordinate treatment or inspection access as appropriate.
- Identify damaged ductwork and plumbing leaks that could undermine moisture control.
- Review combustion appliances before changing ventilation or sealing the space.
- Discuss radon testing when appropriate because a moisture barrier is not automatically a complete radon mitigation system.
Fuel-burning equipment deserves particular attention. Changes to the building enclosure can affect combustion air and appliance operation. A qualified HVAC professional should evaluate any relevant equipment and required provisions.
For radon, a sealed liner can be one component of a mitigation design, but effective mitigation may require additional components and testing. Do not assume that a dry crawl space is also free of soil-gas concerns.
What affects the cost of a sloped crawl space project?
Square footage is only part of the estimate. Two crawl spaces with similar footprints can require different levels of preparation and installation effort. A steep floor, low clearance, or difficult entry can increase labor even when the material area is modest.
Drainage needs often create the biggest difference between a basic moisture-control project and a more involved installation. Excavation, sump equipment, discharge routing, and electrical work should be described clearly rather than buried in a vague package price.
Other cost factors include debris removal, liner durability, wall and pier detailing, insulation work, and dehumidification. Existing damage may involve separate repair costs outside the encapsulation scope.
- Request an explanation of what floor preparation is included and why it is necessary.
- Ask how active water entry will be handled before the liner is installed.
- Confirm which materials, sealing details, and humidity-control equipment are specified.
- Review warranty terms, maintenance responsibilities, and any exclusions.
- Clarify whether permits or work by other licensed trades are needed.
A lower quote is not automatically a better value if it omits a known drainage problem. Compare proposed outcomes and scope, not just the total price.
Maintaining an encapsulated crawl space on a slope
After installation, the slope remains part of the crawl space. Periodic checks help confirm that the liner stays supported, drainage works, and service traffic has not damaged seams or exposed soil.
Inspect the space after significant storms when safe access is available. Look for standing water above the liner, visible displacement, wet wall areas, or new sediment near entry points. Water above the barrier warrants investigation rather than simply drying the visible surface.
Maintain the dehumidifier according to its instructions and keep the condensate path clear. If a sump is installed, test and service it as recommended. A remote humidity monitor or water alarm can make changes easier to notice, but neither replaces periodic inspection.
Anyone entering to service plumbing, HVAC equipment, or wiring should know that the liner needs protection. Sharp tools, dragged equipment, and unsupported stepping areas can cause damage. Repair punctures promptly using materials compatible with the installed system.
Keep a record of inspection findings and equipment service. Changes over time are often more useful than a single observation, particularly when moisture appears only during certain weather patterns.
Plan around the slope, not against it
A sloped dirt floor does not automatically rule out crawl space encapsulation. Successful planning starts with the water source, the stability of the ground, and the access needed to install and maintain the system.
The right approach may leave most of the terrain unchanged while improving drainage, supporting the liner, and controlling humidity. In more complicated spaces, structural or drainage concerns may need attention before encapsulation can proceed.
If you have an uneven or hillside crawl space in North Carolina, call Carolina Encapsulation Company at 704-207-9348 to discuss your conditions and the next steps for an assessment. Understanding the slope first helps you choose a moisture-control plan that fits your home.
Call 704-207-9348 to talk through next steps.