
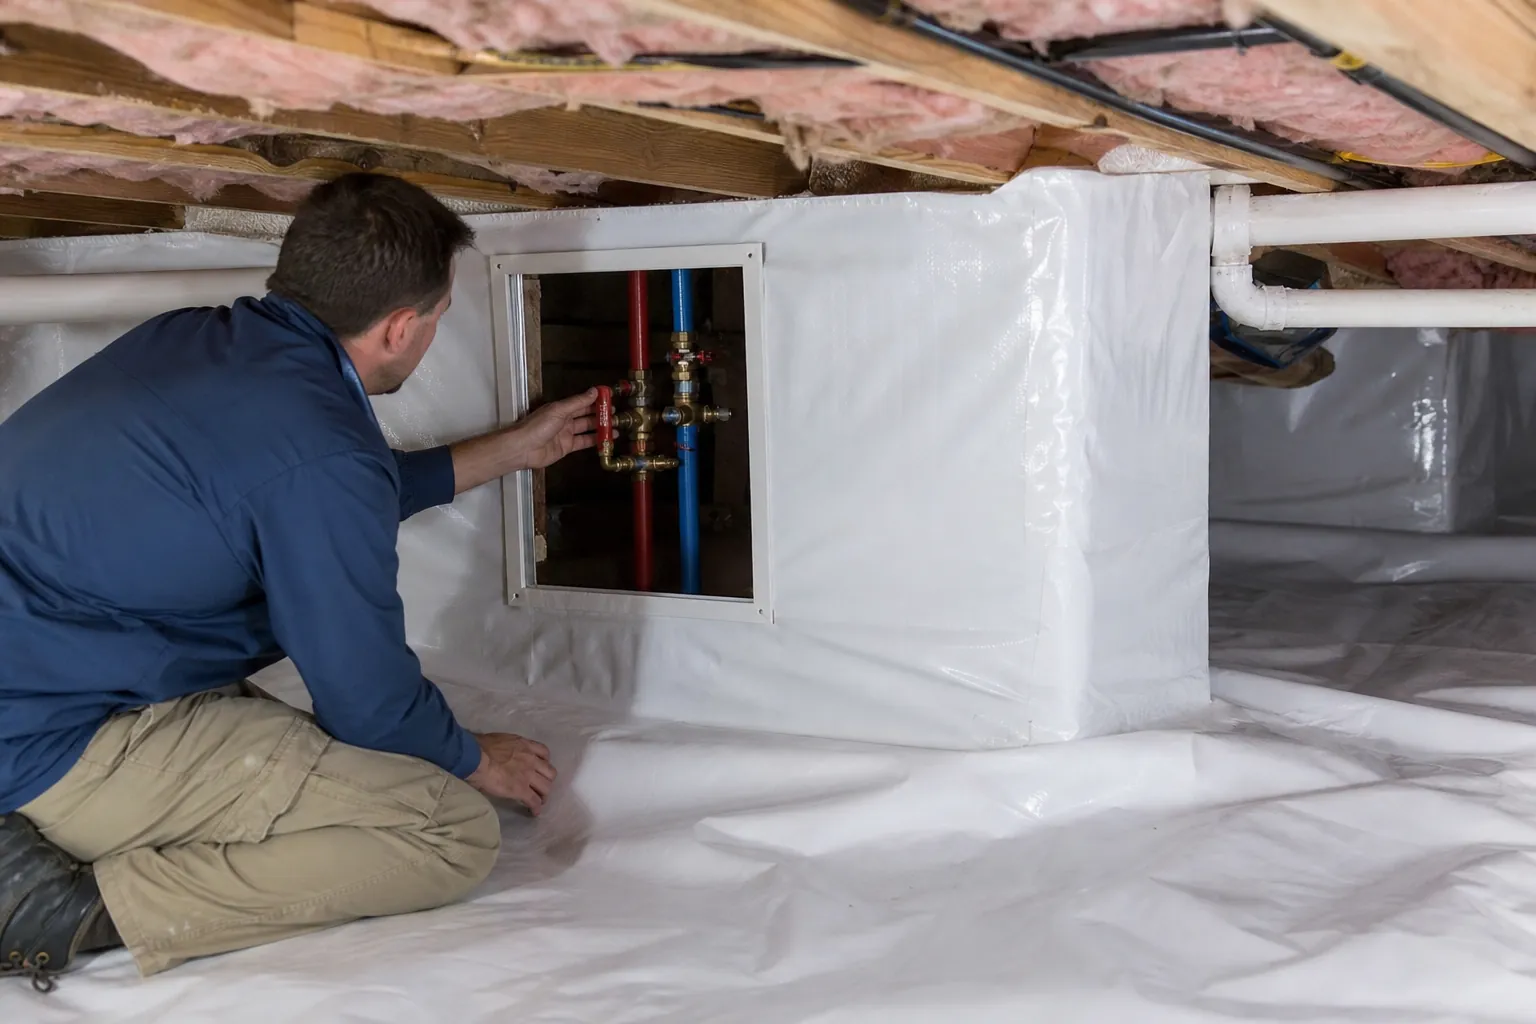
A crawl space encapsulation project should make the area beneath your home cleaner, drier, and easier to maintain. It should not make an important valve harder to find or an electrical disconnect harder to reach. Before a vapor barrier, insulation, or moisture-control equipment goes in, someone needs to account for the utilities already running through the space.
For North Carolina homeowners, planning crawl space encapsulation utility shutoffs means answering two separate questions: Will any utilities need to be turned off during installation, and will every necessary shutoff remain accessible afterward? Both questions belong in the project scope, not on a last-minute punch list.
Carolina Encapsulation Company encourages homeowners to discuss utility locations and access needs before work begins. A documented plan helps the encapsulation crew coordinate with the appropriate trades and reduces the chance that a finished installation will hide something essential.
Why utility access matters in an encapsulated crawl space
Crawl spaces often contain more than floor framing and soil. Depending on the home, they may include water supply lines, plumbing valves, gas piping, electrical wiring, junction boxes, HVAC equipment, and condensate drains. Some components need routine service. Others may need prompt attention during a leak or equipment problem.
Encapsulation changes how the space is used and maintained. A ground vapor barrier can extend up foundation walls and wrap around piers. Insulation may be added in selected locations. A dehumidifier, drainage system, or sump pump may also become part of the moisture-control plan.
Those improvements must fit around existing service needs. A valve should not disappear behind a sealed layer that must be cut open to operate it. Electrical equipment should not become inaccessible behind stored materials, new equipment, or an awkwardly placed access route.
Access also matters after repairs. If a plumber must open part of the vapor barrier to work on a pipe, the affected area needs a compatible repair that restores the moisture-control system. Thinking through service access early makes later maintenance less disruptive.
Identify water, gas, and electrical controls before work starts
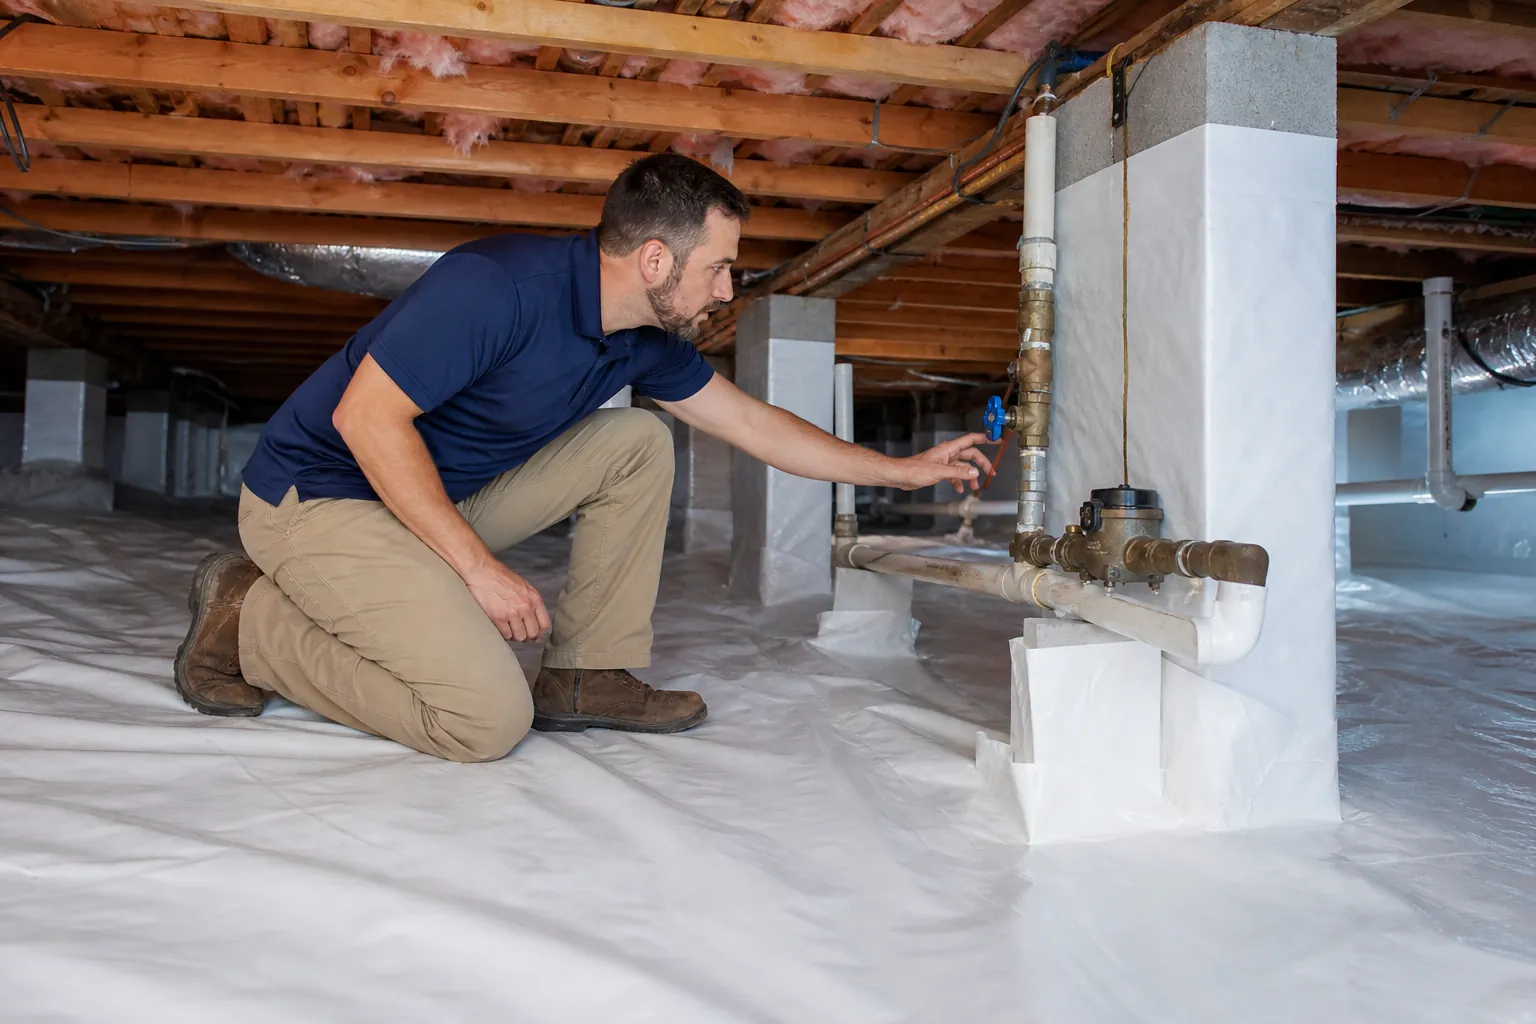
The first step is an inventory, not an assumption. Older North Carolina homes may have several generations of repairs, additions, and utility routing. The valve closest to the crawl space entrance may serve only one branch rather than the entire house.
Walk through the utility layout with the contractor when conditions are safe. If the crawl space has standing water, damaged wiring, suspected gas leakage, or other hazards, do not enter it to take photographs or investigate. The appropriate professional should evaluate the problem first.
Water supply valves
Locate the homeowner-operable main water shutoff and identify any branch valves in the crawl space. Note whether valves serve an outdoor faucet, an addition, or a particular fixture group. Do not assume that a meter-side valve is intended for homeowner operation. Ask the local water provider about its procedures when necessary.
A valve that is badly corroded, leaking, or difficult to operate deserves attention before encapsulation. A licensed plumber can assess whether repair, replacement, or relocation is appropriate. Encapsulation materials should not be used to conceal an unresolved plumbing issue.
Gas piping and shutoffs
If the home uses natural gas or propane, identify the piping and any relevant appliance shutoffs without manipulating them. Gas service arrangements vary, and not every valve belongs to the homeowner or encapsulation contractor.
Any gas shutdown, piping alteration, testing, or restoration of service should be coordinated with the gas utility or a qualified gas professional as appropriate. If you smell gas, leave the area, avoid switches and ignition sources, and contact the utility or emergency services from a safe location.
Electrical equipment and connections
Identify crawl space circuits, equipment disconnects, receptacles, and junction boxes that may be affected by the work. Labels at the electrical panel can help, but they should not be treated as proof that a circuit is safely de-energized.
An electrician should address damaged wiring, questionable connections, missing covers, or proposed circuit changes. Junction boxes and electrical equipment must remain accessible as required by applicable codes. The encapsulation layout should respect required working clearances and equipment instructions.
Does encapsulation require shutting off the utilities?
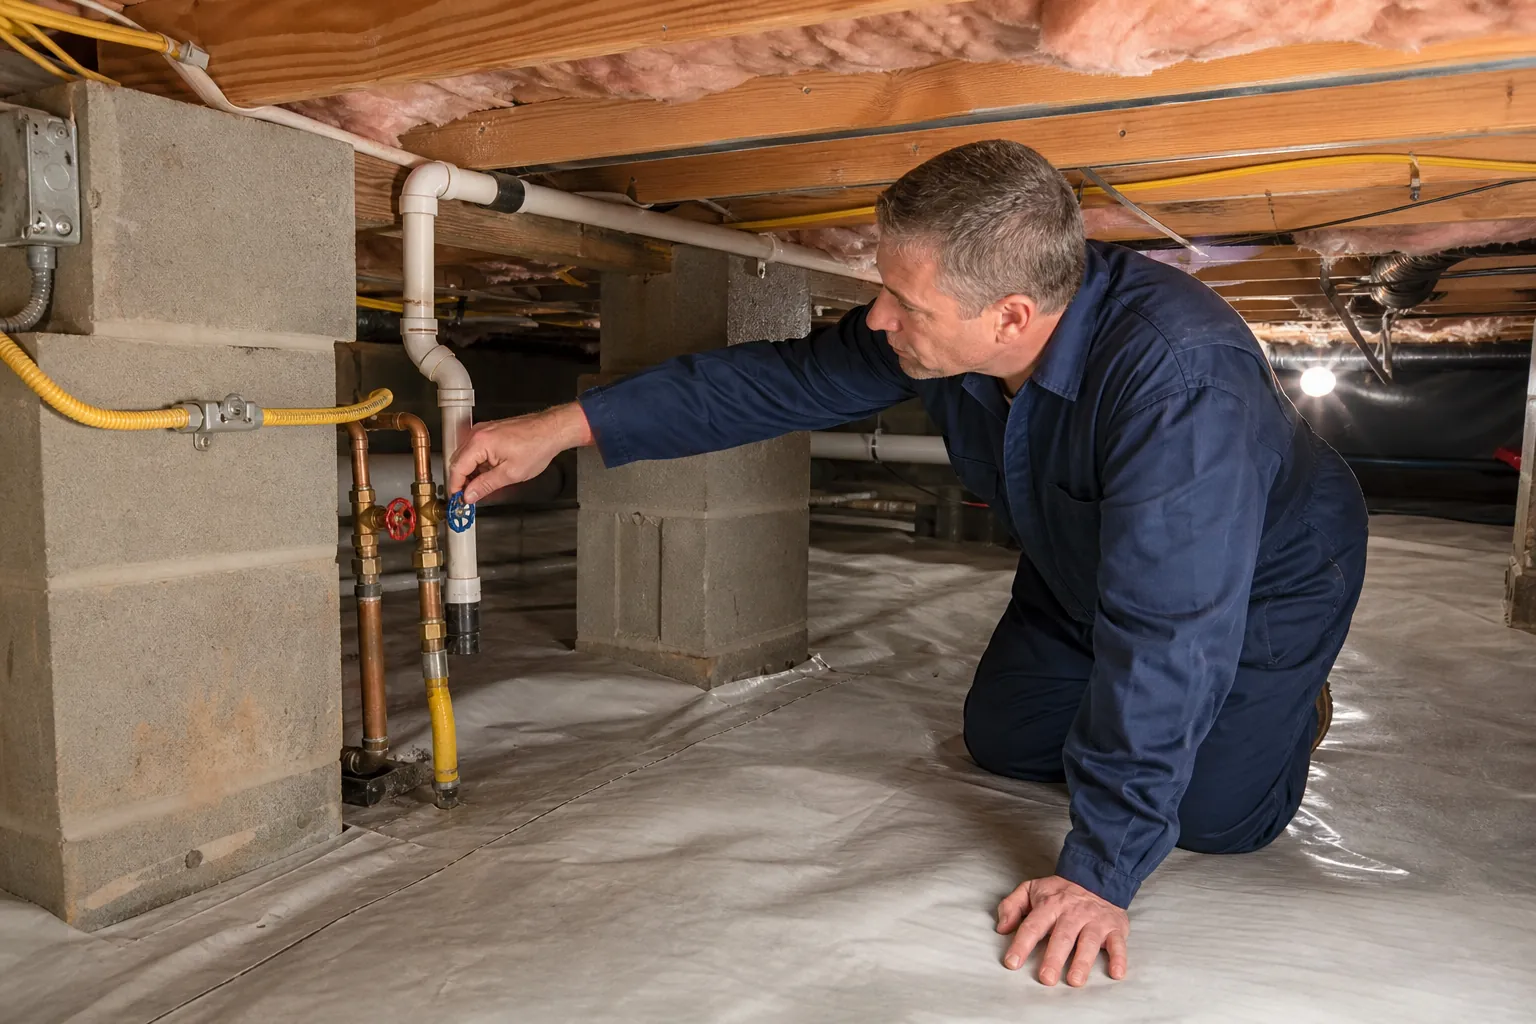
Not every encapsulation project requires a whole-house utility shutdown. The answer depends on the existing conditions and the work being performed. Installing a vapor barrier around sound, undisturbed piping is different from moving a water line or adding electrical service for new equipment.
A temporary interruption may be necessary when another trade needs to repair a leak, replace a valve, modify wiring, or connect equipment. The decision should follow the actual work scope and the trade professional's safety requirements.
Ask the contractor to separate encapsulation tasks from plumbing, electrical, and gas work in the proposal. This makes responsibilities clearer and helps you understand which activities may affect service to the home.
- Ask which utilities, if any, will need to be shut off and why the interruption is necessary.
- Confirm who is authorized and qualified to perform the shutdown and restore service.
- Request an estimated interruption window so your household can plan around it.
- Explain whether anyone relies on powered medical equipment or other essential electrical devices.
- Identify appliances or systems that may need a professional restart or check after service returns.
An installer should not promise an exact shutdown duration before the relevant conditions are understood. A reasonable estimate, a responsible contact, and a clear notification process are more useful than a guarantee that leaves no room for necessary repairs.
Design the vapor barrier around serviceable components
A good encapsulation layout balances moisture control with practical access. The goal is not to leave random openings around utilities. It is to create appropriate sealed details while preserving the ability to inspect, operate, and service components that must remain accessible.
Before installation, discuss how the liner will meet pipe penetrations, foundation walls, piers, and equipment supports. Some details may require a planned service opening or another access arrangement. The right solution depends on the component, installation instructions, and applicable requirements.
Utility penetrations should be addressed with materials suitable for the encapsulation system and the surfaces involved. A sealed penetration is not a substitute for repairing a leaking pipe, correcting unsafe wiring, or addressing an improperly installed gas line.
Avoid arrangements that require pulling on piping or wiring to reach a valve. Equipment should have appropriate support, and the liner should not become a mounting surface for components it was never designed to carry.
- Keep valve handles visible and reachable without dismantling permanent encapsulation details.
- Preserve access to electrical junction boxes, disconnects, and other serviceable electrical components.
- Leave required equipment clearances open rather than using them for storage.
- Plan a stable route from the crawl space entrance to important service points.
- Document how any service opening is closed and resealed after maintenance.
The finished space should allow a qualified technician to understand the installation without guessing where controls are hidden. If an access solution seems complicated, ask for an explanation before approving it.
Coordinate plumbing and electrical repairs before sealing
Encapsulation can expose problems that were easy to overlook in a damp or cluttered crawl space. A small supply-line leak, an unsupported cable, or a deteriorated valve may become obvious during the initial inspection. Fixing these issues first helps protect the new installation.
Moisture control does not repair active plumbing leaks. A leaking pipe can continue introducing water above the vapor barrier, potentially wetting insulation, framing, or equipment. Similarly, covering soil does not make damaged electrical components safe.
When repairs are needed, agree on the sequence. In many cases, the appropriate trade completes the repair and necessary checks before final encapsulation details are installed. That avoids immediately reopening newly sealed areas.
Permits and inspections may be required for some plumbing, electrical, mechanical, or gas work. Requirements depend on the scope and the local authority having jurisdiction. Ask who will confirm those requirements and handle any necessary permit process.
If a shutoff should be relocated to improve access, that is a trade decision rather than a liner-installation decision. A licensed professional should evaluate the proposed location, installation requirements, and effect on the existing system.
Plan for dehumidifiers, sump pumps, and condensate drainage
New moisture-control equipment brings its own access and utility needs. A crawl space dehumidifier needs appropriate electrical service, a suitable location, and a reliable way to remove collected water. A sump pump needs an appropriate installation and access for inspection and maintenance.
Confirm the power requirements before equipment is selected or installed. Do not assume an existing crawl space receptacle is suitable simply because it is nearby. An electrician can determine whether the circuit, receptacle protection, and installation meet the equipment's requirements and applicable code.
Drainage deserves equal attention. Condensate lines and pump discharge piping should follow the equipment instructions and applicable local requirements. They should not block access to shutoffs or create an obstacle along the service route.
Place equipment where filters, covers, controls, and drain connections can be serviced. A dehumidifier tucked into an unreachable corner may look unobtrusive, but it can make ordinary maintenance difficult.
- Ask how the equipment receives power and which circuit or disconnect serves it.
- Confirm where condensate or pumped water will discharge and how that route will be maintained.
- Keep service panels and filter access clear of framing, piping, and liner folds.
- Discuss how alarms, pump failures, or loss of power will be noticed.
- Request the manufacturer's maintenance instructions and warranty information.
Backup power or pump redundancy may be worth discussing in some homes, but neither is automatically required for every project. The decision should reflect drainage conditions, equipment design, and the consequences of an outage.
Account for North Carolina crawl space conditions
North Carolina homes face different moisture and site conditions. Coastal and eastern locations may have high humidity and drainage challenges, while Piedmont and mountain properties can have their own combinations of sloping grades, groundwater, and seasonal temperatures.
These differences affect moisture-control planning, but they do not change the basic need for utility access. A narrow crawl space in an older home may require a different equipment layout than a taller space beneath a newer house.
The inspection should also consider bulk water, foundation openings, pest evidence, and existing mechanical equipment. Encapsulation should not cover up unresolved drainage problems or prevent necessary termite inspection access. Coordinate inspection provisions with the pest-management professional and applicable local requirements.
If a fuel-burning appliance is located in the crawl space, changes to vents and enclosure conditions require special attention. A qualified HVAC or gas professional should evaluate combustion air, venting, and equipment suitability before the space is sealed. Moisture-control goals must not override combustion safety.
Ask for recommendations tied to your home rather than a generic package. Local conditions matter, but the actual utility layout and equipment requirements matter just as much.
Use labels and photos to make future service easier
After the work is complete, create a simple record of the crawl space utilities. You do not need a complicated drawing. Clear photographs and plain-language notes can help a future plumber, electrician, or homeowner locate the right component.
Photograph the entrance, main service route, important valves, equipment controls, and any planned access openings. Where appropriate, use durable labels that identify the function of a valve or circuit without covering operating instructions or warning labels.
Keep the record somewhere accessible outside the crawl space. During a leak, information stored only beside the valve is not especially helpful. A printed household maintenance folder or a shared digital folder can work well.
- Record what each confirmed shutoff controls rather than guessing from its location.
- Include the names and contact details of trades that performed related repairs.
- Save equipment model numbers, installation documents, and maintenance schedules.
- Note which encapsulation materials should be used if a service opening needs resealing.
Labels and photographs support maintenance, but they do not replace professional verification before electrical or gas work. Update the records whenever a later repair changes the layout.
Review the finished installation before the crew leaves
A final walkthrough is your opportunity to confirm that moisture-control improvements have not created avoidable service problems. Ask the installer to show you the utility access arrangements and explain how equipment is maintained.
You should be able to identify important shutoffs without cutting the liner or moving permanently installed equipment. Required electrical access and working space should remain unobstructed, and planned service openings should be clearly explained.
Review any repair areas, equipment power connections, and drainage routes that are part of the project. Ask who to contact if another contractor needs to open the encapsulation system later. Clarify which maintenance tasks belong to you and which require a professional.
Keep the final scope, photographs, equipment instructions, and warranty documents together. If something differs from the agreed plan, address it while the crew can explain the condition and arrange an appropriate correction.
Start with a clear utility access plan
The best time to plan crawl space utility access is before installation begins. Identifying shutoffs, arranging needed trade repairs, and preserving service routes helps the finished space remain useful long after the vapor barrier is installed.
If you are considering crawl space encapsulation in North Carolina, call Carolina Encapsulation Company at 704-207-9348 to discuss your project. Ask about existing utility locations, equipment access, and any coordination needed with licensed trades so your moisture-control plan supports safe, practical maintenance.
Call 704-207-9348 to talk through next steps.