
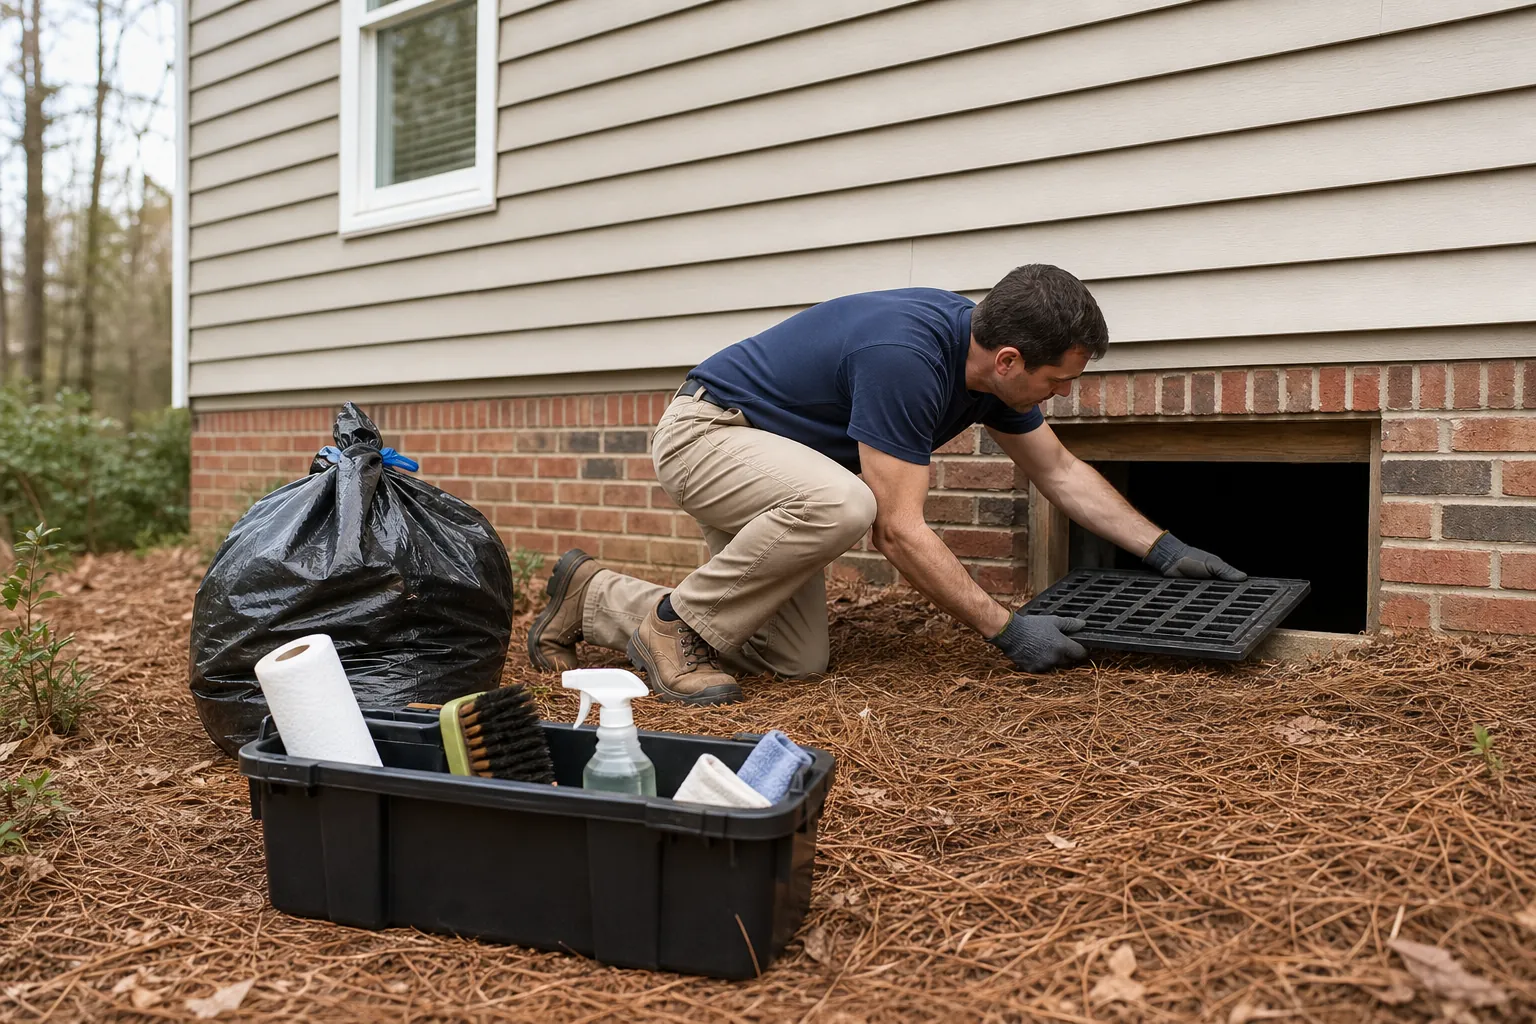
Preparing for crawl space encapsulation starts above ground. A clear entry, working drainage, and a conversation about existing moisture problems can help your project move forward with fewer surprises. You do not need to clean every corner beneath the house yourself. You do need to know what the installation includes and which problems must be addressed first.
For North Carolina homeowners, those details matter. Humid summers, heavy rainfall, and differences in soil drainage can affect how moisture reaches a crawl space. Coastal, Piedmont, and mountain properties may need different approaches, even when the finished encapsulation systems look similar.
This guide explains how to prepare your home for crawl space encapsulation, what to leave to qualified professionals, and what to confirm with Carolina Encapsulation Company before installation day.
Understand What Your Encapsulation Project Includes
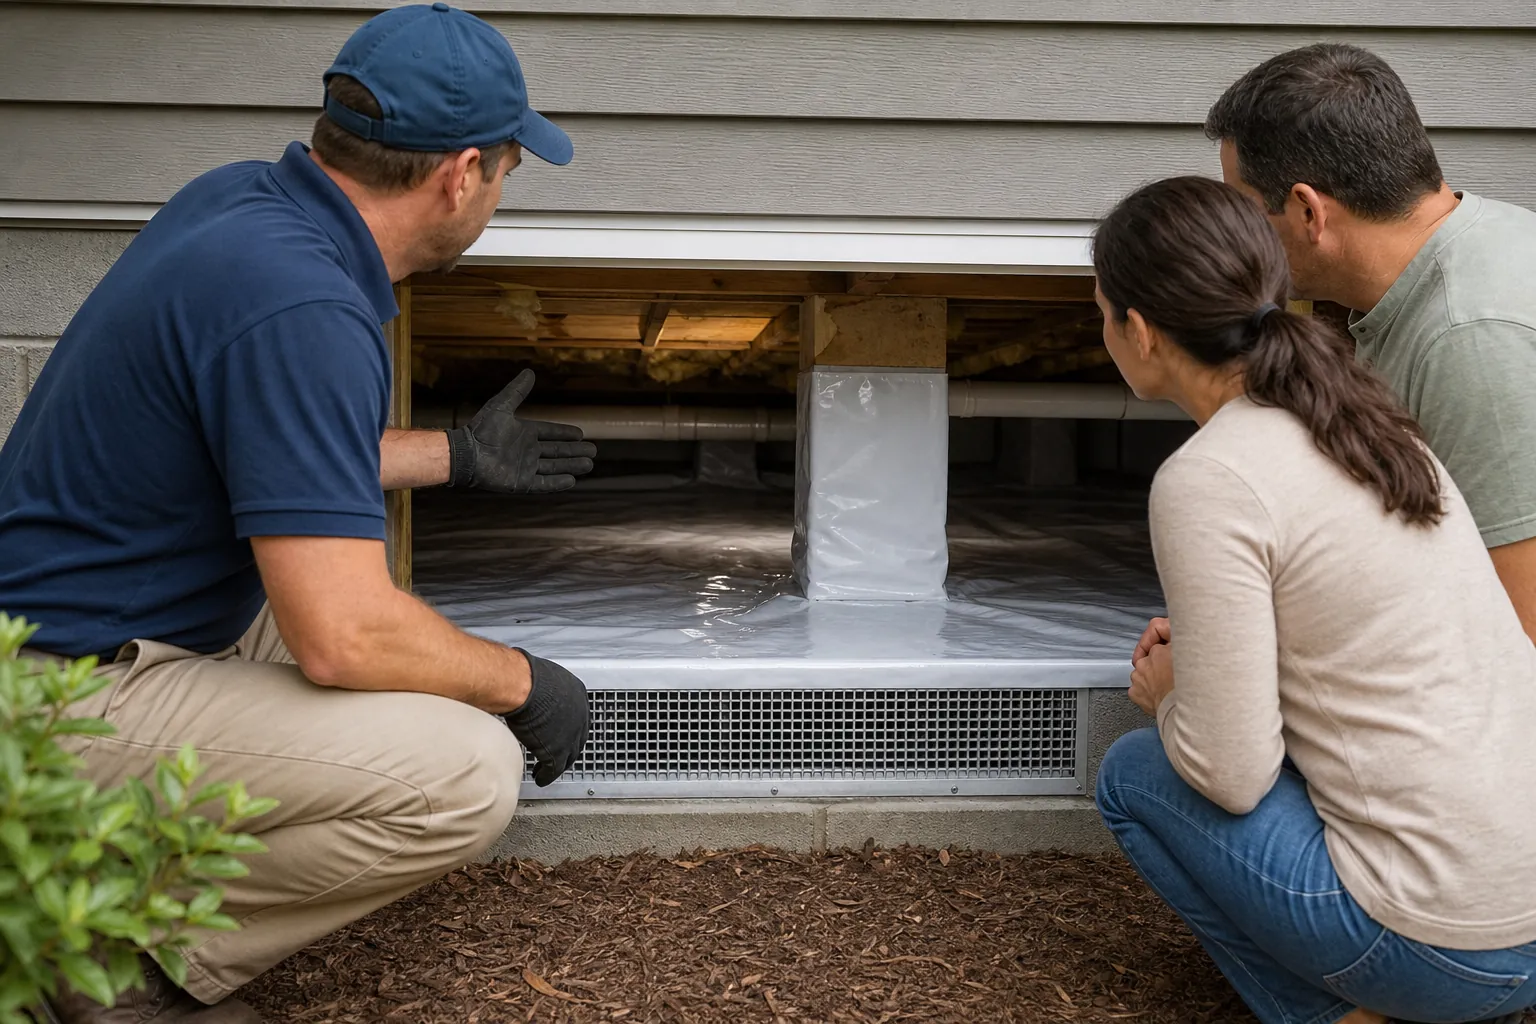
Encapsulation generally involves installing a durable ground vapor barrier, sealing its seams and edges, and managing openings that allow unwanted outdoor moisture into the crawl space. Depending on the property, the project may also include wall coverage, insulation work, drainage improvements, a sump pump, or a dehumidifier.
These components are not interchangeable. A ground vapor barrier limits moisture coming from the soil, but it does not fix a plumbing leak. A dehumidifier helps control humidity, but it cannot substitute for drainage when water collects beneath the house.
Before making preparations, review the written scope with your contractor. Ask what will be removed, what will be repaired, and how the finished space will stay dry. Clarify whether cleanup, disposal, electrical work, and equipment setup are included or handled separately.
- Ask which crawl space surfaces will receive a vapor barrier and how seams, piers, and penetrations will be sealed.
- Confirm whether existing insulation, debris, or an old ground liner will be removed.
- Discuss whether drainage or plumbing repairs must happen before installation begins.
- Find out how humidity will be controlled after the crawl space is enclosed.
- Ask whether permits, inspections, or coordination with other licensed trades are necessary.
Getting these answers early gives you a practical preparation list rather than a generic one.
Make The Crawl Space Entry Easy To Reach
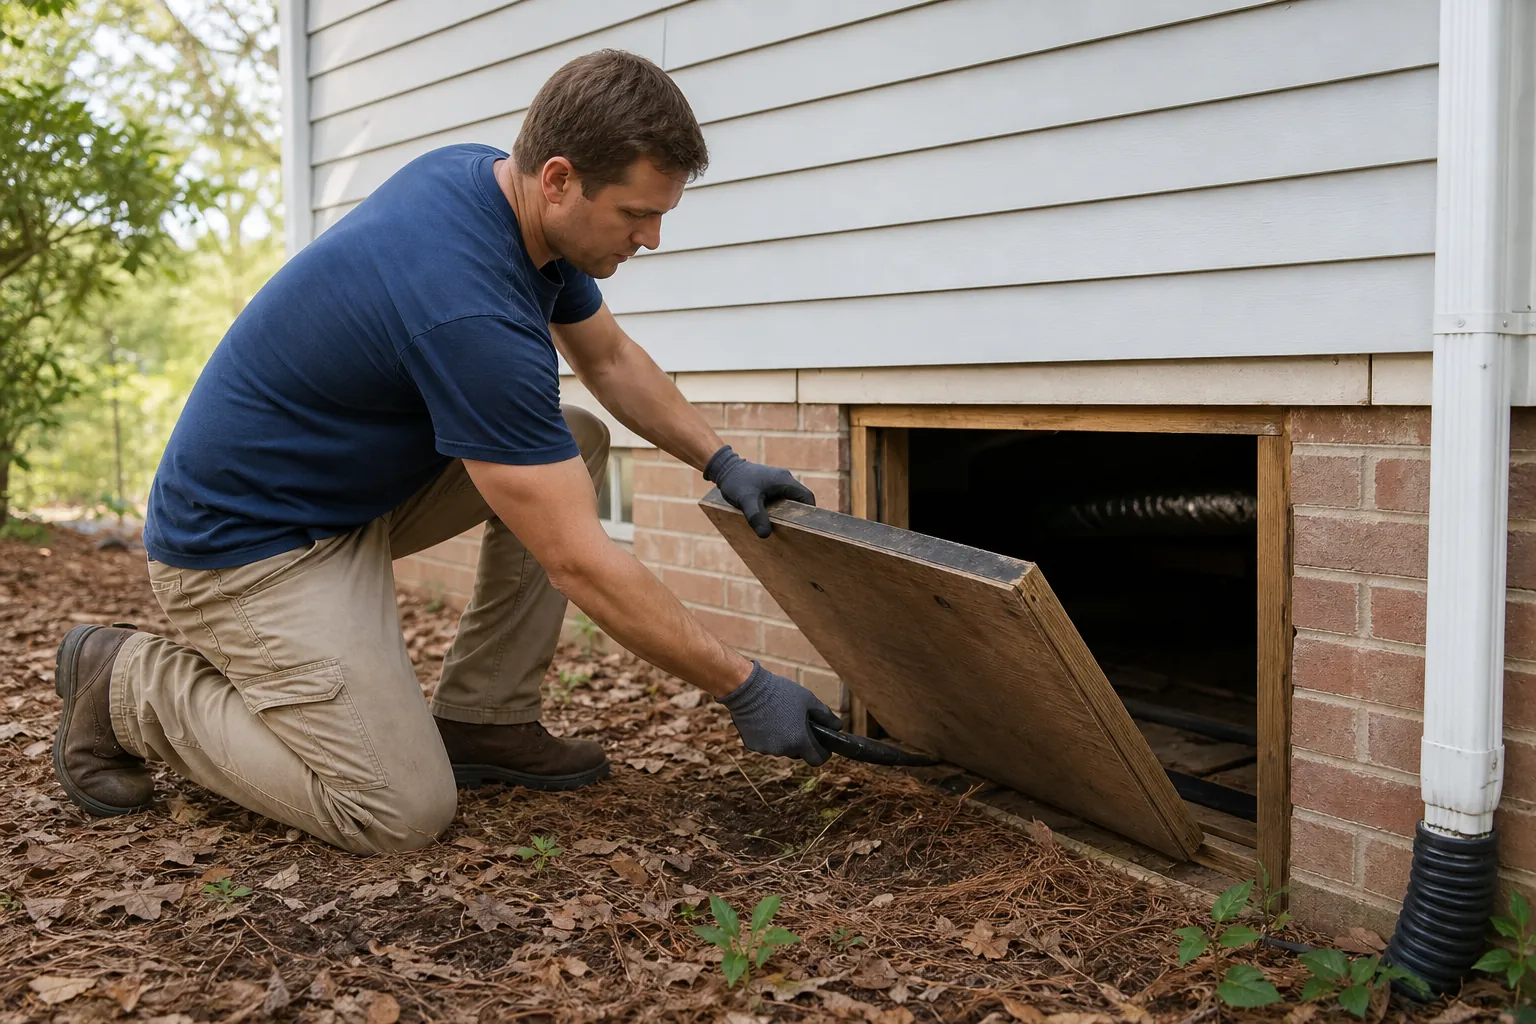
The access opening is the crew's route for carrying tools, liner materials, and equipment beneath your home. Clear the approach before work begins. Move planters, patio furniture, storage bins, firewood, and other items that could block the entrance or narrow the path.
If the entry is behind shrubs or beneath a deck, ask the contractor how much clearance is needed. Do not remove landscaping or alter the opening without discussing it first. A technician may need a different access solution if the opening is too small or unsafe.
For an interior hatch, clear the surrounding room and remove items resting on the cover. Ask whether nearby flooring or furnishings need protection and who will provide it. If the hatch is in a closet, plan where the closet contents will go during the project.
- Unlock gates and identify any access codes the crew will need.
- Provide a clear walking route from the parking area to the crawl space entrance.
- Point out loose steps, low deck framing, exposed nails, or other approach hazards.
- Move vehicles if the crew needs driveway space for unloading or debris removal.
Keep the entry accessible throughout the job, including any return visits for inspections or equipment adjustments.
Share What You Know About Moisture And Water
A crawl space inspection captures conditions at a particular time. Your observations can reveal problems that are not visible on a dry day. Tell the contractor about water after storms, seasonal odors, damp floors, or previous plumbing leaks.
Photos are useful when water appears only during heavy rain. Take them from a safe location and note the date, weather, and approximate location. You do not need to enter standing water or crawl beneath the house to document a problem.
North Carolina rainfall can expose several different moisture sources. Water may come through foundation openings, collect beside the house, leak from a supply pipe, or drip from an HVAC component. Each source needs an appropriate response before a liner conceals the ground.
- Describe whether puddles appear during rain, after rain, or even during dry weather.
- Share the location of known plumbing leaks and any repairs already completed.
- Mention musty odors and whether they become stronger during warm or wet weather.
- Provide available inspection reports, repair invoices, or previous crawl space photographs.
Encapsulation should be planned around the home's actual moisture conditions. Avoid treating standing water as something the vapor barrier will simply cover and solve.
Check Gutters, Downspouts, And Outdoor Drainage
Walk around your home after rain if conditions are safe. Look for overflowing gutters, disconnected downspouts, and places where water pools beside the foundation. These observations help identify exterior issues that could undermine a crawl space moisture-control project.
Gutters and downspouts should direct roof runoff to an appropriate discharge location away from the foundation. The right arrangement depends on the lot, terrain, and local requirements. Do not assume that a short extension is enough or that moving water toward a neighbor's property is acceptable.
Landscape beds can also affect drainage. Soil, mulch, or edging built up against the house may hold moisture or interfere with clearances. Ask your contractor about suspicious areas before digging, changing grades, or covering foundation openings.
If gutters need cleaning, use a qualified service when roof height, unstable ground, or ladder work creates a safety concern. Homeowner preparation should not require risky work.
Exterior drainage repairs and interior crawl space drainage sometimes serve different purposes. Ask whether your project needs one, both, or neither. If a sump pump is proposed, confirm where discharge water will go and how that route will be maintained.
Address Leaks, Damage, And Pest Activity First
Encapsulation is moisture management, not a replacement for structural, plumbing, or pest repairs. Active leaks should be evaluated and repaired before the finished liner makes them harder to notice. Soft wood, damaged supports, or sagging areas may require assessment by an appropriate qualified professional.
Tell the contractor about termite treatments, rodent activity, or damaged insulation. North Carolina homeowners should also discuss termite inspection access with their pest-control provider. Encapsulation details may need to preserve a visible inspection area or accommodate an existing service agreement.
If you see suspicious staining or apparent microbial growth, avoid brushing, scraping, or spraying it yourself. Ask for an evaluation and a defined treatment scope where needed. Not every stain has the same cause, and a photograph alone may not establish what is present.
- Have active plumbing leaks addressed by an appropriate plumbing professional.
- Report damaged framing or supports rather than attempting a temporary cover-up.
- Coordinate active pest treatment before sealing work when recommended by the relevant professionals.
- Ask whether damaged insulation removal and any needed cleaning are included in the proposal.
Also disclose any known hazardous materials or unusual debris. Older homes can contain materials that need specialized handling. Leaving identification and removal to qualified professionals is safer than trying to finish the cleanup yourself.
Remove Stored Items Without Taking Unnecessary Risks
If your crawl space is used for storage, ask which belongings must be removed and when. Boxes, building scraps, and unused household items can obstruct installation and make it difficult to inspect the soil, framing, and utilities.
Only retrieve items when access and conditions are safe. Do not enter a space with standing water, exposed electrical hazards, animal activity, strong chemical odors, or unstable materials. Tell the contractor what remains and ask how removal can be arranged.
Separate personal belongings from construction debris when possible. The crew should not have to decide whether an old cabinet, spare tile, or family keepsake is intended for disposal. Label anything that must stay and confirm its location with the project lead.
Do not assume the encapsulated crawl space will become general-purpose storage afterward. Sharp edges, heavy items, and repeated foot traffic can damage the liner. Ask about permitted access, service paths, and whether any storage use is appropriate for your system.
For debris already included in the installation scope, leaving it undisturbed may be best. Unnecessary movement can spread dust or create additional hazards, especially around damaged insulation.
Plan For Utilities And Equipment
Crawl spaces often contain plumbing, electrical wiring, ductwork, and mechanical equipment. Before installation, identify known service issues and tell the contractor about recent repairs. A leaking duct, disconnected drain, or unsupported pipe should not disappear behind finished materials without discussion.
If a dehumidifier or sump pump is included, confirm its electrical requirements. Any needed circuit or outlet work should be completed by an appropriately licensed professional. An extension cord should not be treated as a permanent power solution.
Ask how condensate and pumped water will be discharged. Drain routes need to work reliably and remain accessible for maintenance. Equipment placement should also leave room for filters, service panels, and future replacement.
Homes with fuel-burning equipment in the crawl space deserve particular attention. Sealing the space may affect combustion air or related safety requirements. Have the contractor coordinate with the appropriate HVAC professional before changing vents or openings around that equipment.
- Confirm whether electrical work is included or requires a separate appointment.
- Ask whether any utilities must be temporarily shut off during installation.
- Identify access points that plumbers, electricians, and HVAC technicians will still need.
- Discuss where humidity readings will be taken and how you will monitor the finished space.
Do not block crawl space vents yourself ahead of the crew. Vent closure should be part of a coordinated design that accounts for moisture control, equipment, and applicable requirements.
Prepare Your Household For Installation Day
Ask for the expected work schedule and a realistic project duration. Cleanup, repairs, weather, access limitations, and inspections can affect timing. Plan around the contractor's estimate without assuming every home takes the same amount of time.
You can often remain home during crawl space work, but confirm that with your contractor. Interior access, noise, odors, or a utility interruption may affect your plans. Households with someone sensitive to dust or odors should discuss the installation process before work begins.
Keep children and pets away from the work area. An open hatch, tools, hoses, and unfamiliar workers create hazards even when most of the activity happens beneath the house. Secure pets in an area that will not interfere with access or open gates.
- Choose one household contact who can answer questions and approve necessary changes.
- Keep your phone available while the crew is working.
- Agree on parking, unloading, and the location of any debris container.
- Ask about protection for interior floors when materials must pass through the home.
- Confirm how the access opening will be secured when work pauses or the crew leaves.
Let the project lead know about alarms, locked rooms, irrigation schedules, or delivery plans that could affect the work area. Small logistical details are easier to resolve before the crew arrives.
Review The Finished Work And Maintenance Plan
Preparation should include planning for the handoff. Ask for a walkthrough or photographs showing the completed liner, sealed transitions, equipment locations, and access arrangements. You should understand what was installed without needing to crawl through the entire space.
Review operating instructions for any dehumidifier or sump pump. Confirm the recommended humidity setting, filter maintenance, and any routine checks. Ask what signs should prompt a service call, such as standing water, an equipment alarm, new odors, or an unexpected humidity increase.
Keep the proposal, completion records, equipment manuals, and applicable warranties together. Clarify which coverage applies to installation workmanship and which applies to manufactured equipment. Maintenance responsibilities and exclusions should be understood before you rely on coverage.
Future trades should know the crawl space is encapsulated. Plumbers, electricians, and HVAC technicians may need to work around the liner or make penetrations. Ask how accidental damage or necessary openings should be repaired to preserve the system's performance.
Continue watching exterior drainage after major storms. Encapsulation does not eliminate the need to maintain gutters, manage roof runoff, or respond to new leaks. A dry crawl space depends on the overall moisture-control plan, not just the visible liner.
A Practical Final Checklist Before Work Begins
You do not need to become a crawl space specialist to prepare well. Focus on safe access, accurate information, and clear responsibilities. Before the installation date, make sure the following items are settled.
- The crew can reach and open the crawl space entrance without moving your belongings.
- Known water problems, leaks, pest concerns, and damaged materials have been disclosed.
- Required repairs and any separate trade appointments have been coordinated.
- You understand the cleanup, drainage, equipment, and electrical work included in the scope.
- Your household has a plan for pets, children, parking, and possible utility interruptions.
- You know how completed work will be reviewed and what ongoing maintenance is expected.
If you are unsure how to prepare your home for crawl space encapsulation in North Carolina, Carolina Encapsulation Company can discuss your questions and the next steps. Call 704-207-9348 to talk about access, moisture concerns, and the preparation your home may need.
Call 704-207-9348 to talk through next steps.