
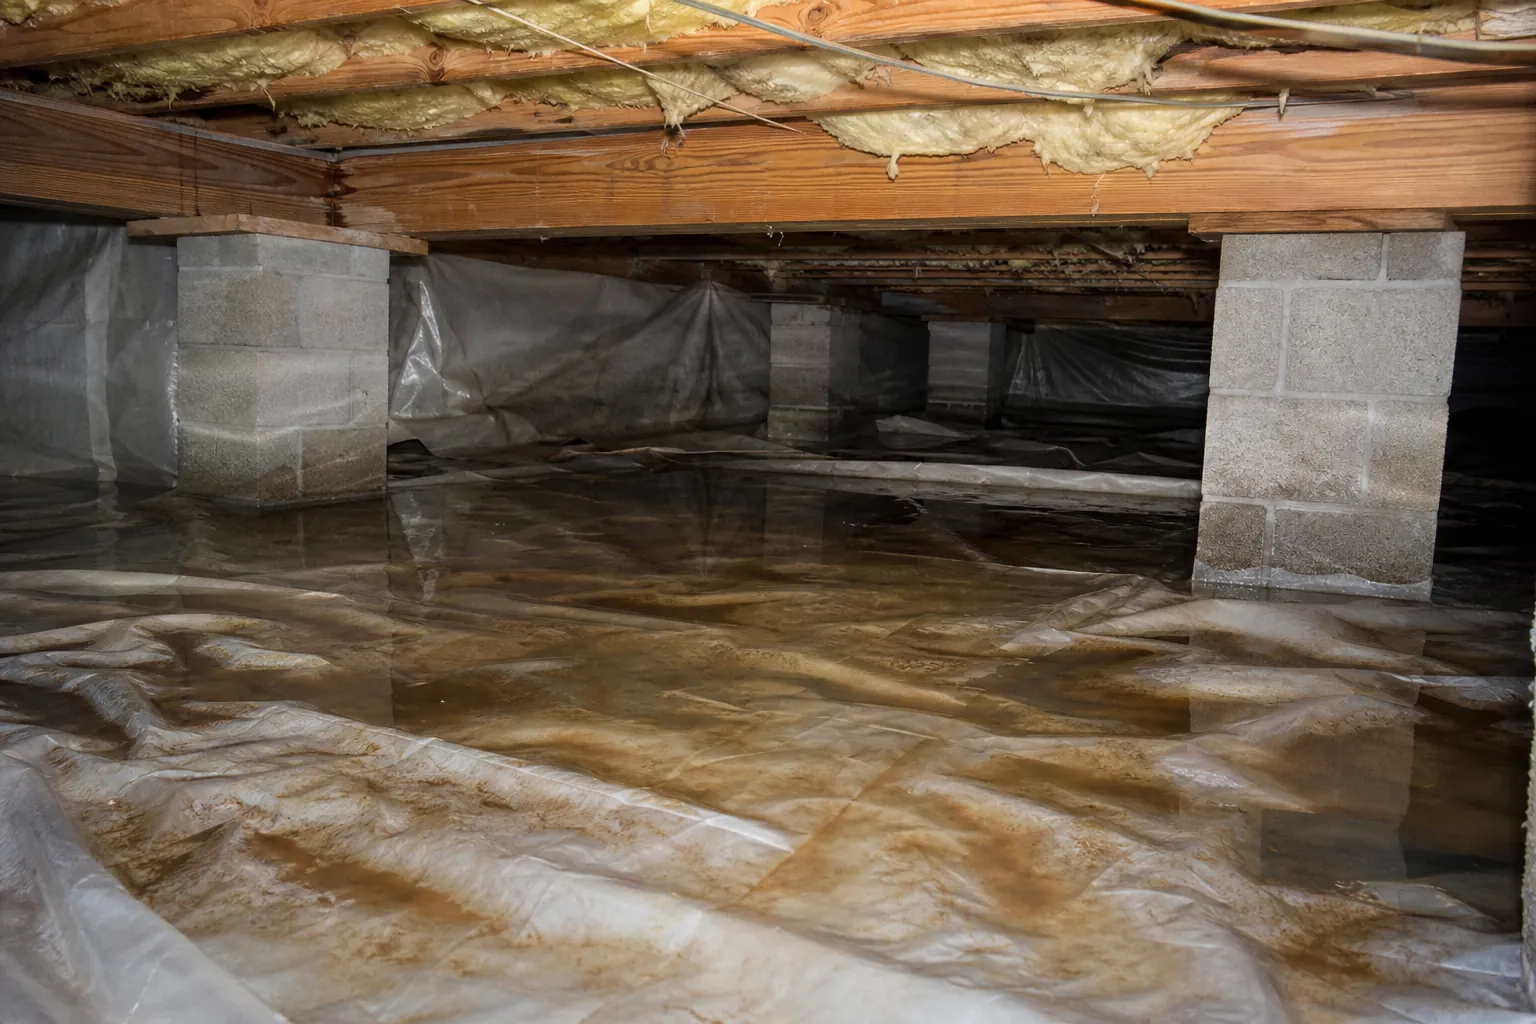
Finding water underneath a crawl space vapor barrier can be unsettling, especially if you expected the plastic liner to keep the area dry. However, water below the liner does not automatically mean the barrier has failed. A vapor barrier limits moisture moving from the soil into the crawl space air. It does not, by itself, stop groundwater, runoff, or a plumbing leak.
The important questions are where the water comes from, how much collects, how long it remains, and whether it reaches the structure. In North Carolina, heavy rain, variable soil conditions, and sloped building sites can make those answers different from one home to the next.
This guide explains how to assess the situation safely, distinguish condensation from water intrusion, and choose repairs that address the source rather than simply covering it.
What a crawl space vapor barrier actually does
A crawl space vapor barrier is a sheet material installed over exposed soil to reduce evaporation into the space above it. Depending on the installation, it may also extend up foundation walls and wrap around piers. Sealed seams and properly detailed edges help it function as a continuous ground moisture barrier.
The liner separates damp soil from crawl space air, but it is not a substitute for drainage. Soil can remain moist beneath a correctly installed barrier. That moisture is one reason the barrier is there.
There is an important distinction between damp soil and accumulated liquid water. A dark patch of soil or droplets on the underside of plastic may indicate ordinary ground moisture. Pools that spread, rise after storms, or repeatedly remain beneath the liner deserve closer investigation.
Encapsulation also involves more than laying plastic on the ground. Depending on the home, a complete moisture-control plan may include water management, air sealing, appropriate insulation, and humidity control. Those components must work together. A thicker liner cannot compensate for an unresolved water entry problem.
Common reasons water collects beneath the liner
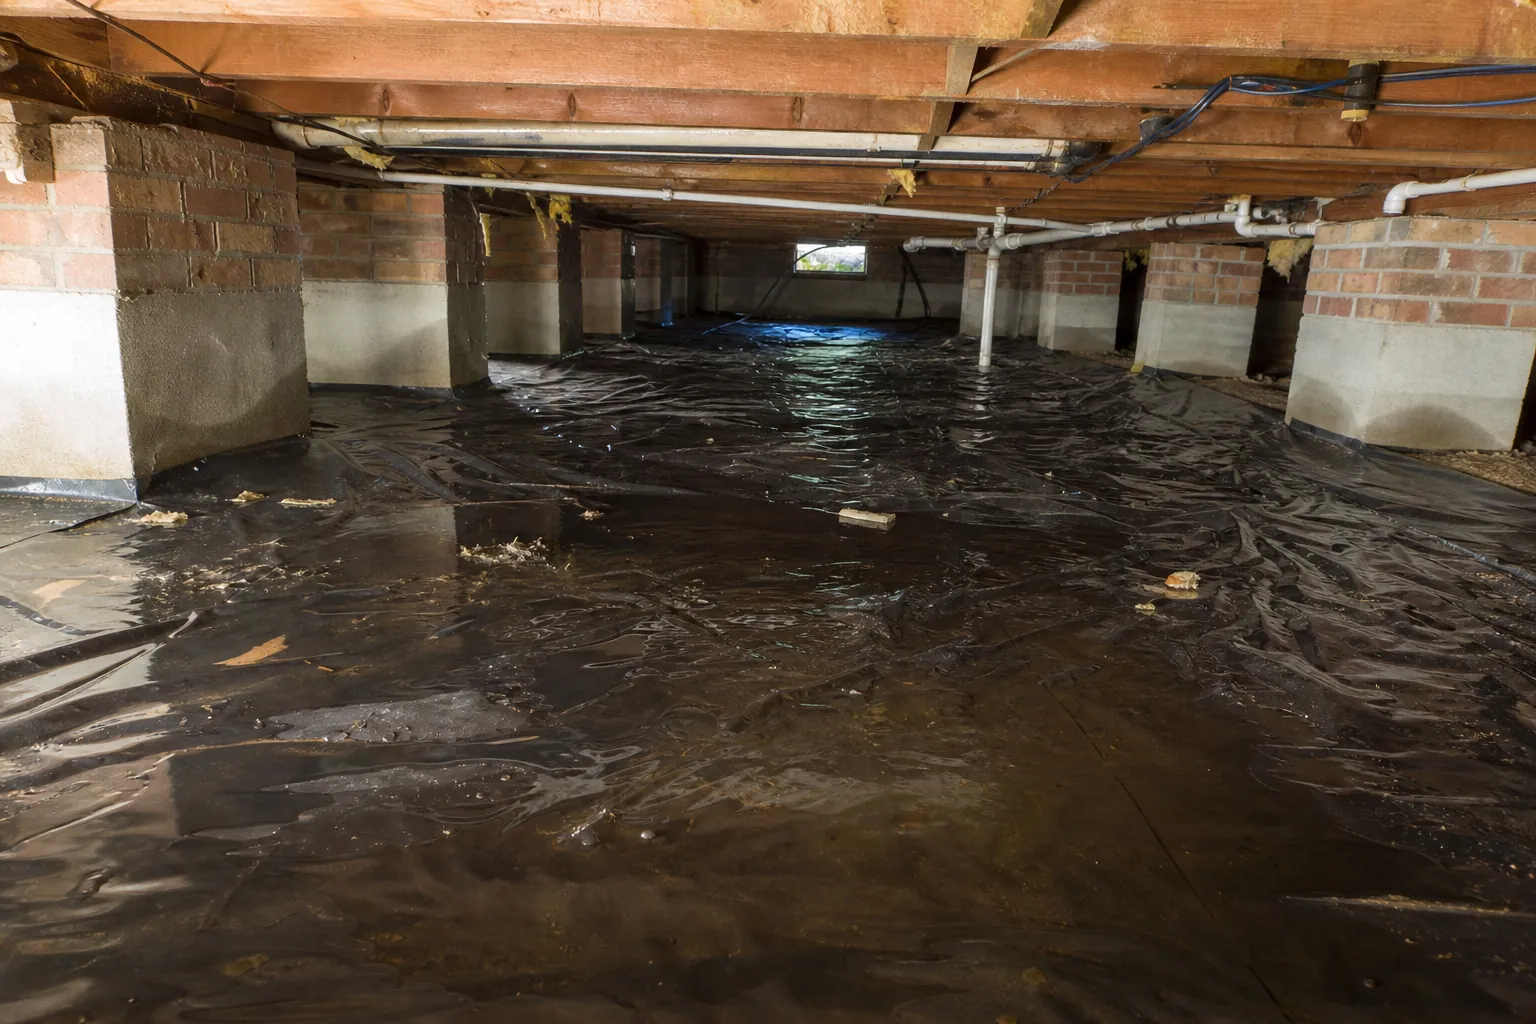
Several different sources can produce similar-looking wet areas. Locating the source before recommending equipment helps avoid unnecessary work and repeated problems.
Rainwater entering around the foundation
Roof runoff can saturate soil beside the house when gutters overflow or downspouts discharge too close to the foundation. Low spots, settled backfill, and paving that directs water toward the house can add to the load. Water may then enter through foundation openings, wall joints, or the soil beneath the crawl space.
Storm timing provides a useful clue. If water appears during or shortly after rain, exterior runoff is worth checking first. However, delayed seepage can also occur as water moves through the surrounding soil.
Groundwater rising through the soil
A seasonal high water table or temporarily saturated ground can push water into a low crawl space. This may happen without an obvious opening in the foundation wall. Water can emerge from the ground and spread beneath the liner.
North Carolina sites vary considerably. Some Piedmont soils drain slowly, while some low-lying coastal properties face shallow groundwater. Mountain and foothill homes may receive runoff from uphill terrain. These are general patterns, not a diagnosis for an individual property.
Plumbing or equipment leaks
A leaking supply pipe, drain connection, or appliance line can release water into a crawl space in dry weather. HVAC condensate drainage problems may also contribute. The water can travel before collecting, so the wettest location is not necessarily directly beneath the leak.
A continuing increase in water without recent rain makes plumbing and equipment checks especially important. Have suspected plumbing defects evaluated by an appropriate professional rather than assuming every puddle is groundwater.
Condensation beneath the plastic
Moisture from the soil can condense on the underside of a liner as temperature conditions change. Fine droplets or a thin moisture film are different from substantial standing water.
Appearance alone is not always enough to distinguish the two. Quantity, location, persistence, and the relationship to weather provide better evidence than a single photograph.
When water beneath a vapor barrier is a concern
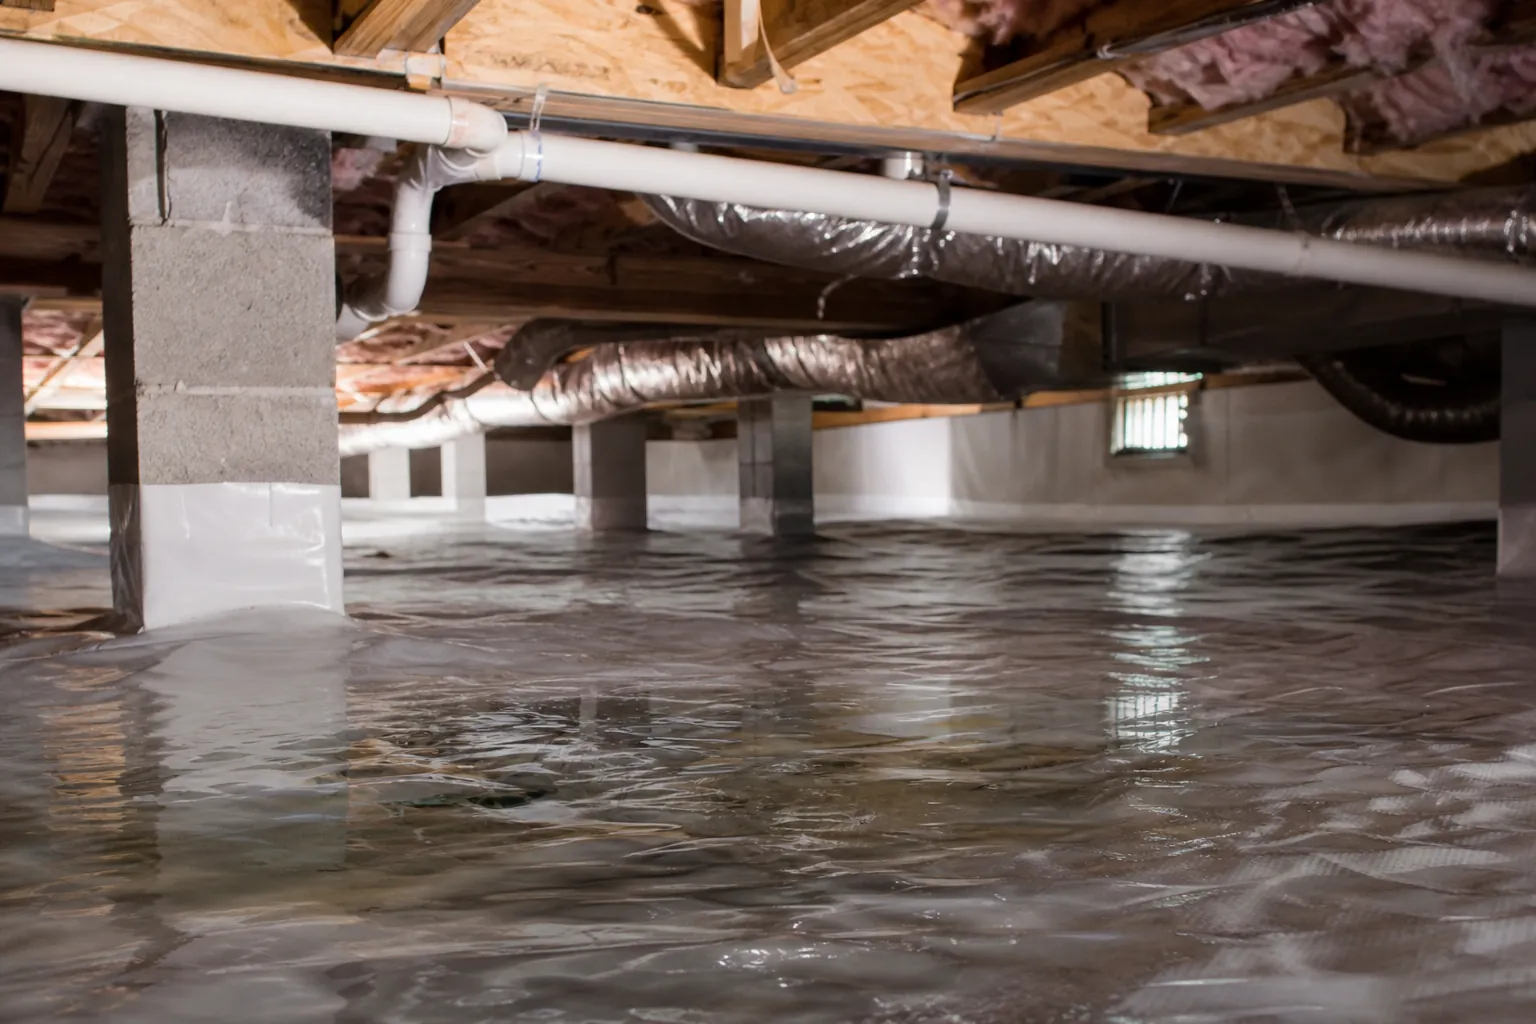
A small amount of underside condensation does not necessarily require a drainage system. Persistent pooling, rising water, or repeated flooding is more concerning because the source can eventually overwhelm other moisture controls.
Water beneath the liner can also make maintenance difficult, lift or shift material, and escape through damaged seams or penetrations. Even when the liner contains much of the moisture below it, that does not establish that the crawl space is healthy.
- Arrange an inspection if water repeatedly returns after storms or remains pooled between rain events.
- Take wet insulation, damp wood, staining, or musty odors as reasons to investigate the whole moisture system.
- Have loose seams, displaced liner sections, and unsealed pipe openings checked because they can allow moisture into the air above.
- Seek prompt help if water is approaching electrical equipment, HVAC components, or structural wood.
- Avoid contact with water that may contain sewage, chemicals, or other contamination.
Crawl space humidity and wood moisture measurements can help determine whether conditions are affecting the structure. A dry-looking liner surface is not enough evidence on its own, and a humid crawl space does not prove the water below the liner is the only cause.
How to check the problem without making it worse
Start outside whenever possible. Walking around the home during safe weather can reveal drainage problems without requiring you to enter a confined, wet space.
Do not enter a flooded crawl space if there is any possibility of electrical contact. Standing water, low clearance, pests, and damaged materials can make entry hazardous. If access is unsafe or uncertain, leave the assessment to a qualified professional.
Document the timing and location
Record when you first noticed the water and whether it followed a storm. Photographs taken from a safe access point can show where the liner bulges or where water is visible at its edges. Note whether the same location becomes wet each time.
Keep track of rainfall and any relevant plumbing use. A recurring wet area after laundry, for example, warrants a different investigation than widespread pooling after prolonged rain. These observations help guide an inspection but do not replace one.
Review exterior drainage
- Check whether gutters overflow, sag, or spill water at corners.
- Observe whether downspouts discharge onto soil that slopes back toward the foundation.
- Look for low areas where water collects beside the house.
- Check whether uphill landscaping, driveways, or neighboring runoff send water toward the crawl space.
- Note wet foundation vents or access openings that may be receiving surface water.
Do not make major grading changes without considering property boundaries, utilities, foundation clearances, and where the diverted water will go. Moving runoff away from one wall should not create flooding elsewhere.
Inspect the system, not just the plastic
A professional evaluation should consider liner condition, visible entry points, drainage, plumbing, humidity, and accessible framing. If a sump pump is present, its operation and discharge route should also be checked.
Avoid cutting holes in the liner to release water into the crawl space. Doing so compromises the ground moisture barrier and does not address the source. Lifting or opening liner sections for investigation should be followed by appropriate restoration of the sealed system.
Repairs that address the source of the water
The right repair depends on the water pathway. A sensible plan may start with exterior corrections and then add interior management where needed. Not every home needs every component.
Improve roof runoff and surface drainage
Cleaning and repairing gutters can reduce the amount of water soaking the soil beside the foundation. Downspout extensions or a properly designed discharge system can carry that runoff to a suitable location away from the home.
Where feasible, correcting negative grading can help surface water flow away from the structure. The solution must preserve appropriate clearances and avoid burying siding, blocking openings, or interfering with existing foundation details. Tight sites may require a more tailored drainage design.
Install an appropriate crawl space drainage system
When water enters through the ground or repeatedly collects inside despite exterior improvements, an interior collection system may be appropriate. Depending on the site, drains can collect water and direct it toward a sump basin or another suitable outlet.
The drainage system and vapor barrier need coordinated details. The goal is to manage liquid water beneath the liner while maintaining an effective ground moisture barrier above it. Drain placement and depth should not undermine footings or disturb structural support.
Use a sump pump when gravity drainage is not practical
A sump pump removes collected water where a suitable gravity outlet is unavailable. Its capacity, basin, controls, and discharge arrangement should match the expected conditions. Simply placing a pump in a puddle is not a complete long-term design.
The outlet must not send water back toward the foundation or create an unsafe or prohibited discharge. Backup power or a backup pumping arrangement may be worth considering when storm-related outages could leave the system unable to operate.
Repair leaks and restore the liner
If plumbing or condensate leakage is the source, repairing that defect comes first. A drainage system should not be used to conceal an active leak.
Once the water source is addressed, damaged seams, punctures, and loose wall attachments can be repaired using compatible materials. If the liner is poorly installed or extensively damaged, replacement may be appropriate. The decision should reflect its actual condition, not simply the fact that moisture exists beneath it.
Why a dehumidifier is not a standing-water solution
A crawl space dehumidifier removes moisture from the air. It can help control humidity in an appropriately enclosed space, but it does not collect groundwater from beneath the vapor barrier.
Installing one while ignoring recurring water entry can leave the root problem unresolved. Likewise, adding more plastic over a puddle may hide the symptom without changing the amount of water entering the crawl space.
Effective moisture control generally follows a practical sequence: identify and manage liquid water, establish a continuous ground moisture barrier, address relevant air leakage, and provide appropriate humidity control. The exact design depends on the home and applicable requirements.
Dehumidifier drainage also needs attention. A disconnected or blocked condensate line can introduce a new water source. Include that line in routine inspections, especially if wet areas appear while the equipment is operating.
North Carolina considerations before encapsulation work
North Carolina's humid conditions make crawl space moisture management important, but local site conditions still drive the repair. A coastal crawl space with shallow groundwater may need a different approach from an inland home receiving runoff from an uphill driveway.
Flood-prone properties require particular care. Ordinary encapsulation is not a floodproofing system, and required flood openings should not be sealed without confirming applicable floodplain requirements. Consult the local authority when a property lies in a regulated flood area.
Enclosing a previously vented crawl space can also affect insulation, air management, and mechanical equipment. Fuel-burning appliances may have combustion-air requirements that must be preserved or properly addressed. A moisture-control project should not create a safety problem.
Ask the contractor which permits or inspections apply to the proposed work and whether plumbing, electrical, or HVAC professionals are needed. A clear scope should explain both the drainage strategy and how the enclosed crawl space will manage humidity afterward.
Questions to ask before approving a repair
A useful proposal explains the evidence behind the recommendation. It should distinguish confirmed defects from possibilities that need further investigation.
- Ask what evidence points to runoff, groundwater, condensation, or a plumbing leak as the primary source.
- Ask which exterior corrections are recommended and whether they should precede interior work.
- Ask how collected water will leave the crawl space and where it will discharge.
- Ask how liner seams, walls, piers, and penetrations will be detailed after drainage work.
- Ask what maintenance the pump, drains, and humidity-control equipment will require.
- Ask what the proposed system is designed to handle and what conditions fall outside its scope.
If a recommendation focuses only on liner thickness, request an explanation of how liquid water will be managed. A durable liner matters, but material strength and water-source control solve different problems.
Keep checking after the repair
Use the first substantial rain after repairs as an opportunity to observe performance safely. Compare the previously wet locations and check for new pooling around the exterior. Some drainage patterns are only apparent under sustained rainfall.
Keep gutters and discharge routes clear. Test sump equipment according to the manufacturer's instructions, and maintain any backup system. Inspect accessible liner seams and condensate lines periodically without dragging tools or stored items across the plastic.
Track crawl space humidity as well as visible water. If pooling returns or musty odors persist, report the timing and location to the contractor. Ongoing symptoms deserve investigation rather than another layer of covering material.
Get a clearer plan for your crawl space
Water underneath a crawl space vapor barrier is a clue, not a complete diagnosis. Damp soil and light underside condensation may be expected, while persistent standing water calls for a closer look at drainage, groundwater, and possible leaks.
For help evaluating a North Carolina crawl space, call Carolina Encapsulation Company at 704-207-9348. Discuss what you have observed and ask about an assessment that considers the water source, liner condition, and overall moisture-control needs before you decide on repairs.
Call 704-207-9348 to talk through next steps.