Short answer
After a tropical storm or several days of heavy rain, check the crawl space in two stages. First, wait until exterior hazards have passed and document roof runoff, downspouts, grade, access conditions, and visible water from outside. Second, enter only if the crawl space is dry enough, structurally accessible, and free of electrical, sewage, animal, and air-quality hazards. The purpose is to record what changed, not to make an immediate remote diagnosis or start equipment repairs in wet conditions.
Prioritize active water, electrical safety, access stability, and drainage equipment. Photograph the highest visible water line, entry paths, low points, liner condition, wet insulation, drains, sump basin, dehumidifier, ducts, plumbing, and framing. Do not walk or crawl through water near wiring or powered equipment. Do not pump water to an unknown discharge point or restart wet electrical equipment.
Use the site’s full crawl space inspection checklist for general observations. A post-storm check adds timing, rainfall, wind direction, outage history, and water-level documentation. If conditions are unsafe, stop at the access and arrange an inspection.
Safety decides whether the interior check happens
Storm cleanup creates pressure to act quickly, but a crawl space concentrates hazards in a confined, low-visibility area. Standing water can conceal sharp objects, unstable soil, animals, damaged wiring, and open drainage pits. Wet insulation can hide electrical lines. Floodwater may contain contaminants. A damaged access can fail under weight.
Do not enter if any of these are present or reasonably suspected:
- standing or moving water near electrical wiring, outlets, motors, pumps, or HVAC equipment;
- a burning smell, buzzing, arcing, or evidence of damaged electrical service;
- sewage, fuel, chemical, or unknown contaminated water;
- displaced supports, fallen masonry, new structural movement, or an unstable hatch;
- snakes, displaced wildlife, aggressive insects, or other animals;
- very limited visibility with no safe route back;
- active flash-flood, lightning, high-wind, or falling-tree danger;
- dizziness, breathing difficulty, or a strong unknown chemical odor;
- a crawl route that requires crossing deep water or an uncovered basin.
Turning off power may itself be unsafe if the panel is wet, damaged, or in a flooded area. Follow utility and emergency guidance rather than touching wet electrical controls. Photographs from the access can preserve important evidence without entry.
Stage one: document the exterior after weather hazards pass
The first useful observations often happen outside. Begin only after local weather alerts and site conditions allow a safe walkaround.
Record storm context
Write down:
- dates of substantial rain;
- whether rain came in one intense period or over several days;
- wind direction if wind-driven rain was obvious;
- power-outage timing and duration;
- when odor, indoor moisture, or equipment alarms began;
- any nearby surface flooding or blocked road drainage;
- whether the crawl space had a known dry baseline before the storm.
An exact rain total is helpful when available, but do not delay the physical check while searching for a perfect number. The sequence of events is often more important.
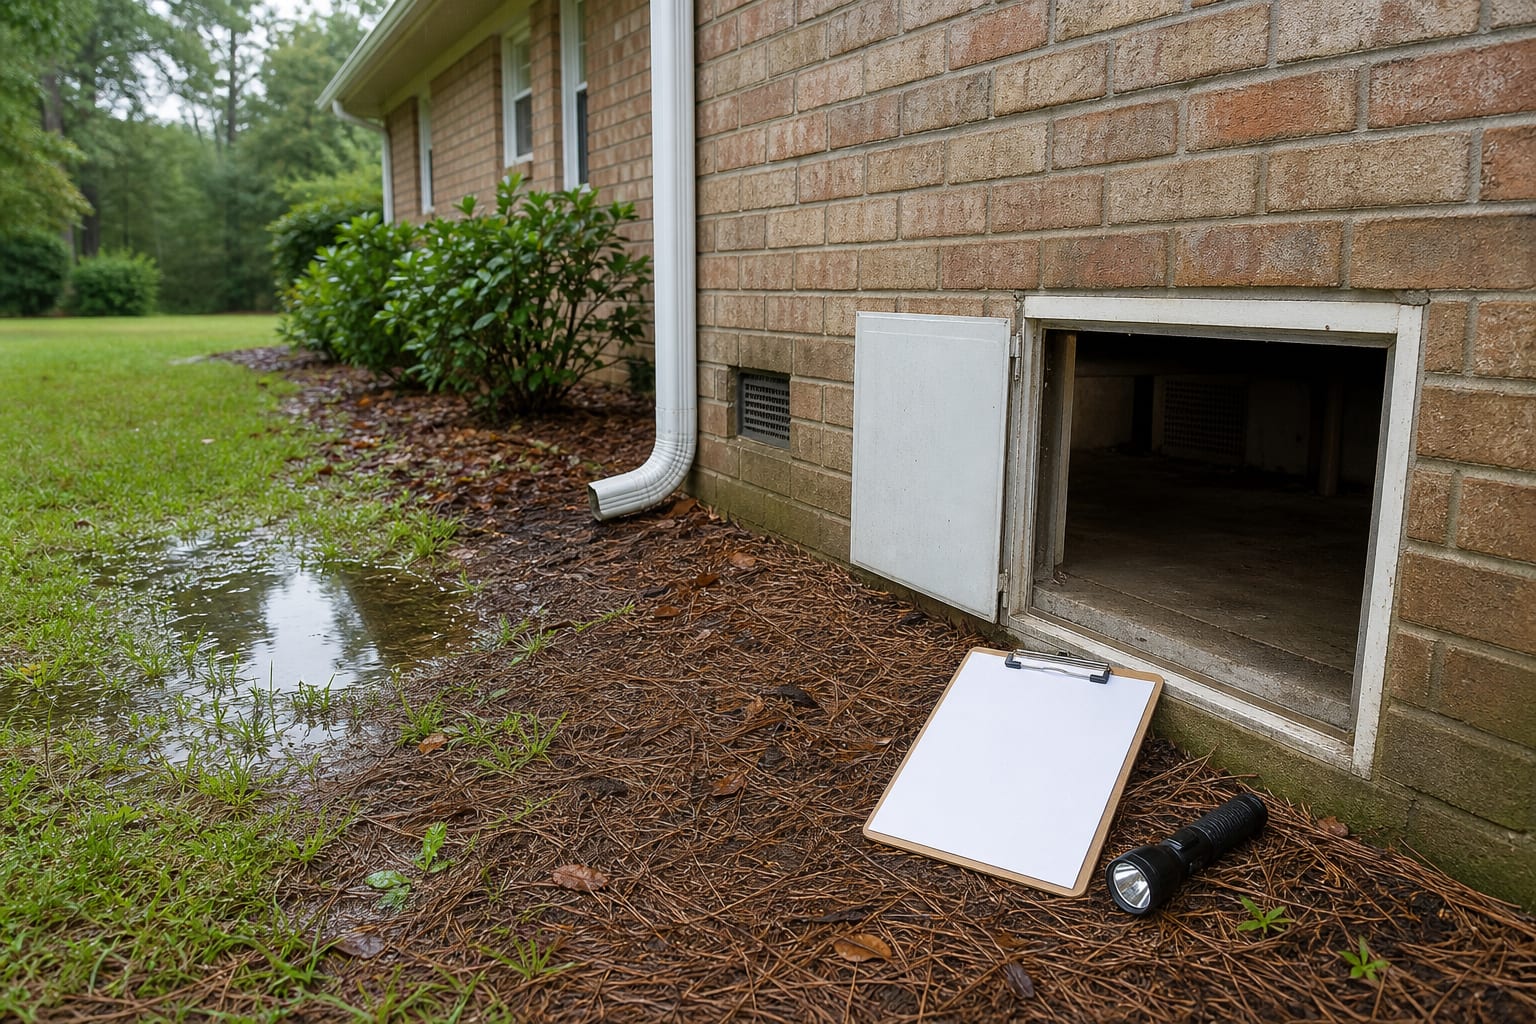
Follow roof water to its discharge
Look at the full path:
- Did roof edges or gutters overflow?
- Are gutter seams separated or sagging?
- Did a downspout detach or rotate?
- Is an extension missing, crushed, or sending water back toward the wall?
- Did water erode a channel through mulch or soil?
- Does the discharge area drain away, or does it collect beside the foundation?
Photograph washed soil, splash marks, and sediment lines. They may remain after active flow stops.
Compare all sides of the foundation
Storm water often concentrates on one elevation because of grade, wind, roof geometry, or a low opening. Compare:
- soil slopes;
- planting beds and mulch depth;
- foundation vents;
- access doors;
- utility penetrations;
- porch and addition joints;
- low masonry sections;
- window wells or basement transitions;
- drainage outlets and swales.
Do not seal openings, trench saturated soil, or redirect a major water flow without understanding where the water will go. The foundation drainage improvement page describes the category of exterior corrections that may follow an inspection.
Inspect the access before opening it
Check whether water crossed the threshold, the door swelled, hinges moved, or surrounding soil eroded. Open the access slowly from a stable position. Water, animals, or loose material may be immediately behind it.
Use a flashlight to scan for water and hazards. Do not lean through an unstable opening or rest electrical lights and cords on wet soil.
Stage two: make a controlled interior record
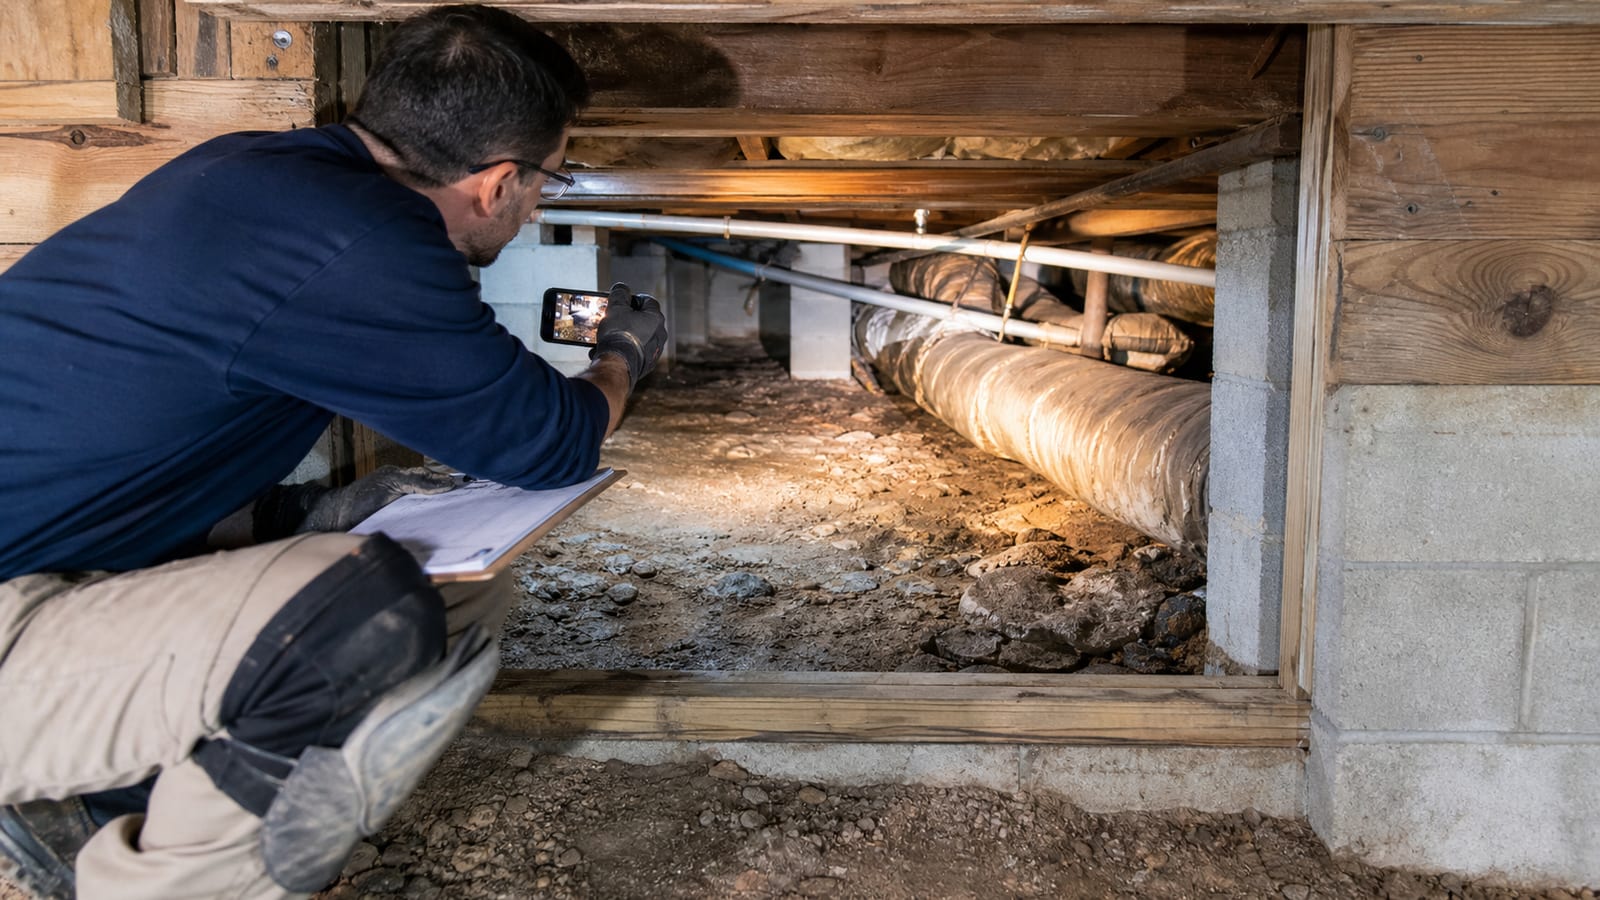
If entry is safe, use a predetermined route and avoid unnecessary contact with materials. A phone, camera, written checklist, flashlight, and location labels are more valuable than moving objects.
Start with a wide view
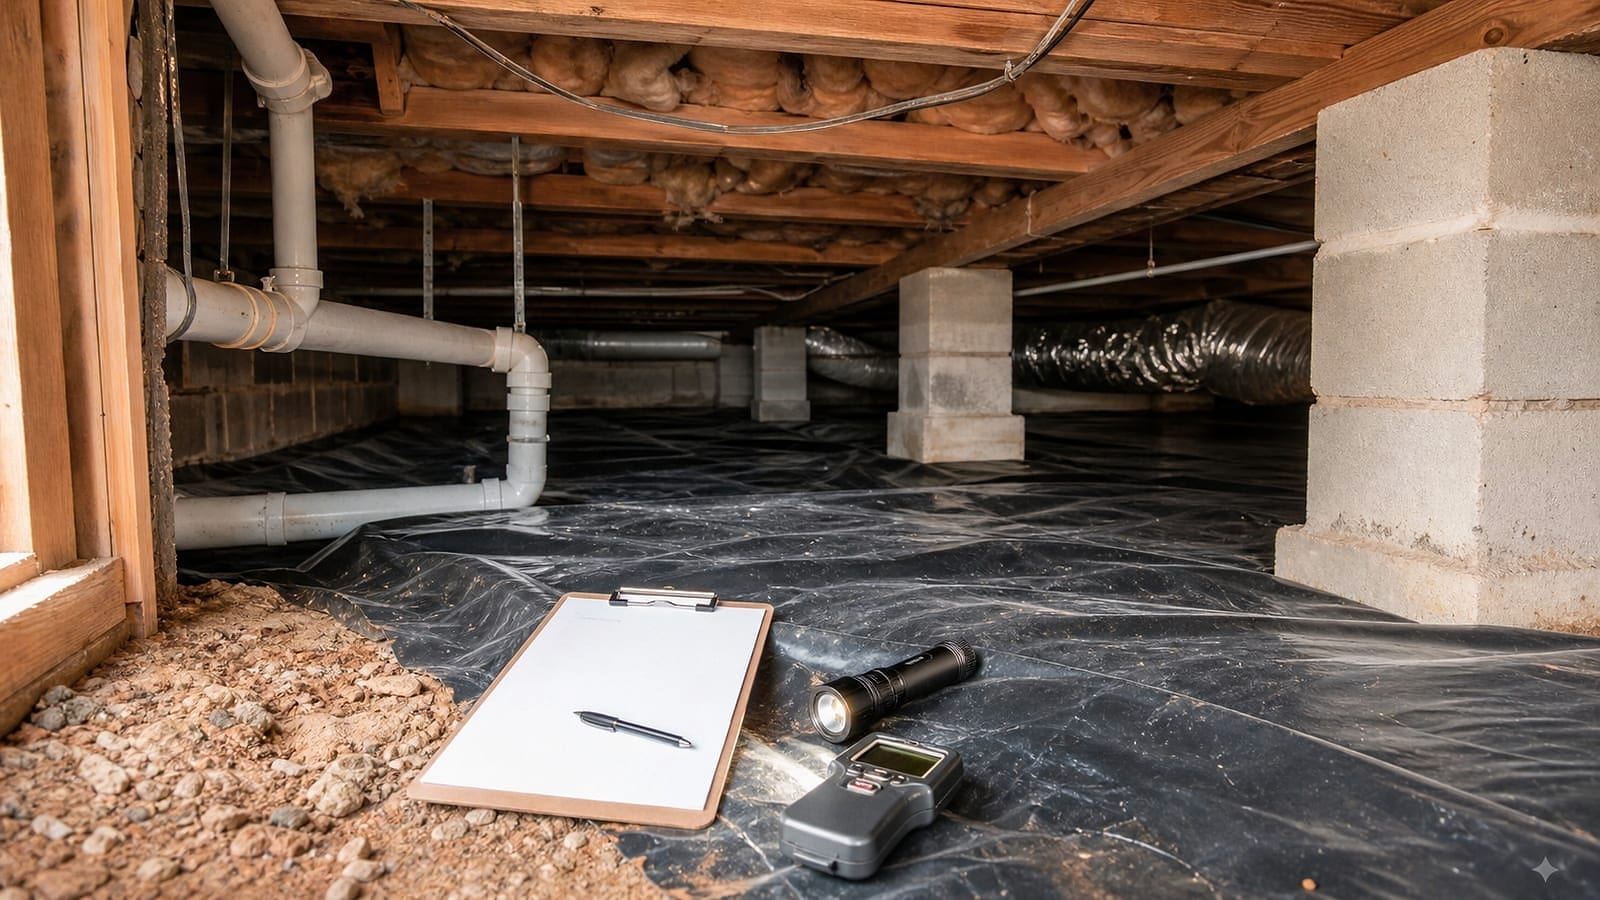
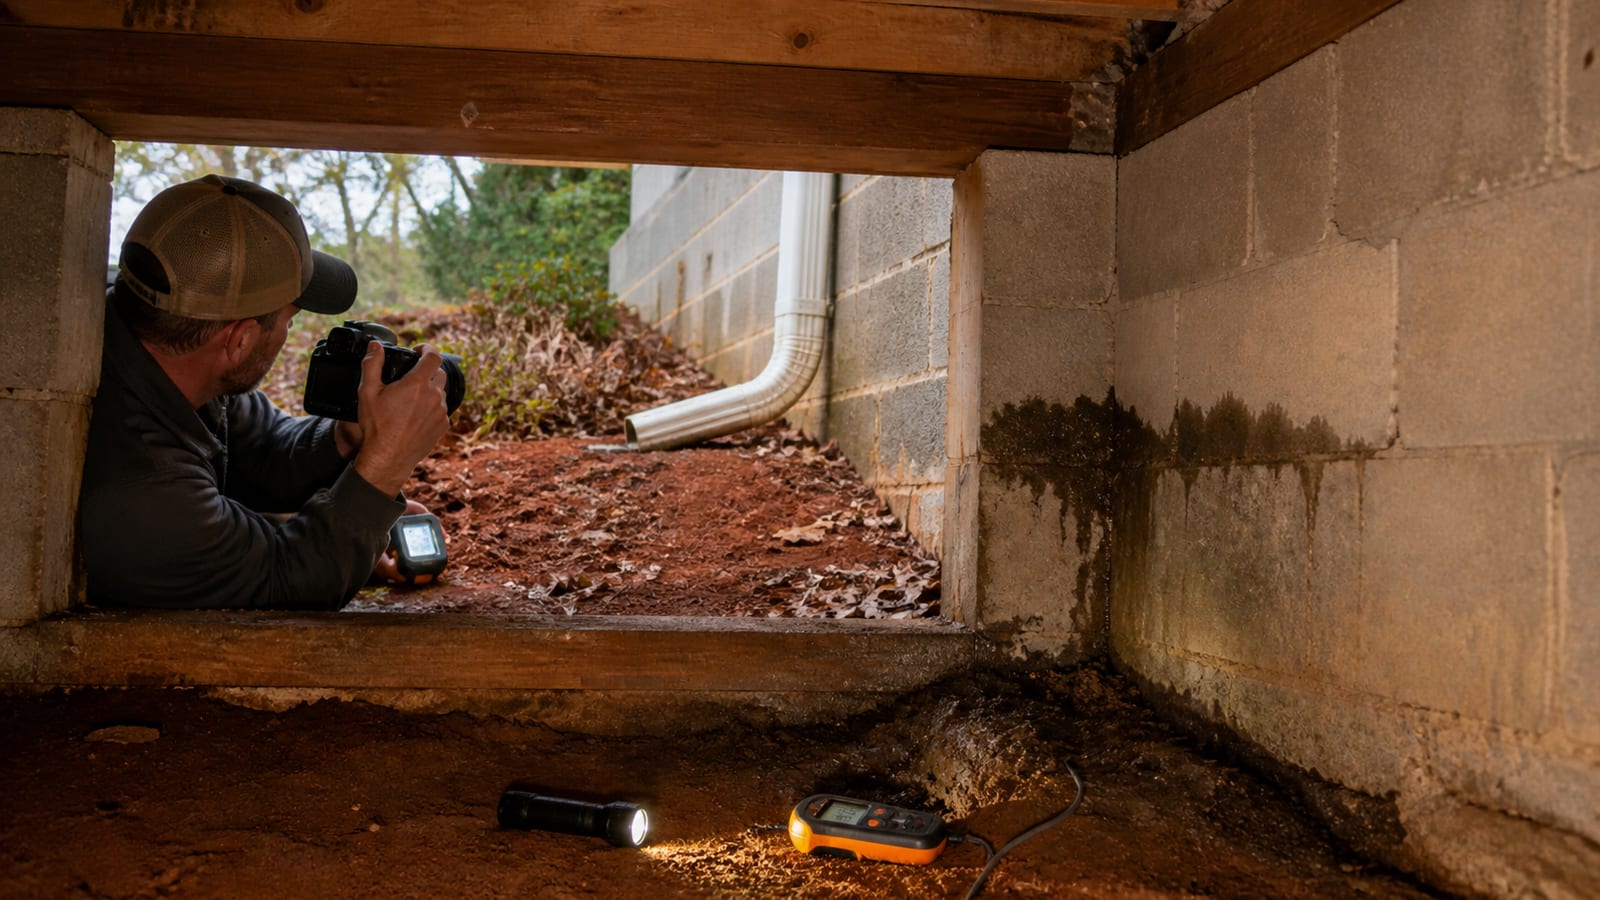
Photograph from the access before stepping in. Capture the ground, walls, ductwork, framing, and equipment relationship. Wide photographs help locate later close-ups.
Note whether water is:
- flowing;
- dripping;
- standing;
- trapped beneath a liner;
- beading on cold surfaces;
- soaking insulation;
- leaving a receding edge or sediment line.
Find the highest wet point
Water collects low but may originate high. Look at the underside of the subfloor, plumbing, ducts, foundation wall, and penetrations above the puddle. Trace stains and droplets visually upward.
The collection point does not by itself distinguish wall entry, groundwater, roof runoff, plumbing, condensate, or equipment discharge. The standing-water problem page outlines why path tracing comes before a generic water-control recommendation.
Mark water boundaries without damaging materials
Photograph a fixed reference such as a pier, wall joint, or liner seam. Note the distance from the access. If a visible high-water mark is present, include a ruler or common object for scale without touching electrical components or suspected contamination.
Do not mark finished equipment or unknown materials. A sketch with labeled piers and directions can show where water spread.
Check the ground liner and low points
A vapor barrier or encapsulation liner may reveal several different storm conditions:
- water lying on top from a drip or wall entry;
- a raised bubble indicating water beneath;
- mud or sediment at a seam;
- a pulled perimeter edge;
- a puncture from debris;
- water collecting at an intentionally low drainage point;
- staining that predates the current storm.
Do not cut a raised liner to release water. The location and volume need to be understood, and an uncontrolled cut can spread water or damage the system. Do not assume the top of a liner is dry underneath.
Where soil remains exposed, note erosion, new channels, saturated areas, and displaced material. Avoid digging inside the crawl space during the inspection.
Observe drainage and mechanical equipment safely
Sump basin and pump
From a safe position, note:
- approximate water level;
- whether the pump is running, silent, or alarming;
- whether power was lost during the storm;
- condition of the visible lid and discharge pipe;
- whether water returns rapidly after a cycle;
- whether discharge outside appears to return toward the house.
Do not place a hand in the basin, manipulate a submerged float, or energize wet equipment. Repeated high water, an alarm, or an uncertain discharge path calls for equipment review. See the sump pump repair and maintenance page for system context.
Dehumidifier and drain
A dehumidifier manages airborne moisture; it is not a pump for storm water. Note whether it has power, an error display, a blocked intake, a dirty filter, or a disconnected drain. Do not operate a unit that is wet or standing in water.
Interior drains
Look for debris at visible inlets, sediment patterns, and water bypassing the drain path. Do not reach into a drain or use chemical drain cleaners. A drain that worked in ordinary rain may be undersized, blocked, disconnected, or overwhelmed, but observation alone may not distinguish these conditions.
Look above the ground for storm effects
Insulation
Wet fiberglass may sag, darken, or hold droplets. Photograph it before touching. Do not pull it down to “help it dry” when wiring, suspected growth, or contaminated water may be hidden above.
Framing and subfloor
Look for fresh wet boundaries, drips, staining, softened-looking material, displaced supports, and hardware corrosion. Appearance cannot establish structural capacity. New sagging, movement, cracking, or support displacement requires a qualified evaluation.
Ducts and pipes
Fine beads distributed over cold ducts or pipes may be condensation. A stream at one joint may be a leak. Storm humidity and extended AC operation can create condensation at the same time rainwater enters elsewhere.
Foundation walls and piers
Record wet streaks, sediment, wall-joint entry, low openings, cracks with active flow, and water emerging at the wall-floor boundary. Do not label a crack structural from a photograph. Its movement, geometry, and surrounding conditions need evaluation.
Build a post-storm photo set that can be compared later
Use the same sequence for each major rain:
- Exterior wide view of each side.
- Gutter and downspout discharge points.
- Grade and any low openings.
- Crawl space access before entry.
- Interior wide view from the access.
- Each visible entry path.
- Highest wet point.
- Lowest collection point.
- Drain, sump, and dehumidifier status.
- Wet insulation, ducts, plumbing, and framing.
- Humidity readings with location and time.
- Follow-up photographs after 24 hours or another consistent interval, if safe.
Keep original files with timestamps. Avoid filters or heavy edits that change color and contrast. Name images by location, such as “north wall near downspout,” rather than only by sequence number.
Drying observations after the immediate event
Once active water is controlled and the space is safe, document how the area dries. Different materials behave differently. A liner surface may dry quickly while soil beneath it stays wet. Wood, fiberglass, masonry, and enclosed cavities may retain moisture.
Do not treat lack of visible droplets as proof that all materials are dry. A follow-up inspection may include appropriate moisture measurements and comparison with known dry areas. Record dehumidifier and drainage operation rather than changing settings repeatedly.
Odor that grows after the storm can indicate damp material or trapped moisture, but smell does not identify material condition. The musty odor problem page provides a separate path for persistent odors.
Actions that can destroy useful evidence
Avoid these premature steps:
- pumping water without documenting level, location, and discharge;
- cutting the liner to drain a bubble;
- spraying fragrance, bleach, coating, or cleaner before source review;
- removing wet insulation without checking wiring and contamination;
- opening powered equipment;
- changing multiple drain or dehumidifier settings;
- sealing vents and penetrations as an isolated experiment;
- grading saturated soil without knowing downstream flow;
- discarding failed parts before photographing labels and connections.
Emergency mitigation may be necessary when safety or active damage is involved. Even then, document conditions first when that can be done safely.
Limitations and when to arrange an inspection
Arrange an inspection promptly when:
- water is near electrical equipment or wiring;
- sewage, fuel, or unknown contaminated water is present;
- water continues entering after rain stops;
- the liner is lifted across a large area;
- a sump alarm repeats or equipment stayed submerged;
- discharge returns toward the foundation;
- insulation or wood remains wet;
- a support, pier, wall, or access has moved;
- visible suspected growth or strong odor expands during drying;
- the source cannot be traced safely;
- you cannot enter without crossing water or disturbing hazards.
A post-storm inspection should state what was observed, what remains uncertain, and which system needs further evaluation. It should not turn a water mark into an unsupported structural, mold, code, or equipment conclusion.
Frequently asked questions
Should I enter the crawl space while water is still present?
Not when water may contact electrical components, when contamination is possible, when the route is unstable, or when depth and hazards are unknown. Document from the access and follow utility, emergency, and professional guidance. Safety outweighs getting an immediate close-up.
Should I test the sump pump by lifting the float?
Do not reach into a wet basin or manipulate powered equipment after a storm. Observe water level, alarm status, sound, and visible discharge from a safe position. Testing should follow the equipment instructions and safe electrical procedures.
What if water is trapped under the encapsulation liner?
Photograph the raised area, its boundaries, nearby walls, and drainage points. Do not cut the liner as a first response. The water source and a controlled removal method should be determined before the system is opened.
How can I tell whether a wall stain is from this storm?
Compare dated pre-storm photographs if available, look for fresh droplets or a changing wet edge, and photograph the stain again as conditions dry. Color alone cannot date a stain. Moisture measurements and repeated observations provide better evidence.
When should I take follow-up photographs?
Take an initial set as soon as conditions are safe, then repeat from the same positions after a consistent interval and after the next comparable rain if needed. The exact timing depends on safety and active mitigation. Consistent location and time records matter more than a single perfect schedule.
Sources and further reading
- National Weather Service: Flood Safety
- NOAA National Hurricane Center: Tropical Cyclone Hazards
- U.S. EPA: Flood Cleanup to Protect Indoor Air and Your Health
- NC State Extension: Mold and Moisture Checklist
How this applies in Raleigh, NC
For homeowners in Raleigh, NC, this question is most useful when the record includes the recent weather, the first place the condition appeared, and whether cooling equipment was operating. The Triangle is warm and humid for much of the year, but that regional context does not identify the moisture source at one property. Compare the crawl space inspection checklist with the How to Choose a Crawl Space Company Near Fuquay-Varina, NC before choosing a property-specific next step.