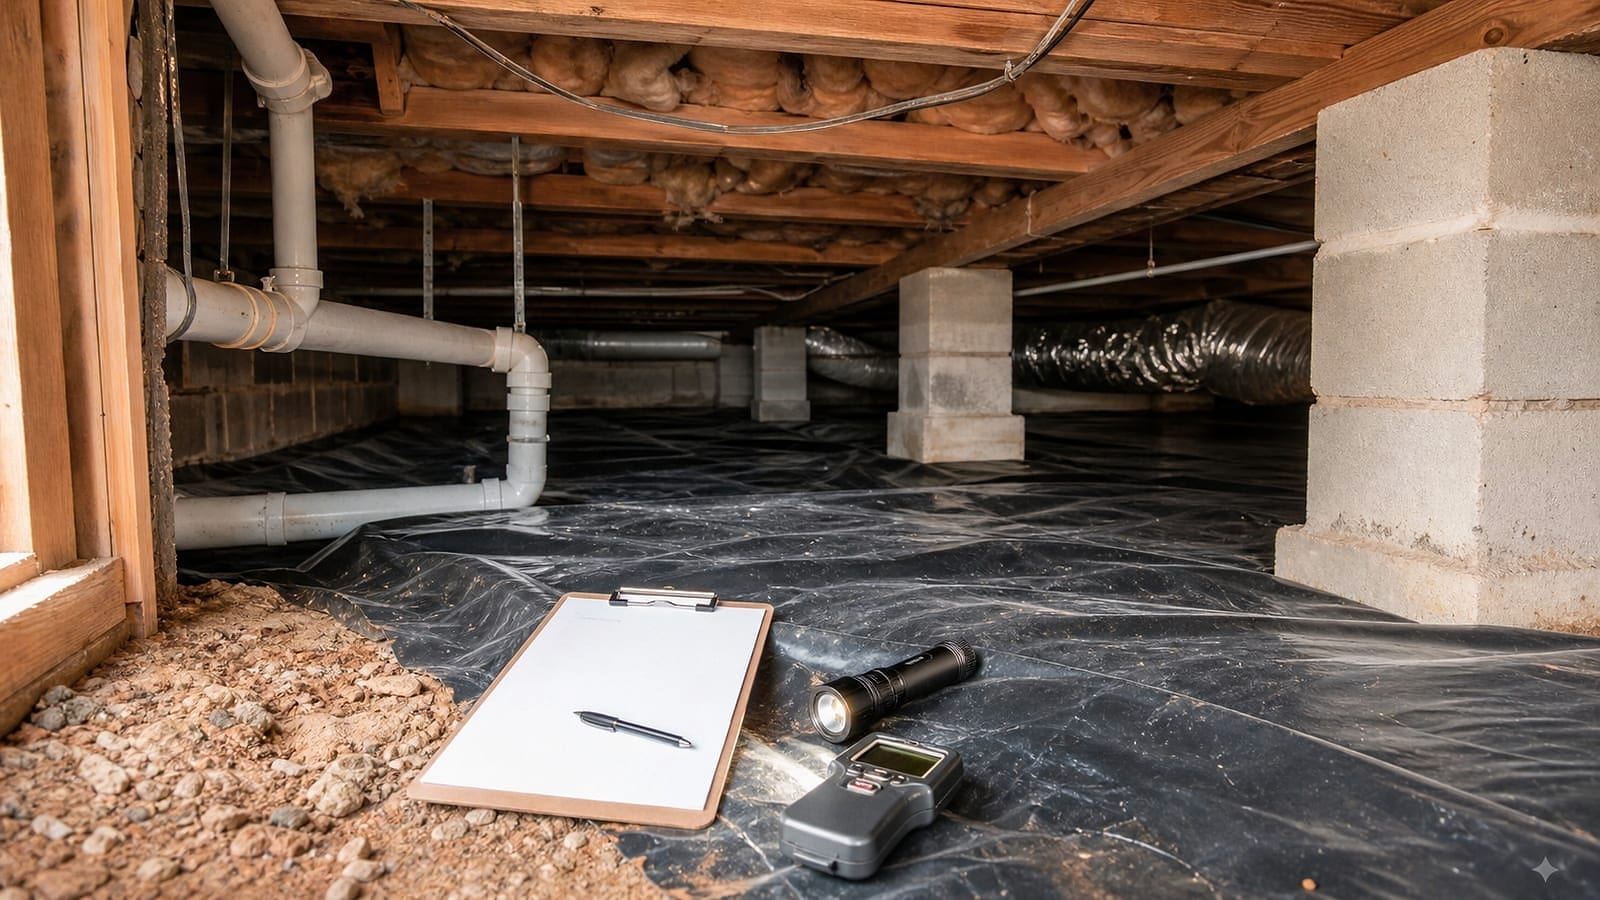
Short answer
After crawl space work, a seller should keep a property file that shows what condition was observed, what scope was approved, what was actually completed, which permits or inspections applied, what equipment remains, where drains discharge, and what maintenance occurred. Include dated before-and-after photos, final invoices, manuals, service records, moisture readings with context, pest and structural documents, and records of later trade entry. Organize facts without promising performance or interpreting seller-disclosure duties. Real-estate and legal professionals should address transaction-specific requirements.
Good records let the next person understand the system
Crawl space work often combines several components that are easy to confuse once they are covered by a liner or hidden below the floor. The project may include cleaning, material removal, ground-vapor control, wall sealing, drainage, a sump, dehumidification, insulation, framing repair, electrical work, plumbing, exterior runoff changes, or only a portion of those items.
A future buyer or inspector should not have to reverse-engineer the scope from a clean surface. Records should answer:
- What prompted the work?
- What was observed before it began?
- Which components were included?
- Which proposed items were declined or deferred?
- What changed during installation?
- What equipment needs routine attention?
- What conditions have occurred since completion?
The property file is a factual history, not a sales brochure. Avoid statements such as “permanently fixed,” “maintenance-free,” or “no water will ever return.” Weather, equipment, plumbing, pests, and later work can change conditions.
Create one master index
Start with a one-page index that lists each document, date, and subject. Use clear filenames in digital storage:
2026-05-14-crawl-space-original-inspection.pdf2026-05-20-approved-scope.pdf2026-06-02-completion-photos-north-wall.pdf2026-08-15-dehumidifier-service.pdf
Keep the original files rather than screenshots when possible. Store a backup outside the home computer. A paper binder is useful during an inspection, but digital records are easier to transfer and preserve.
Include current contact information only from verified documents. If Carolina Encapsulation Company performed work, use the factual company information on the About page rather than adding credentials, claims, or personnel details that do not appear in the project records.
Document the condition before work
The starting record explains why the project occurred. Include:
- Inspection report
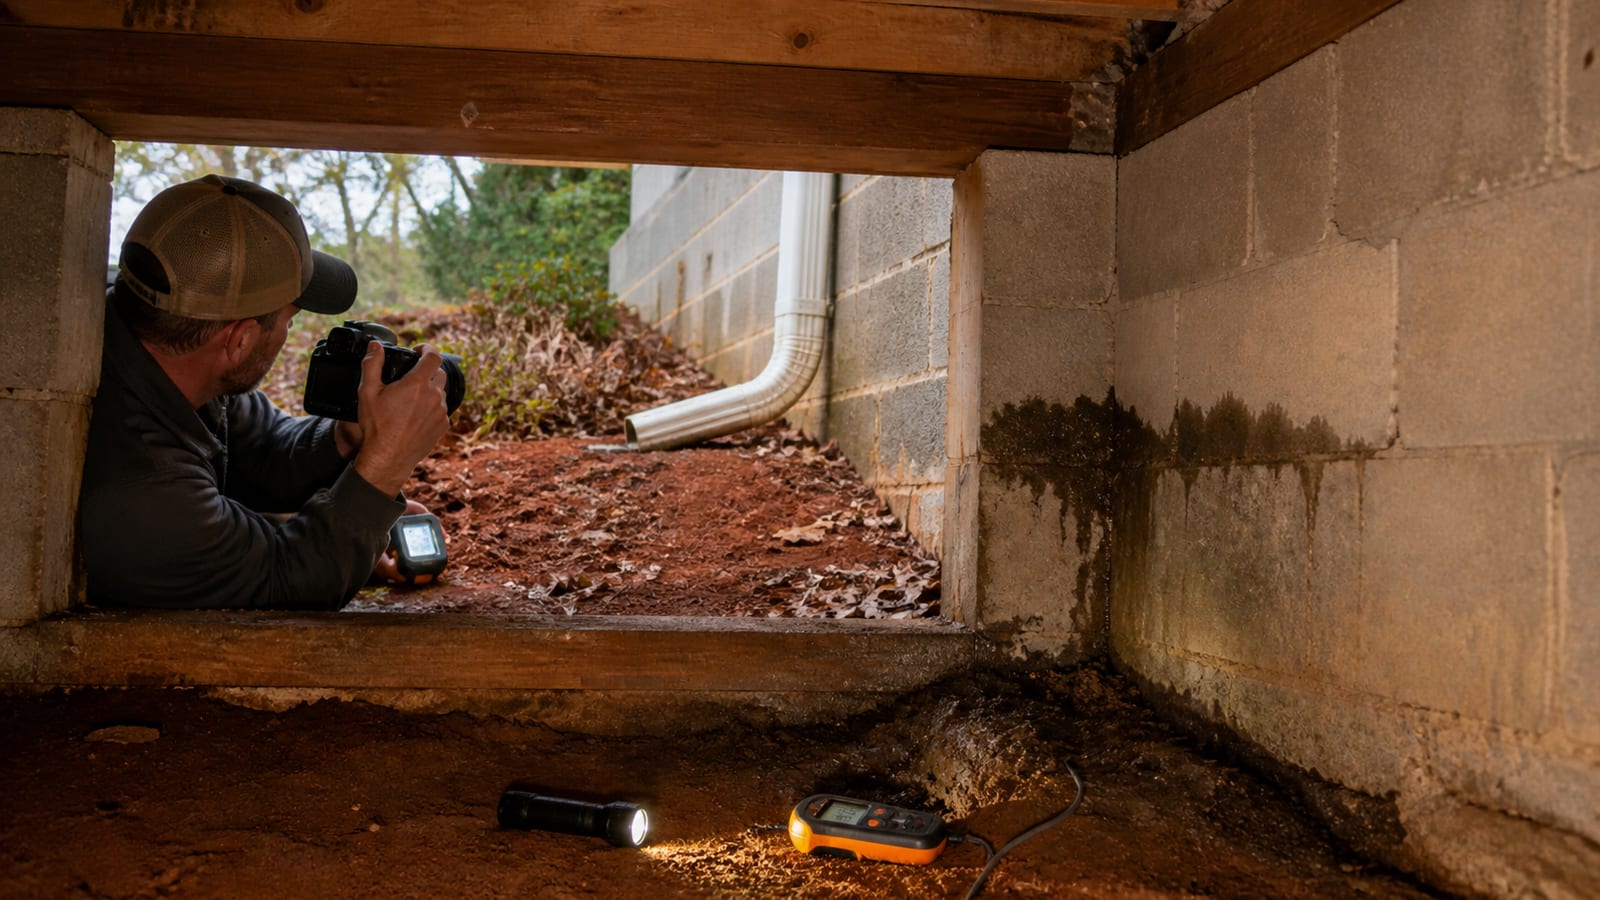
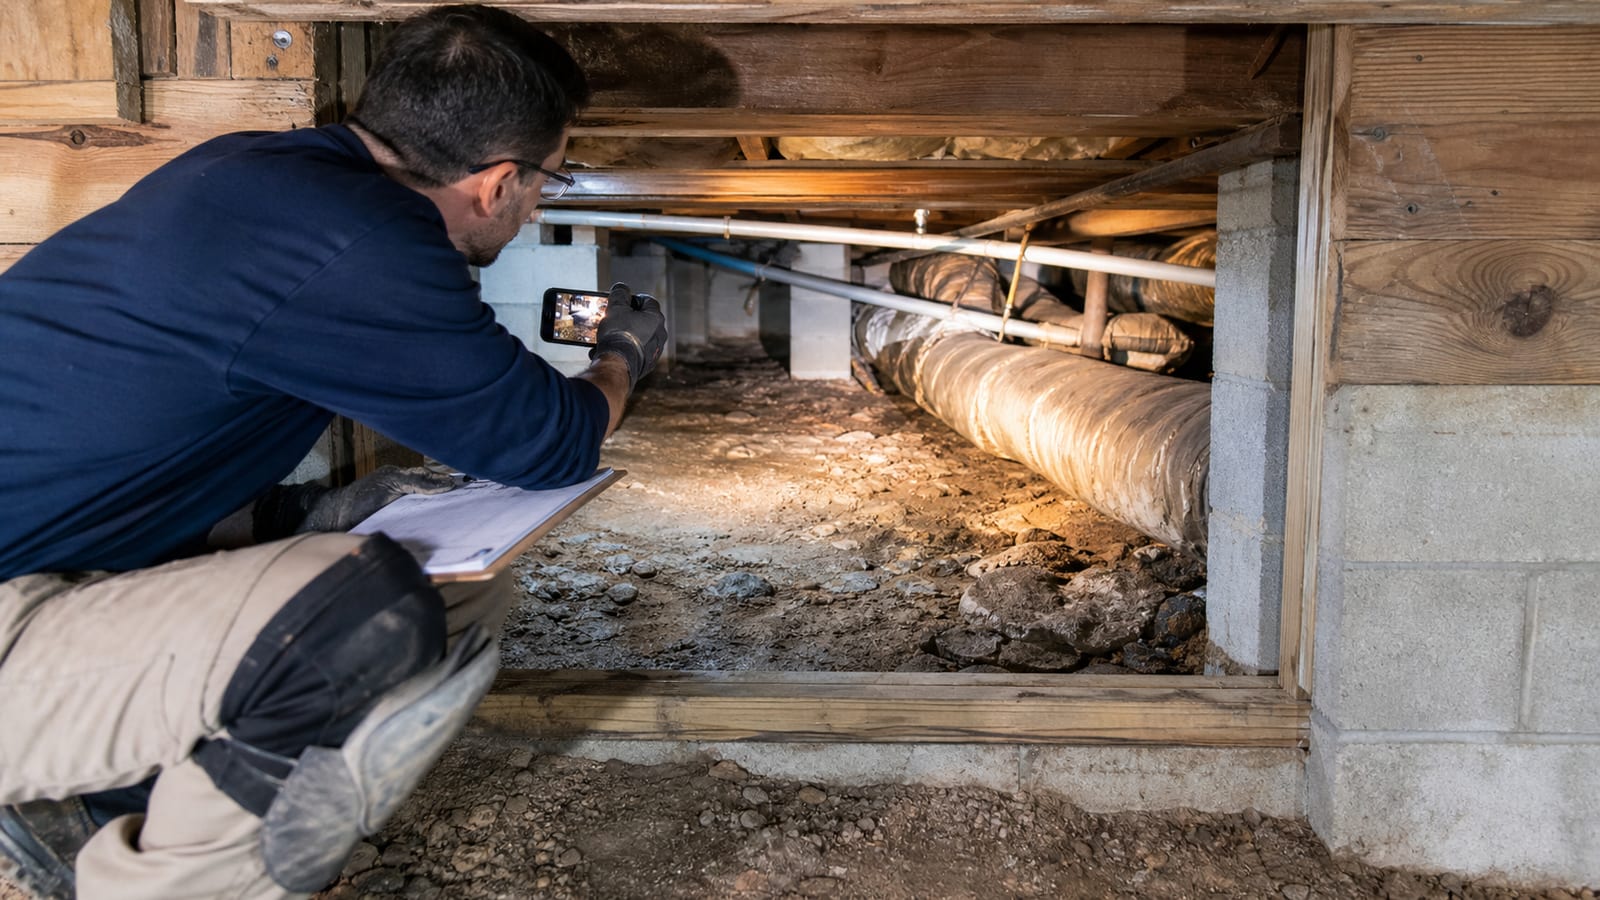
- Dated wide, medium, and close photos
- Crawl space sketch
- Humidity readings with meter location and time
- Moisture readings with material, method, and location
- Water-event dates and weather notes
- Odor location and timing
- Equipment status
- Pest documentation
- Plumbing, HVAC, electrical, or structural findings
Avoid reducing the history to “had mold” or “had water.” State what was seen: white deposit on the east block wall, puddle near the northwest pier after heavy rain, damaged insulation below the kitchen, or dehumidifier alarm on a specific date. If a substance or cause was not confirmed, keep the description neutral.
The crawl space inspection checklist provides a structure for location-specific observations.
Preserve the proposal and the final scope separately
A proposal may contain options that were never authorized. Mark the accepted scope and retain change orders. Then obtain a final completion document showing what was actually installed or repaired.
The scope should identify, when applicable:
- Ground liner coverage
- Seam and penetration sealing
- Wall and pier details
- Access-door work
- Vent and air sealing
- Insulation removal or installation
- Interior drainage route
- Sump basin, pump, alarm, and backup
- Dehumidifier and condensate drain
- Exterior downspout, outlet, or grading work
- Cleaning or material removal
- Joist, beam, subfloor, or support repair
- Plumbing, HVAC, and electrical work
If field conditions changed the plan, record the change in writing and photograph the location. An unexplained difference between proposal and visible work creates unnecessary uncertainty later.
Keep permits and inspection records where applicable
North Carolina Office of State Fire Marshal interpretations indicate that conversion to a closed crawl space can require a permit in certain circumstances. Electrical, mechanical, plumbing, or structural portions may also involve separate requirements depending on scope and jurisdiction.
The file should include:
- Permit application or number
- Approved plans or scope when available
- Inspection results
- Correction notices and closeout
- Communications clarifying whether a permit applied
Do not make a universal claim that encapsulation always or never requires a permit. If records are incomplete, contact the authority having jurisdiction rather than recreating them from memory.
Build a useful photo set
Before photos
Capture the entire space by section, not only the worst area. Include walls, piers, floor framing, insulation, mechanical equipment, soil, access, and exterior drainage.
Progress photos
Show conditions that will be concealed:
- Soil and drainage before liner
- Drain-channel location
- Sump basin and piping
- Wall preparation
- Sealed penetrations
- Repaired framing before it is covered
- Electrical and equipment connections
Completion photos
Repeat the original angles. Add closeups of seams, wall edges, access details, equipment labels for private records, drains, alarm, and exterior outlets. Do not rely on labels as proof of performance, but preserve them for manuals and service.
Later photos
Take dated photos after major storms, maintenance, and trade visits. Repeating the same angles makes change easier to see.
Map water from collection to discharge
A future owner should know where water goes.
Draw:
- Known exterior roof and surface-drainage features
- Foundation walls and interior low points
- Drainage-channel routes
- Sump basin location
- Primary and backup discharge lines
- Final visible outlet
- Dehumidifier condensate line or pump
Label underground or concealed sections as unverified if their path is not known. Do not guess.
The crawl space drainage page explains the collection role, while the foundation drainage page addresses roof runoff and grading. Keeping both records prevents the interior system from being mistaken for the entire water plan.
Keep equipment documents together
For each dehumidifier, sump pump, alarm, backup, condensate pump, or monitor, retain:
- Manual
- Model and serial information in private records
- Installation date
- Filter or consumable specifications
- Setpoint and sensor location
- Drain or discharge route
- Test procedure
- Alarm meanings
- Service history
- Battery information where applicable
Record actual maintenance instead of writing “serviced regularly.” A useful entry says what was checked, what was changed, who performed it, and the result.
The dehumidifier maintenance page and sump maintenance page provide context for these two equipment categories.
Record moisture trends with enough context
A humidity or wood-moisture number without location and method can mislead. Record:
- Date and time
- Exact location
- Air temperature if available
- Relative humidity
- Meter used
- Material measured
- Surface or pin location
- Weather
- Equipment status
- Comparison location
Do not select only the lowest reading for a sales packet. A complete trend is more credible and useful. If readings rose during a storm or equipment outage, keep the note explaining what happened and what follow-up occurred.
Preserve pest-inspection access and records
Keep North Carolina wood-destroying-insect reports, treatment diagrams, inspection notes, and records of inaccessible areas. A WDIR has a defined scope and is not a full moisture, structural, or encapsulation assessment.
Photos should show that important wall, sill, pier, and framing areas remain available for inspection. If pest work required pulling liner, drilling, or moving insulation, document how encapsulation details were restored.
NC State Extension publications describe termite behavior and prevention considerations, while the North Carolina Department of Agriculture and Consumer Services provides official WDIR guidance. Property-specific pest statements should come from the appropriate professional.
Document structural work precisely
For joist, beam, subfloor, pier, or support work, include:
- Original finding and location
- Professional evaluation where obtained
- Permit records where applicable
- Repair drawings or written scope
- Material description
- Progress photos before concealment
- Final inspection or completion record
- Moisture correction associated with the repair
Do not translate one repair into a broad statement about the condition of the entire structure or the absence of future movement. Keep the conclusion within the scope of the actual document.
The structural repair service page describes this work category without replacing engineering or transaction advice.
Record every later trade visit
Plumbers, HVAC technicians, pest professionals, electricians, cable installers, and inspectors can alter a sealed crawl space. Add a short entry after access:
- Date and trade
- Reason for entry
- Area visited
- New pipe, wire, or equipment
- Liner moved, cut, or repaired
- Drain tubing disturbed
- Insulation removed or replaced
- Debris removed
- Completion photos
This history helps explain a puncture or open penetration that did not exist in the original completion photos.
Separate transferable documents from assumptions
Some project documents may contain service terms, equipment coverage, or conditions that address transfer. Keep the original text. Do not tell a buyer that any term transfers until the document and provider confirm it.
Create a checklist:
- Document name
- Original holder
- Whether transfer language exists
- Required notice or action
- Contact used to verify
- Verification date
This is recordkeeping, not a promise about the rights attached to a particular agreement.
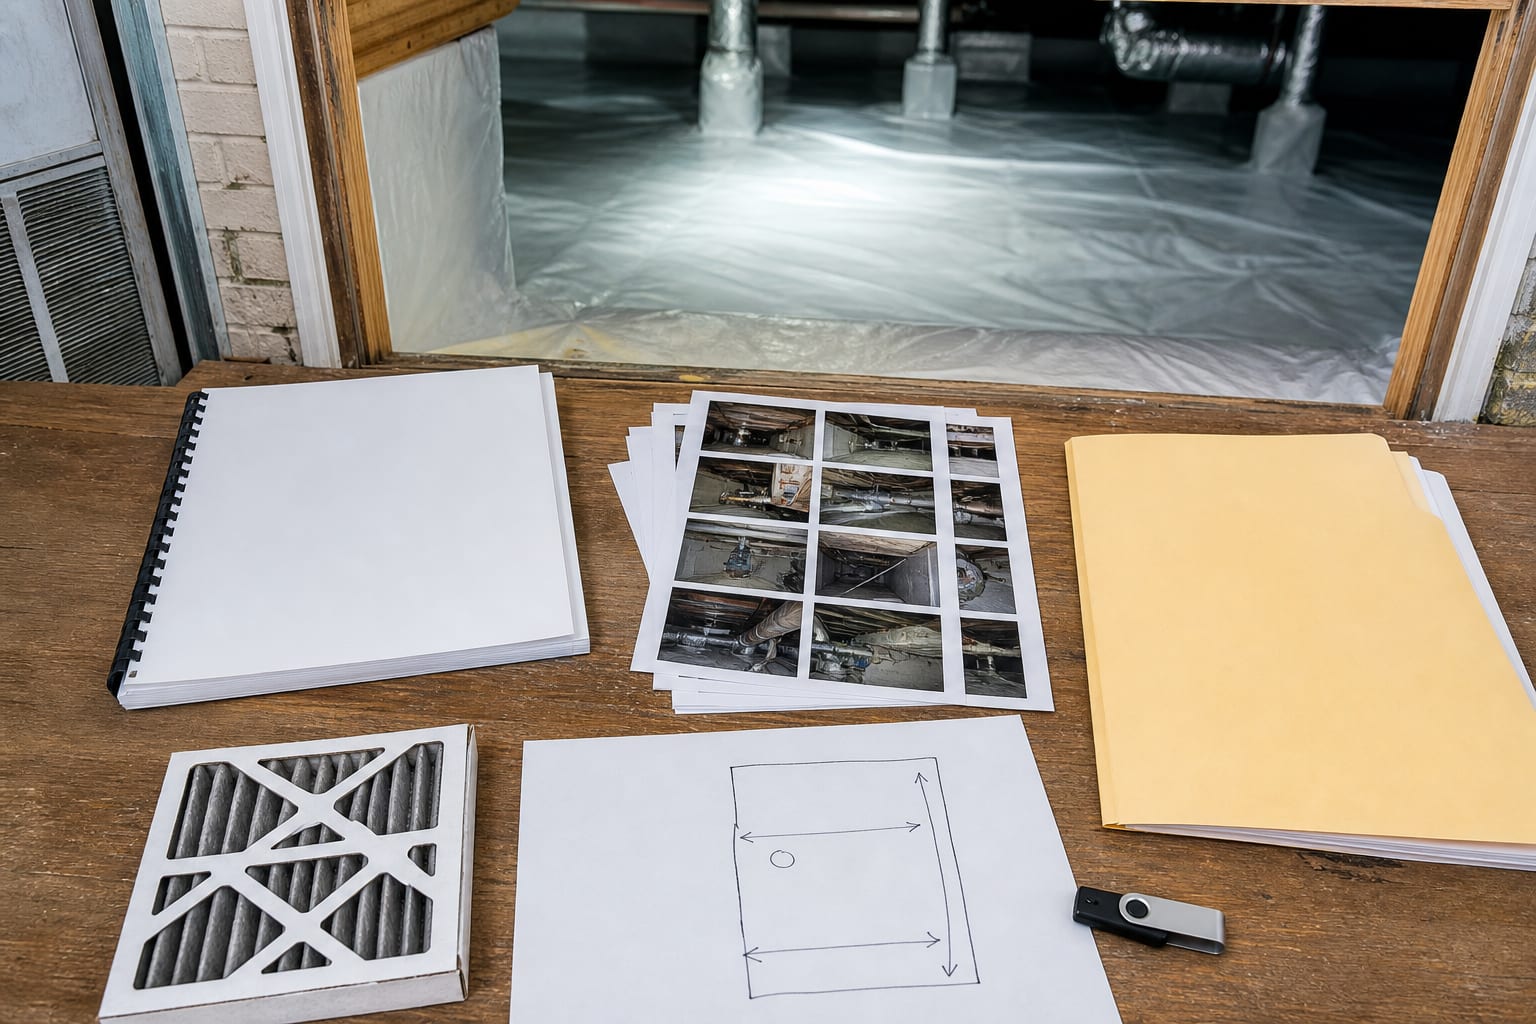
Prepare a concise buyer handoff
The handoff should include:
- One-page system summary
- Crawl space and drainage map
- Final scope and invoice
- Permits and final inspections where applicable
- Before, progress, and completion photos
- Equipment manuals
- Maintenance and alarm log
- Moisture and storm observations
- Pest and structural records
- Later trade-entry log
Keep personal payment data, access codes, Wi-Fi credentials, and other sensitive information out of the transferable copy.
Keep the file factual and easy to audit
Remove duplicate drafts, unsigned proposals, and marketing sheets that obscure the final record, but retain any document that explains a changed scope. Do not edit inspection conclusions to sound stronger. If a document contains an error, keep the original and attach a dated correction from the person or organization responsible for it.
Use neutral labels for uncertain conditions. “White deposit documented on west block wall” is more useful than an unsupported material identification. “No water visible on inspection date” is more accurate than a prediction that water cannot return. Clear limits make the file more credible and help the next inspector identify what still needs verification.
Limitations and when to update the file
Documentation cannot prove conditions hidden from view or predict future performance. It does make current inspection more efficient and shows whether maintenance and follow-up were completed.
Update the file after:
- Heavy rain or a power outage that affects the system
- A sump or dehumidifier alarm
- Equipment maintenance or replacement
- Plumbing, HVAC, pest, electrical, or structural work
- Liner repair
- New standing water, odor, or elevated humidity
- Exterior gutter, downspout, grading, or drainage work
If the current system does not match the records, arrange an inspection before presenting the file as complete. Request a free crawl space inspection to document current visible conditions, while relying on real-estate and legal professionals for disclosure and contract questions.
Frequently asked questions
What is the most important document after crawl space work?
The final written scope is the foundation because it states what was actually completed. It is strongest when paired with dated photos, permits where applicable, equipment manuals, and maintenance records.
Should a seller keep the original crawl space inspection?
Yes. It explains the starting condition and lets later readers compare the problem, approved work, and current state. Keep uncertain findings described exactly as they were reported.
How should humidity readings be documented?
Record the date, time, exact location, air temperature if available, relative humidity, meter, weather, and equipment status. A trend with context is more useful than one isolated number.
Should equipment manuals transfer to a buyer?
Yes. Include manuals, model information, drain and discharge routes, alarm meanings, service history, and maintenance requirements. Remove private access credentials from the copy.
Do crawl space records replace a buyer inspection?
No. Records explain history and scope. A current inspection evaluates visible conditions and identifies areas needing specialized review. Concealed conditions and future performance remain limitations.
Sources and further reading
- North Carolina Office of State Fire Marshal: Permit Required for Conversion to a Closed Crawl Space
- North Carolina Department of Agriculture and Consumer Services: Structural Homebuyers Guide to the WDIR
- North Carolina State Extension: Preventing Termite Problems in Existing Homes
- North Carolina State Extension: Preventative Home Maintenance
- U.S. Department of Energy: Unvented Conditioned Crawlspaces
How this applies in Angier, NC
For a home transaction in Angier, NC, keep crawl space reports, scope documents, equipment details, and maintenance records together. The city identifies the property context, while inspection, legal, pest, engineering, and code questions still belong to the professionals responsible for those scopes. Compare the crawl space inspection checklist with the How to Choose a Crawl Space Company Near Fuquay-Varina, NC before choosing a property-specific next step.