
Preparation
Identify debris, old liner or insulation, cleaning, access work, storage, obstructions, disposal, and areas that require another trade before installation can proceed.
Build a property-specific sequence from safe observations and inspection evidence through scope comparison, preparation, coordination, verification, documentation, and maintenance.
Prefer to talk? Call 704-207-9348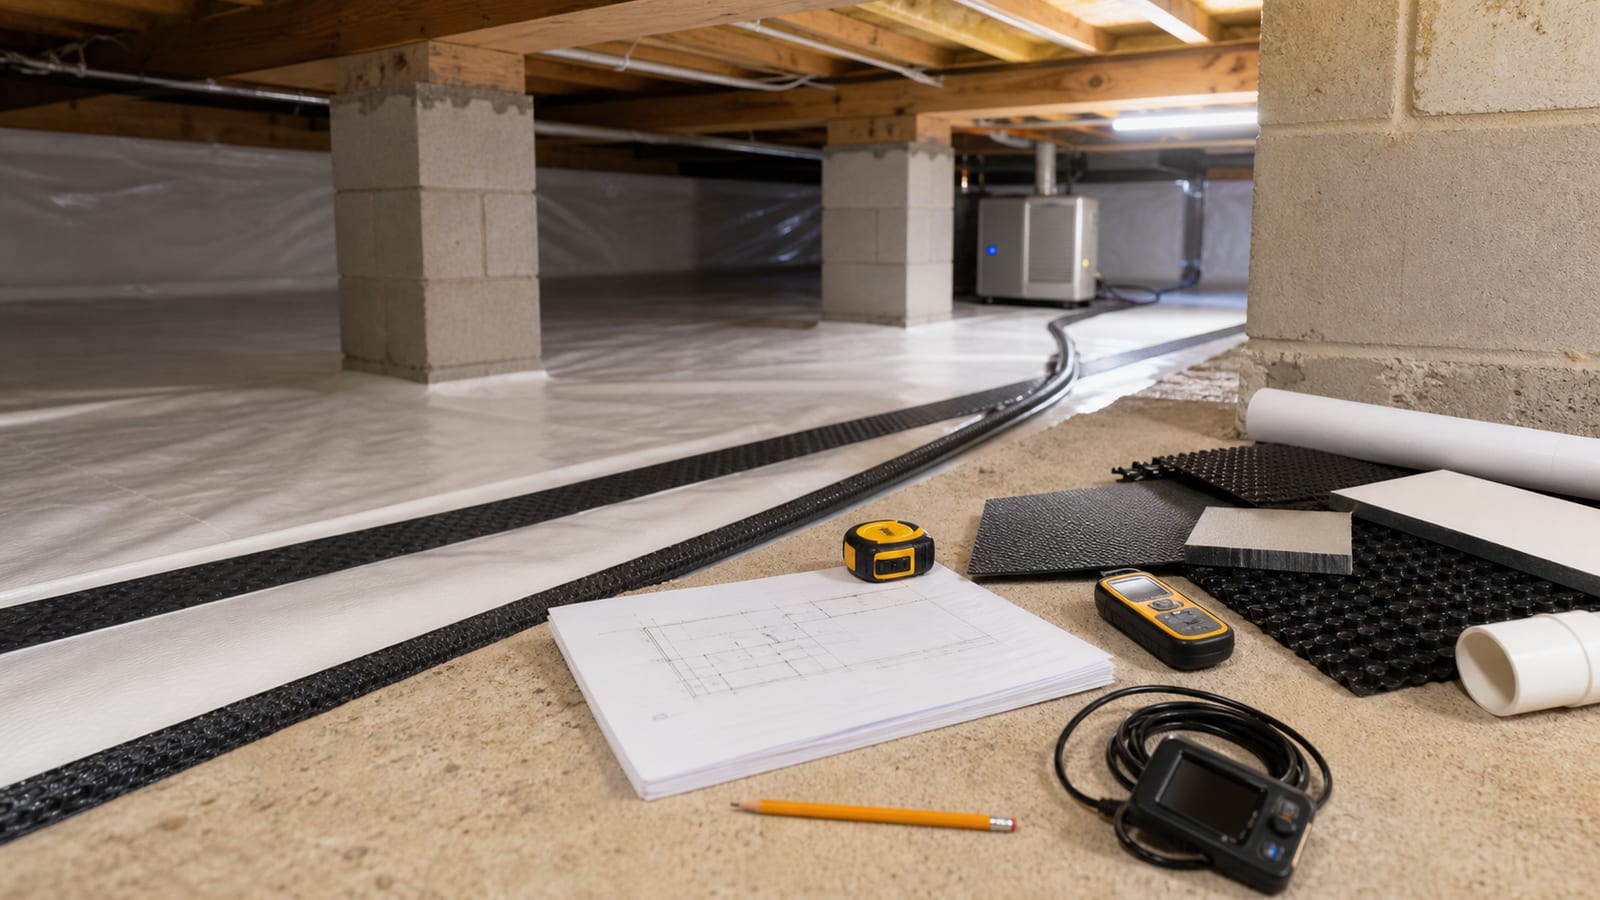
A complete crawl space plan connects the condition, the evidence, the function of each proposed component, the order of work, the responsibilities of each trade, the written coverage, and the maintenance handoff. It should make clear why drainage, preparation, sealing, equipment, insulation, cleaning, or repair appears in the scope.
Planning begins before a product is selected. Active water may need to be managed before the ground is covered. Moisture sources should be addressed before damaged insulation or wood is treated as an isolated issue. Air sealing and mechanical drying should be coordinated. Equipment, drains, alarms, and observable areas should remain available for future service.
This center organizes that sequence. The existing crawl space project planner remains a factor-only tool, not a quote. Use it after the inspection questions are clear, then compare its categories with the actual measured scope.
Move between inspection, symptoms, services, comparisons, cost factors, and the factor-only planner without treating any one page as a remote scope.
Use this section to organize evidence, understand functions, compare options, or prepare the next property-specific question.
Open the planning resource →Use this section to organize evidence, understand functions, compare options, or prepare the next property-specific question.
Open the planning resource →Use this section to organize evidence, understand functions, compare options, or prepare the next property-specific question.
Open the planning resource →Use this section to organize evidence, understand functions, compare options, or prepare the next property-specific question.
Open the planning resource →Use this section to organize evidence, understand functions, compare options, or prepare the next property-specific question.
Open the planning resource →Use this section to organize evidence, understand functions, compare options, or prepare the next property-specific question.
Open the planning resource →Use this section to organize evidence, understand functions, compare options, or prepare the next property-specific question.
Open the planning resource →Use this section to organize evidence, understand functions, compare options, or prepare the next property-specific question.
Open the planning resource →Record what you can observe safely, when it occurs, recent weather, the exact location, and any related household event. Useful notes include standing water after rain, damp soil, condensation, musty odors, humidity trends, falling insulation, visible liner damage, equipment alarms, access changes, or movement in the floor above.
Photographs are more useful when they show context. Include the wider wall, pier, drain, duct, or framing area before moving closer. A location marker and date help later comparison. Avoid labeling the source before it is established. “Wet liner beside the east wall after heavy rain” is stronger evidence than “waterproofing failed.”
Use the crawl space inspection checklist to prepare the notes. Do not enter around wet electrical equipment, suspected sewage, exposed wiring, animals, structural movement, or access that you cannot navigate safely.
The inspection should begin with the reported concern and review accessible water paths, exterior runoff, ground conditions, the existing liner, vents and openings, humidity, equipment, insulation, access, and observable framing. It should distinguish liquid water, ground vapor, outside air, condensation, plumbing or mechanical sources, and material conditions where the evidence supports that distinction.
Ask the inspector to explain what was visible, what was inaccessible, and which findings require another qualified trade. Plumbing, electrical, HVAC, pest, and structural questions have their own professional boundaries. A crawl space proposal should not turn a limited visual observation into an unsupported conclusion.
Use the common crawl space problem library to connect symptoms with questions and the crawl space glossary to clarify terms used during the visit.
Every major line item should state the function, coverage, sequence, and relevant condition instead of relying on a broad product or service label.
Identify debris, old liner or insulation, cleaning, access work, storage, obstructions, disposal, and areas that require another trade before installation can proceed.
Describe the entry or collection path, perimeter or point drainage, basin or outlet, sump equipment, power, alarm, discharge, exterior coordination, and maintenance access.
State liner material, ground coverage, seams, walls, piers, edges, fastening, penetrations, drains, access, and the treatment of transitions rather than quoting thickness alone.
Identify vents, doors, leakage paths, drying method, equipment location, condensate route, service clearances, controls, sensors, and the relationship with other mechanical systems.
Separate material removal, cleaning, insulation, wood repair, framing work, and pest access. Explain how the moisture source is addressed and which conclusions need another professional.
State how completion will be documented, which readings or observations will be recorded, what remains visible, what is excluded, and how concealed conditions or changes will be handled.
Compare the conditions and scope before the total. One proposal may include preparation, drainage, wall and pier coverage, vent sealing, equipment, electrical coordination, and documentation while another may use one line labeled “encapsulation.” Those are not necessarily the same project.
Create a comparison table using the same categories: measurements, access, preparation, water source, collection, discharge, liner, walls, piers, seams, vents, penetrations, dehumidification, condensate, insulation, cleaning, repair, service access, exclusions, change process, and completion records.
The crawl space comparison library separates similar approaches. The cost-factor center explains why scope variables change the project without publishing a remote price. If a line is unclear, request clarification before assuming it matches another proposal.
A universal price would ignore measurement, access, height, obstacles, active water, preparation, materials, walls, piers, equipment, drainage, discharge routing, electrical coordination, insulation, cleaning, repairs, and concealed conditions. Even homes with similar footprints can require different functions and sequencing.
The factor-only planner can help you identify categories that may affect the scope. It cannot see the property or create a quote. Use it to prepare questions for the inspection and to confirm that the written proposal addresses the conditions discussed.
Ask how unexpected conditions will be documented and approved. A clear change process should identify the evidence, proposed change, effect on the sequence, and authorization before added work proceeds.
Confirm access, scheduling, material staging, occupied-area protection, removal and disposal, utility responsibilities, electrical or plumbing needs, drainage and discharge plans, equipment locations, pest-inspection access, photographs, and the response to concealed conditions. Identify which person or trade owns each dependency.
Do not disconnect equipment, move wiring, alter plumbing, disturb animals, enter standing water, or remove suspected hazardous material without the appropriate plan. If another trade must work first, document the handoff point and verify that later work will not damage the liner, drains, equipment, or access route.
Keep a clean pre-work baseline. Photographs of walls, piers, framing, drains, equipment areas, and access can help explain later changes and support the final documentation.
Walk through the observable system at completion. Confirm the liner coverage, walls, piers, seams, vents, access, drains, sump and alarm, discharge, dehumidifier, condensate route, sensor locations, equipment clearances, and any visible repair areas that belong to the scope. Record limitations rather than implying concealed areas were verified.
Collect the final scope, change records, completion photographs, manuals, filter information, service instructions, drain and discharge notes, repair records, and applicable permits. The owner should know what to check, what requires professional service, and where the records are stored.
Move the completed project into the Crawl Space Maintenance Center. A project is easier to preserve when inspection points remain visible and the next owner or service provider can understand the system without dismantling it.
Start with the concern, timing, and safe observations rather than a product. Record water after rain, odors, humidity trends, condensation, liner damage, insulation, equipment, access, floor changes, and prior work. An inspection can then connect those observations with water paths, ground conditions, air movement, materials, and the sequence that may apply.
Normalize the line items before comparing totals. Review preparation, debris removal, water management, liner coverage, wall and pier details, vents, penetrations, equipment, drains, insulation, cleaning, repairs, electrical coordination, access, exclusions, documentation, and change procedures. Two proposals with the same service label may describe very different coverage.
No. The factor-only planner organizes selected conditions and scope variables without publishing a price or creating a remote diagnosis. An actual proposal requires property measurements, access, observed conditions, material and equipment choices, preparation, drainage, repair boundaries, and any concealed conditions addressed through the written change process.
Confirm access, the work sequence, responsibilities, electrical or plumbing coordination, material staging, occupied-area protection, drainage and discharge plans, equipment locations, pest-inspection access, photographs, and the procedure for unexpected conditions. Remove stored items only when safe and agreed. Do not disturb wiring, plumbing, animals, standing water, or suspected hazardous materials.
Request the final scope, change records, completion photographs, equipment manuals, filter details, drain and discharge information, sump and alarm information, sensor locations, service instructions, repair documentation, applicable permits, and maintenance expectations. Walk through the observable system so the next inspection does not have to reconstruct what was installed.
Schedule a free inspection and bring your observations, photographs, reports, and proposal questions.