Short answer
A crawl space humidity reading can rise when the air conditioner first turns on even though the AC did not create new water. Relative humidity changes with both moisture content and temperature. When cooling begins, ducts, pipes, and nearby air can become colder. If the amount of water vapor stays similar while air temperature falls, the relative humidity percentage can rise. Humid outdoor air leaking into a vented or incompletely sealed crawl space can make the change larger, and cold duct surfaces may eventually fall below the local dew point and collect condensation.
The useful question is not simply, “Did the AC cause the spike?” Confirm the sensor, location, temperature, dew-point conditions, equipment status, and whether any material is actually wet. A brief reading change next to a supply duct is different from a multi-day whole-space trend accompanied by damp insulation or sweating metal.
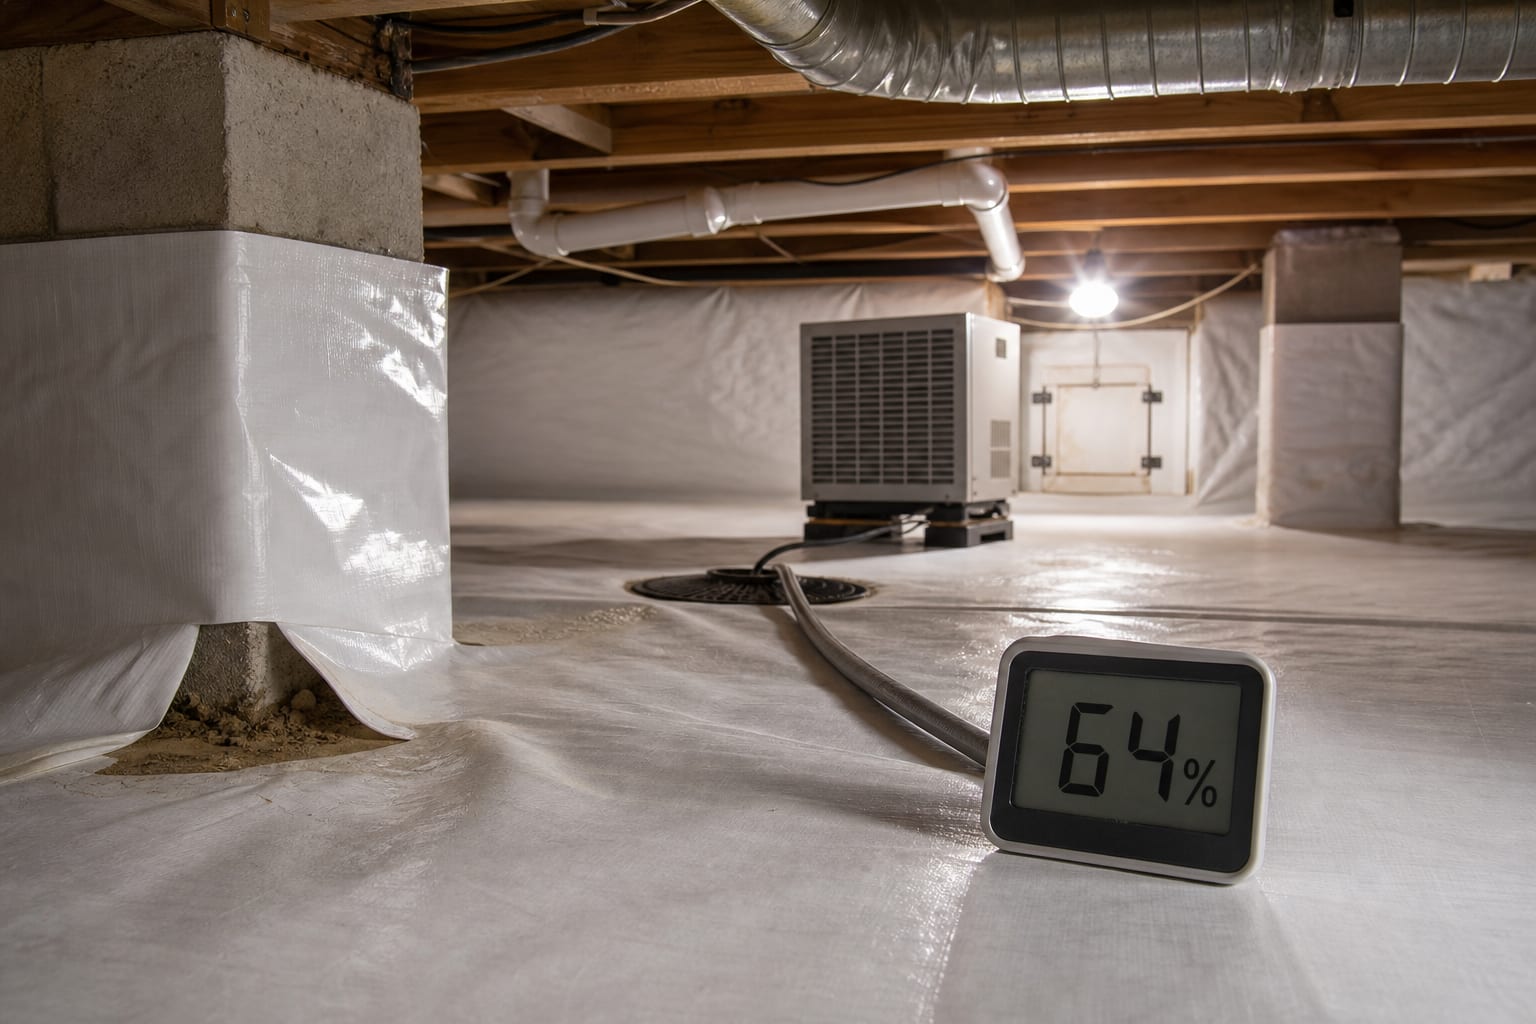
The site’s high crawl space humidity overview explains the broader problem. For an AC-related pattern, record a baseline before cooling starts, then compare readings at consistent intervals and locations. If the rise repeats, inspect air leakage, duct insulation, ground coverage, access closure, drainage, and humidity-control equipment as one system.
Relative humidity is not the same as the amount of water in the air
Relative humidity, often shown as RH, describes how close air is to saturation at its current temperature. Warmer air and cooler air can hold different amounts of water vapor before reaching saturation. This is why the same air can show a higher RH after it cools, even if no additional vapor entered.
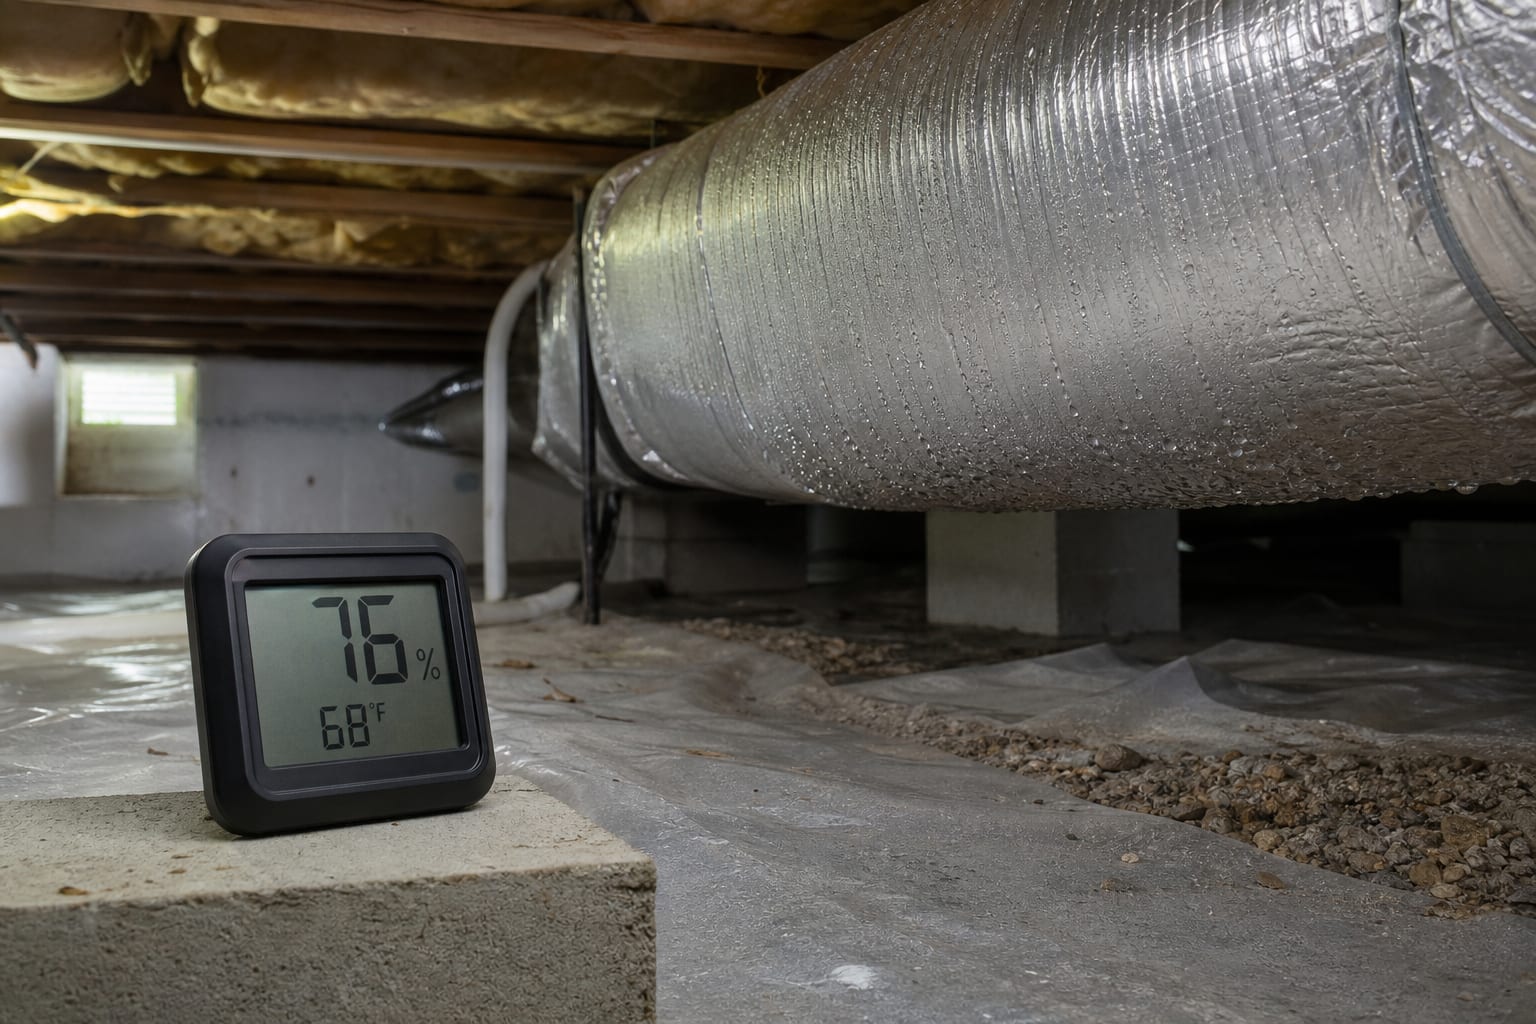
Dew point is another useful measurement. It represents the temperature at which the air would become saturated if cooled without changing its water-vapor content. When a duct jacket, metal fitting, pipe, masonry wall, or other surface falls below the surrounding air’s dew point, water can condense on that surface.
This distinction helps explain three patterns that homeowners often group together:
- A percentage-only shift: RH rises as the local temperature drops, but surfaces remain dry.
- Moist air entry: RH and dew point rise because humid outdoor or ground-source moisture enters the crawl space.
- Condensation: A cold surface drops below the local dew point, creating actual liquid water.
Those patterns can overlap. A hygrometer shows part of the evidence, not the entire diagnosis.
Why the first cooling cycles of the season can reveal a problem
North Carolina spring weather can move quickly from mild days to warm, humid conditions. The ground, masonry, framing, and air beneath a house may still be relatively cool when outdoor dew points begin to climb. The first extended AC cycles add colder duct surfaces to that transition.
Several conditions can become visible at once:
- Supply ducts cool rapidly while surrounding crawl space air remains humid.
- Outdoor air enters through vents, an open access, rim-joist gaps, or utility penetrations.
- Damp soil contributes vapor where ground coverage is missing or incomplete.
- A dehumidifier has not started, is set differently than expected, or is not draining correctly.
- A loose duct connection changes air pressure or discharges conditioned air into the crawl space.
- Insulation gaps expose a cold duct surface or metal fitting.
- A sensor mounted near a duct responds to a cold local pocket rather than whole-space conditions.
The AC cycle may expose an existing moisture and air-control imbalance. It does not automatically mean the cooling equipment is faulty.
Start by confirming the reading
Check sensor location
A hygrometer mounted directly beside a supply duct, foundation vent, access opening, dehumidifier outlet, damp wall, or exposed soil patch can report a local microclimate. That reading may be real for that spot without representing the center of the crawl space.
Place sensors where they will not touch masonry, wood, duct jackets, pipes, or the liner. Keep them away from direct discharge air. If using more than one sensor, label each location and avoid moving them during the comparison period.
Compare devices carefully
Consumer humidity sensors have tolerances and may drift. Place two sensors together in a stable indoor location long enough for them to settle, then note their difference. A large disagreement should be resolved before interpreting a small crawl space change.
Do not assume a phone app and a separate display use the same update interval. Some devices report frequent snapshots; others smooth or delay data. Time stamps matter when comparing readings to equipment cycles.
Record temperature with RH
An RH percentage without temperature leaves out essential context. Write down:
- date and time;
- sensor location;
- air temperature;
- RH;
- outdoor conditions if available;
- AC on or off;
- dehumidifier on or off;
- whether ducts or pipes look dry;
- whether access doors and vents are in their normal positions.
The ideal crawl space humidity guide provides context for interpreting a trend without treating one number as a complete assessment.
A simple AC-cycle observation sequence
Use observation only. Do not open energized HVAC equipment, remove duct insulation, or touch wet electrical components.
Establish a baseline
Record temperature and RH at least once before the AC begins an extended cycle. Note whether rain occurred recently and whether outdoor air feels unusually humid. Photograph the sensor placement so later readings come from the same location.
Watch the first 15 to 30 minutes
Record the same values after cooling begins. A quick temperature drop near ductwork can raise local RH. Look for beads on metal collars, seams, boots, pipes, or the underside of a duct jacket. Do not mistake a reflective foil seam for water without a closer safe observation.
Check after a longer run
Record conditions after the system has operated long enough to establish a clearer pattern. If RH rises only at one sensor near supply air while another location stays stable, placement may be influencing the result. If multiple locations rise together, review air and moisture sources across the space.
Check after the system stops
Observe how quickly temperature and RH return toward baseline. Also note whether visible droplets remain. Condensation that repeatedly wets insulation or framing matters even if the display later falls.
Repeat under similar conditions
One cycle may coincide with a passing storm, open access, shower, plumbing use, or dehumidifier cycle. Two or three comparable observations are more useful than reacting to one peak.
Inspect the moisture pathways, not only the display
Outdoor air
Vents and leakage paths can admit outdoor air with a high dew point. Cooling that air near ductwork may increase RH or cause surface condensation. An incompletely sealed access door or damaged vent closure can change conditions significantly.
Do not seal vents or combustion-air openings without understanding the crawl space design and any fuel-burning equipment. The vent sealing and air sealing service page outlines the category, but an inspection must account for the whole building.
Ground moisture
Exposed soil can contribute moisture whether or not water is standing. Review the vapor barrier or liner for gaps, pulled-back edges, punctures, open seams, and water trapped above or below it. A barrier controls ground vapor only where it is continuous and appropriately detailed.
Bulk water
Recent rain, plumbing leaks, condensate discharge, or foundation entry may raise humidity by wetting materials. Look for distinct water paths, not just a higher number. A wet low point beneath the liner or insulation can continue releasing moisture after the visible surface dries.
Duct leakage and insulation
Cold air escaping from a duct connection can create a colder local area. Missing or compressed duct insulation can expose surfaces to humid air. Rust, staining, wet insulation, or recurring beads near one fitting deserve closer HVAC and crawl space review.
Do not tape over a wet or unidentified connection as the first step. The leak, insulation condition, and surrounding moisture need to be evaluated safely.
Humidity-control equipment
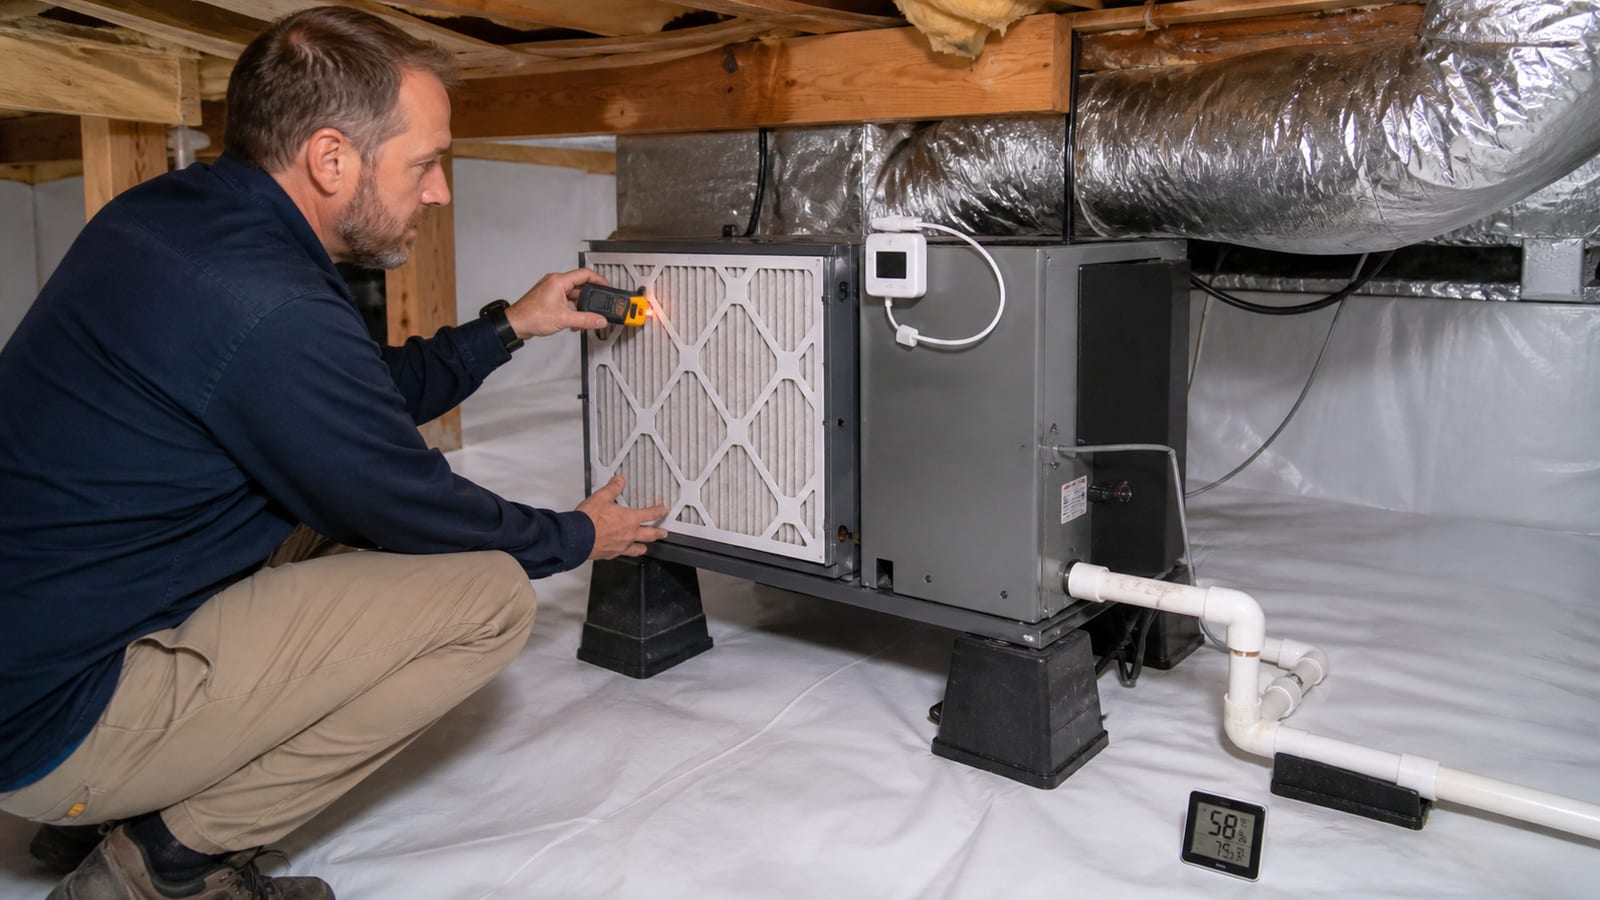
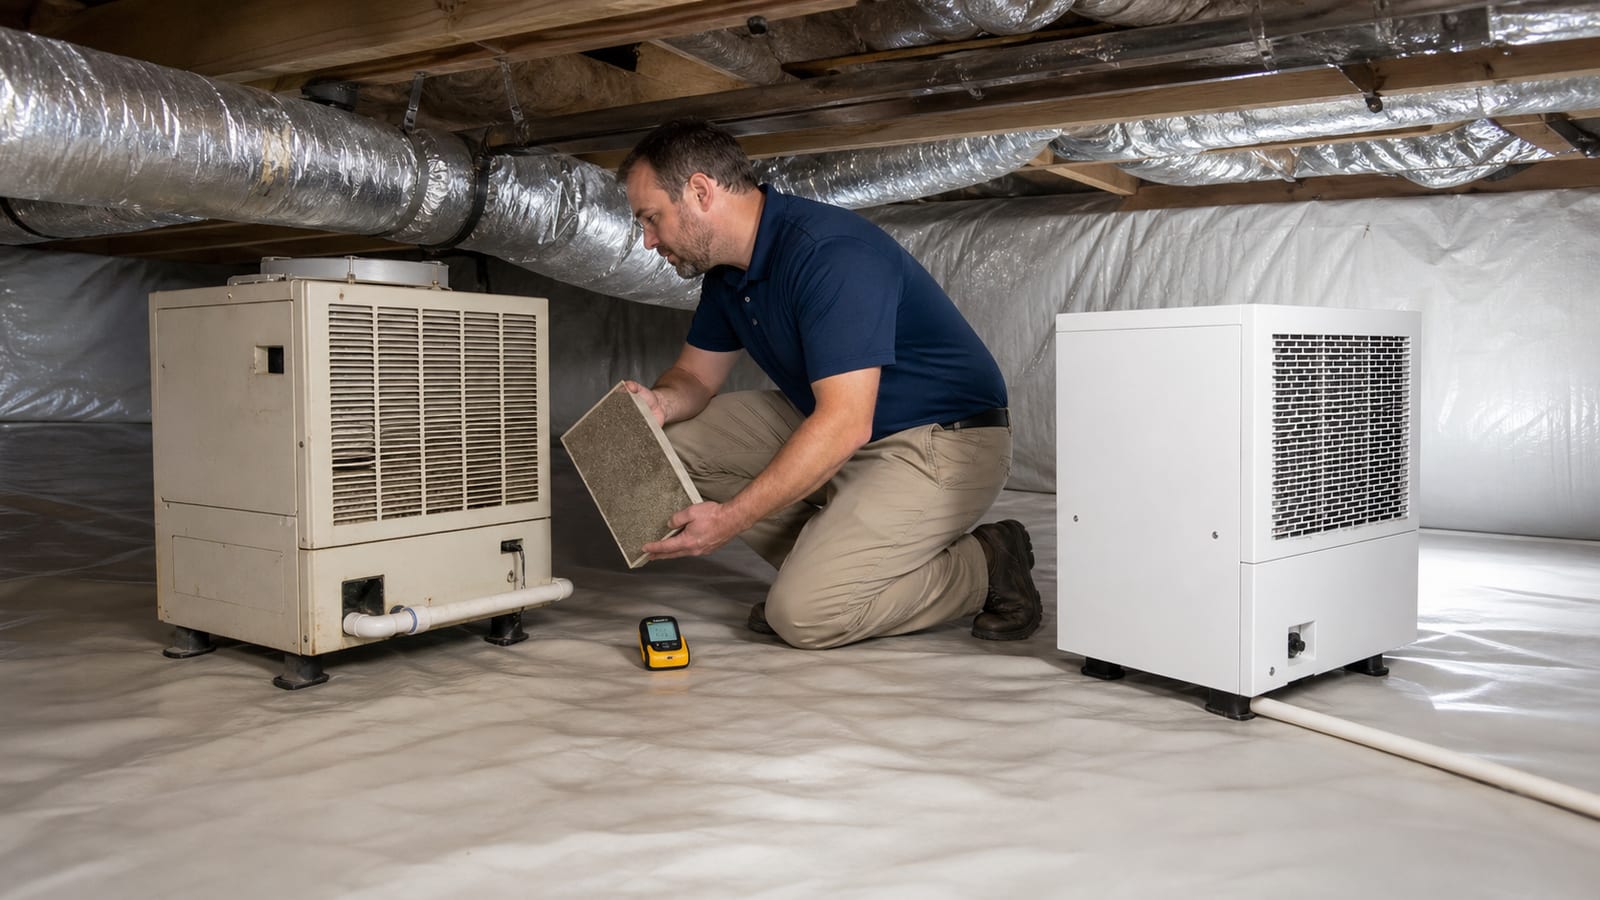
If a dehumidifier is part of the crawl space system, confirm observable basics:
- Is it powered and running when expected?
- Is the intake blocked by storage, insulation, or debris?
- Is the filter visibly restricted?
- Is the drain line kinked, disconnected, or holding water?
- Is a condensate pump, if present, powered and free of an alarm?
- Is the unit discharging into an open area rather than a tight obstruction?
The dehumidifier installation overview explains how equipment fits into moisture control. Equipment cannot substitute for correcting active water entry.
What a brief spike may mean
A short RH increase that follows a local temperature drop and resolves without wet materials may be a measurement and psychrometric effect. Continue recording it. Watch whether the peak grows during humid weather or begins to affect surfaces.
A brief spike still deserves attention if condensation appears. Liquid water on ducts, framing, fasteners, or insulation can create a repeated wetting pattern even when the display spends most of the day at a lower value.
Consider the scale:
- one sensor versus several sensors;
- minutes versus days;
- one duct section versus the whole crawl space;
- dry materials versus active beads or damp insulation;
- a one-time seasonal transition versus a recurring pattern every cooling cycle.
Those comparisons keep a single alarming number from replacing physical inspection.
What a sustained rise may mean
Elevated readings across several locations for many hours or days suggest that moisture is entering faster than it is being managed. Possible contributors include humid air leakage, incomplete ground coverage, active water, wet materials, dehumidifier performance, drainage problems, or a combination.
Look at dew-point conditions and actual material moisture, not RH alone. A cooler period can raise RH without adding water, while a warm crawl space can hold substantial water vapor at a lower RH. Persistent trends are best evaluated with temperature, humidity, and direct observations.
The crawl space moisture-control page describes the system-level approach: bulk water, vapor, air, and equipment are separate control layers.
Common interpretation mistakes
Treating 1 percentage point as a meaningful event
Small fluctuations may reflect normal sensor resolution or air mixing. Focus on repeatable trends and physical evidence.
Comparing different locations
A sensor by an access door cannot be directly compared with one at the center of a sealed area unless location effects are understood.
Ignoring temperature
RH can change because temperature changed. Always record both.
Blaming the AC before checking moisture sources
Cooling may reveal a high dew point or cold-surface condition. It may also be unrelated to a plumbing or rainwater source that happened at the same time.
Assuming a dehumidifier should flatten every reading
Equipment cycles, air mixes unevenly, and sensors update differently. The goal is controlled conditions and dry materials, not a perfectly flat graph.
Changing several settings at once
Opening vents, changing set points, moving sensors, and adjusting HVAC operation simultaneously destroys the comparison. Make no unsafe experiments. When a safe change is appropriate, document one variable at a time.
Limitations and when to arrange an inspection
Humidity data cannot show hidden wet insulation, water beneath a liner, a loose duct joint, or wood moisture by itself. Consumer sensors also cannot determine whether visible material is fungal growth or whether framing has lost strength.
Arrange an inspection when:
- repeated AC cycles produce visible condensation;
- insulation is wet, sagging, or stained;
- RH remains elevated across multiple locations;
- readings rise after rain and do not recover;
- a dehumidifier does not run or drain as expected;
- the access, vents, liner, or air-sealing details are damaged;
- odor enters living areas when HVAC equipment runs;
- a duct or pipe is actively dripping;
- electrical components are near moisture;
- sensor data conflicts with what materials look or feel like.
An appropriate review may involve both crawl space moisture and HVAC observations. The goal is to identify the water source, air path, surface temperature, and affected materials before choosing work.
Frequently asked questions
Can relative humidity rise even while the air conditioner is removing moisture?
Yes. A local crawl space sensor may see cooler air near ductwork, which can raise relative humidity at that temperature. The indoor cooling system may be removing moisture elsewhere at the same time. Record temperature, RH, sensor placement, and surface conditions before comparing the two spaces.
Does a humidity spike prove my ducts are leaking?
No. A leak is one possibility, but outdoor air, ground vapor, wet materials, sensor placement, and temperature change can produce similar readings. Visible cold-air discharge, damaged connections, recurring localized condensation, or testing by an appropriate HVAC professional provides stronger evidence.
Should I move the hygrometer away from the duct?
Keep at least one sensor in a representative location away from direct supply air and surfaces. A second sensor near the area of concern can document the local condition. Label both positions rather than moving one device back and forth during the same comparison.
Why does the reading rise more on the first hot days of spring?
Outdoor moisture can increase while the crawl space and its materials remain cool. The first long cooling cycles create additional cold surfaces. That seasonal combination can raise local RH and condensation risk before the system settles into a different summer pattern.
What should I photograph for an inspection?
Photograph each sensor in place, its temperature and RH display, the nearest ducts and pipes, liner and soil conditions, vents and access, dehumidifier and drain observations, and any beads, stains, or wet insulation. Include dates and times so the images can be matched to AC operation and weather.
Sources and further reading
- National Weather Service: Why Dew Point Is a Better Measure of Humidity
- NC State Extension: Mold and Moisture Checklist
- U.S. Department of Energy: Unvented, Conditioned Crawlspaces
- U.S. EPA: Mold Course, Chapter 2, Moisture Basics
How this applies in Apex, NC
For homeowners in Apex, NC, this question is most useful when the record includes the recent weather, the first place the condition appeared, and whether cooling equipment was operating. The Triangle is warm and humid for much of the year, but that regional context does not identify the moisture source at one property. Compare the high crawl space humidity with the How to Read a Crawl Space Hygrometer Without Chasing Every Number in Apex, NC before choosing a property-specific next step.