Short answer
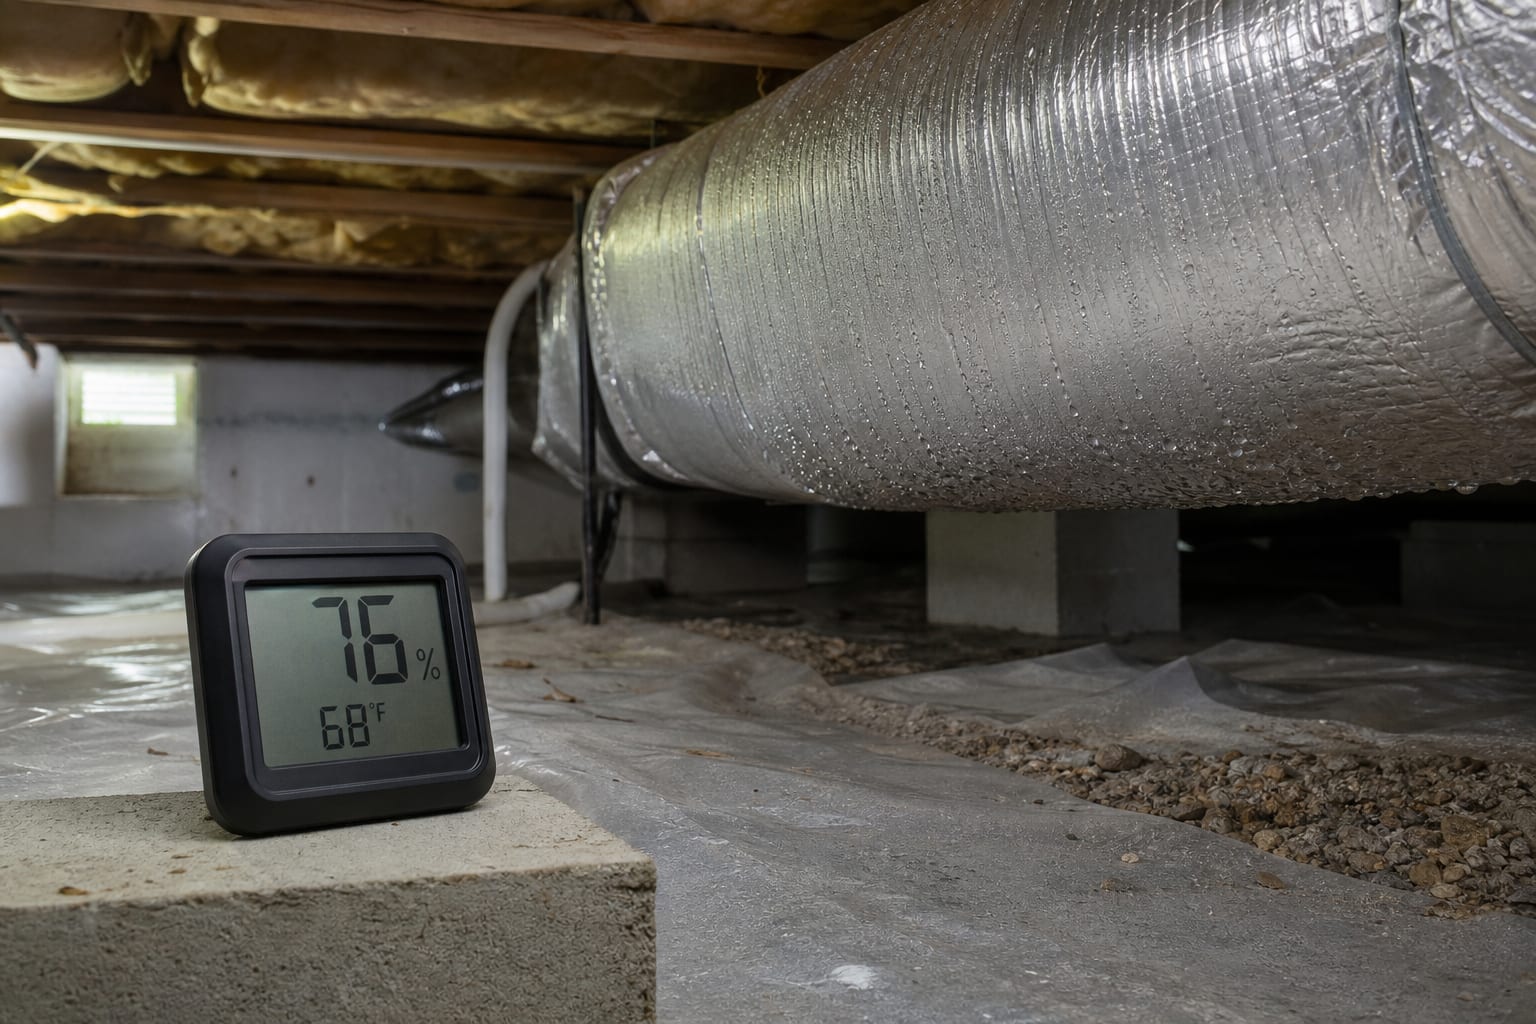
When an encapsulated crawl space rises above 60 percent relative humidity, first confirm that the reading is current and representative. Then inspect in a consistent order: active water, sensor placement, access and vent closure, liner condition, exterior drainage, drains and sump equipment, dehumidifier power and airflow, filter, condensate route, duct and pipe condensation, plumbing, and wet materials.
NC State Extension uses keeping indoor humidity below 60 percent as moisture-control guidance. A reading above that level deserves attention, but the number alone does not identify a cause, show how long the condition lasted, or prove that materials are wet. Relative humidity also changes with temperature.
The high crawl space humidity problem page explains the broader issue. In an encapsulated space, the goal is to find which control layer changed. Do not immediately lower a set point, open the access, add another machine, or cut the liner. Preserve the evidence and correct the source.
Step 1: confirm that 60 percent is a real trend
Check the timestamp
A remote display may show the last synchronized reading rather than the current condition. Confirm the date, time, connection, and battery. Note any graph gap or app update.
Record temperature
Relative humidity can rise when air cools without receiving more water vapor. Record temperature and RH together. A cool sensor near supply ductwork can display a higher percentage than one in warmer mixed air.
Check placement
Confirm that the sensor is:
- not touching the liner, masonry, wood, pipe, or duct;
- away from direct dehumidifier discharge;
- away from the access and vent openings;
- not beneath a drip;
- still in its labeled baseline position;
- within its stated operating range.
Compare another device
If available, place a second verified sensor near the first without touching it. Allow both to settle according to their instructions. A disagreement does not tell you which is correct, but it prevents unnecessary system changes based on one questionable device.
Define duration and scale
Ask:
- Did the reading cross 60 percent for minutes, hours, or days?
- Is one sensor affected or several?
- Did it follow rain, an AC cycle, an open access, or a power outage?
- Are surfaces and materials dry?
- Is the dehumidifier running?
A brief local peak and a sustained whole-space rise require different responses.
Step 2: look for water before changing settings
From the access, scan for standing water, a lifted liner, wet equipment, active drips, sagging insulation, wall streaks, or an alarm. Do not enter if water may contact electrical components, if sewage or contamination is possible, or if access is unstable.
If entry is safe, inspect high, middle, and low:
- High: subfloor, framing, plumbing penetrations, insulation.
- Middle: ducts, pipes, walls, piers, equipment.
- Low: liner, seams, drains, sump, perimeter, low points.
Find the highest visible wet point. Water on a liner may have come from above. Water beneath it may have moved through soil or the perimeter. A dehumidifier set-point change cannot correct active liquid water.
The standing-water problem page provides a separate diagnosis order if puddles or flow are present.
Step 3: inspect the encapsulation boundary
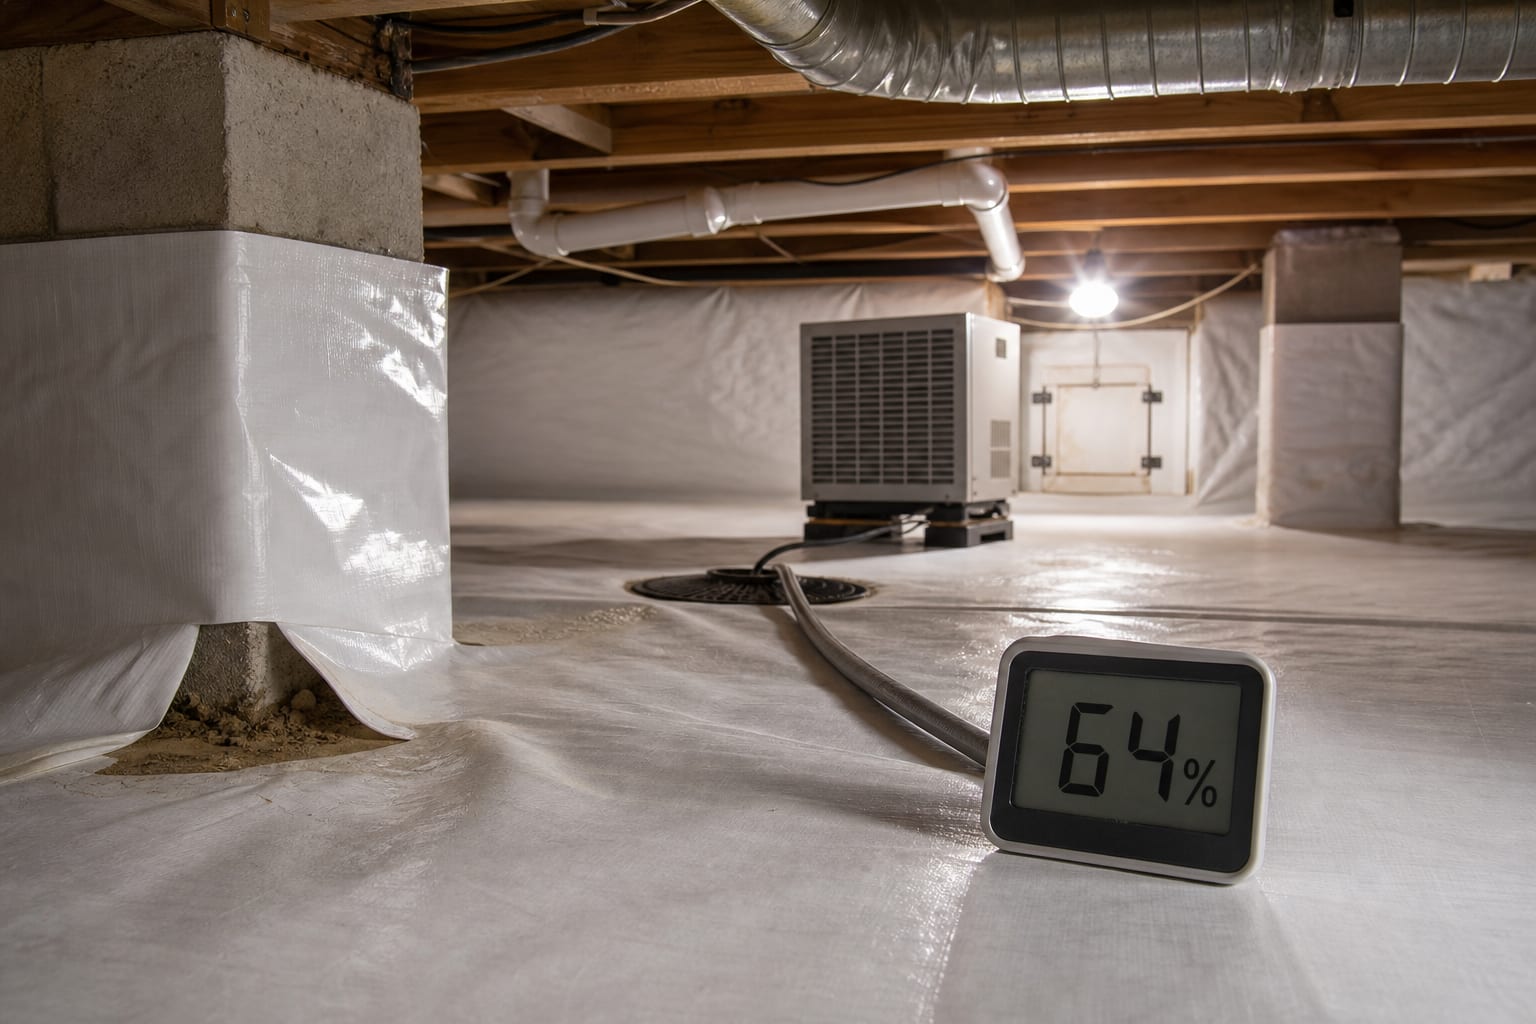
An encapsulation controls ground vapor and air exchange only where its boundary remains continuous and appropriate to the building.
Access door
Check that the access is fully closed, aligned, and not warped or damaged. Look for disturbed seals, soil settlement, runoff across the threshold, and items preventing closure.
Foundation vents
Confirm that vent closures and surrounding materials have not shifted or been removed. Do not reseal a vent without understanding the crawl space design, combustion conditions, and applicable requirements.
Wall and pier liner attachments
Look for pulled edges, loose fasteners, gaps, and water marks. Preserve required inspection visibility. Do not cover new wall moisture with liner repair before tracing it.
Seams and penetrations
Inspect seams, utility penetrations, piers, columns, drains, and equipment supports. A small open area can expose damp soil. A broad tear may allow both vapor and debris into the controlled area.
The crawl space encapsulation page describes the boundary as one part of a multi-layer system.
Step 4: inspect above and below the liner
A clean liner surface does not prove dry soil beneath it.
Look for:
- bubbles or raised areas;
- soft water movement underfoot without stepping onto it;
- sediment at seams;
- punctures;
- open perimeter edges;
- water on top below pipes or walls;
- staining that changes after rain;
- debris that can abrade the material.
Do not cut a bubble to drain it. Cutting removes evidence, damages continuity, and may release water into a larger area. The source, volume, and controlled removal route should be established first.
If water lies on top, trace upward to walls, plumbing, ducts, drains, and framing. If it lies beneath, compare exterior drainage and interior low points.
Step 5: walk the exterior water path
An encapsulated crawl space still depends on exterior water management. After weather hazards pass, inspect:
- gutters and roof-valley discharge;
- downspout connections and extensions;
- buried drain outlets;
- soil and mulch slope;
- settlement beside porches or utilities;
- splash marks on masonry;
- low vents and access thresholds;
- sump and drain discharge;
- erosion or ponding after rain.
A disconnected extension can change crawl space conditions in one storm. A blocked buried outlet can send water back toward the wall. Photograph exact locations.
If exterior water repeatedly reaches the foundation, the foundation drainage improvement page provides planning context.
Step 6: observe dehumidifier operation
Do not open powered equipment or work on a wet unit. Use visible and audible observations that the instructions permit.
Power and status
Confirm power, display, set point, error messages, and whether the unit runs when expected. A power outage, tripped protection, disconnected cord, or control reset can explain a sudden trend.
Airflow
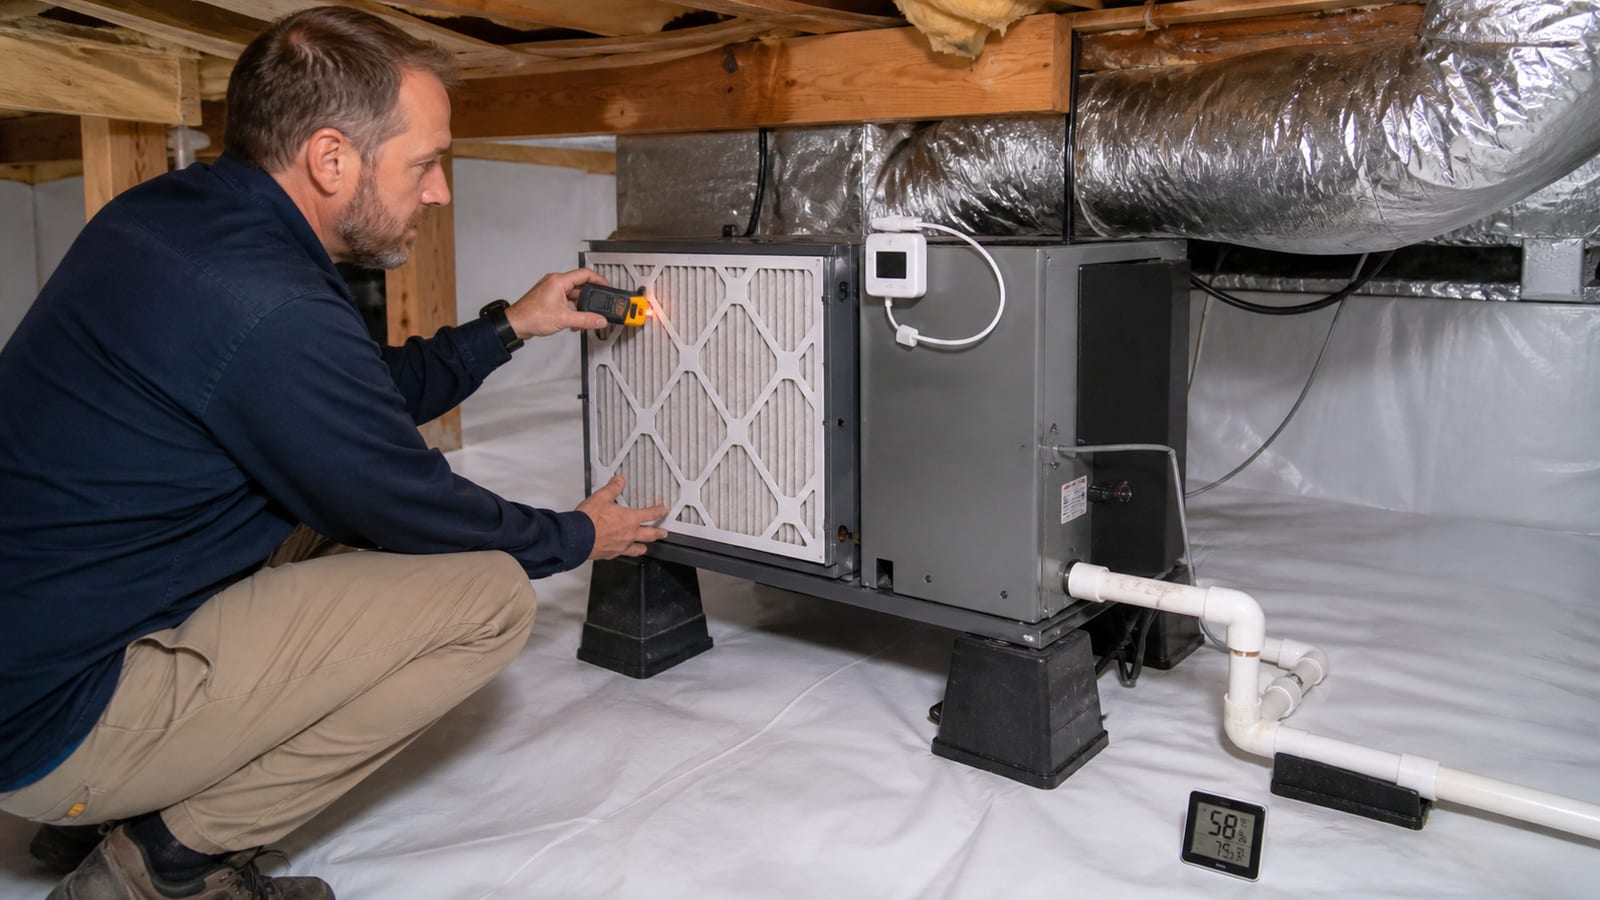
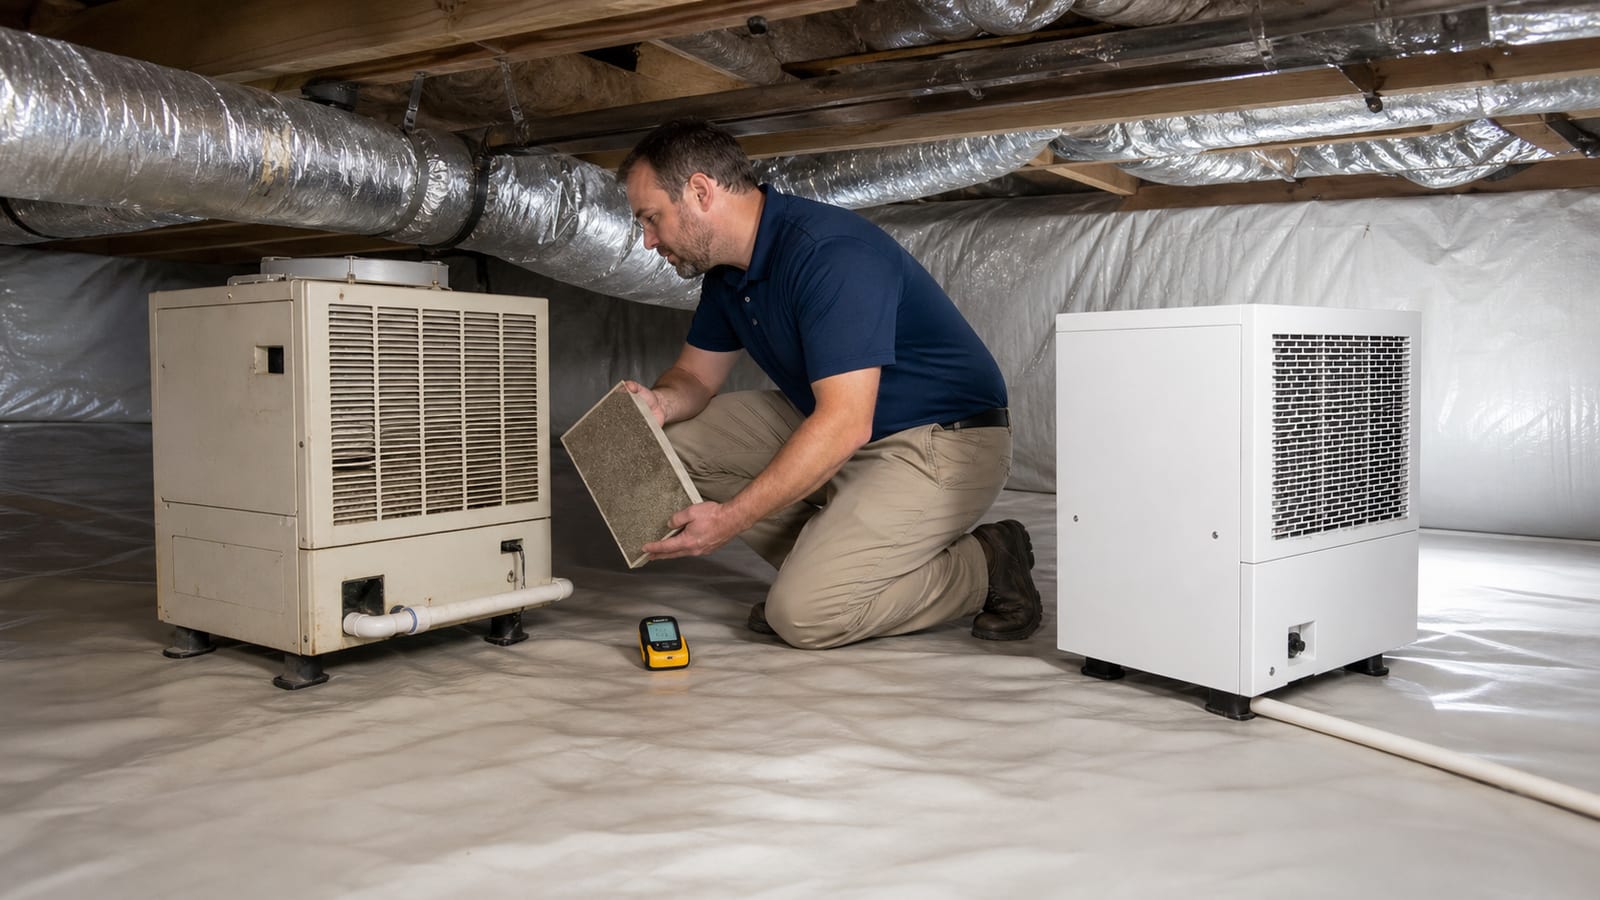
Check that storage, insulation, debris, or a shifted duct does not block intake or discharge. Dust buildup and a restricted filter can reduce airflow. Follow manufacturer instructions before handling the filter.
Drainage
Look for:
- kinked or disconnected hose;
- inadequate visible slope on a gravity line;
- standing water around the unit;
- condensate-pump alarm;
- blocked or submerged outlet;
- water returning toward the crawl space.
A dehumidifier can run while failing to remove condensate reliably. The dehumidifier maintenance and filter replacement page explains the service checks.
Cycle history
Compare current run time, sound, and discharge air with baseline. Short cycling, continuous operation, unusual noise, or no operation can be useful evidence. Do not diagnose refrigerant, electrical, or internal component failure from sound alone.
Step 7: inspect drains and sump equipment
High humidity may follow water that the drainage system did not collect or discharge.
Observe:
- sediment or debris at visible drain inlets;
- water bypassing a channel;
- sump water level;
- pump and alarm status;
- outage history;
- visible discharge flow;
- return flow after a cycle;
- outlet erosion, blockage, or submergence.
Do not reach into a basin or manipulate a float in wet conditions. A pump can be operating while the source water exceeds capacity, the discharge route is restricted, or water returns to the foundation. The crawl space drainage systems page explains collection and discharge as connected decisions.
Step 8: check ducts, pipes, and insulation
Cold ducts and pipes can collect condensation when surrounding dew point is high. Look for fine beads, wet jackets, stains below metal fittings, and damp insulation.
Plumbing leaks can produce the same puddle. Compare timing with fixture use and find the highest wet point. Do not wrap a wet pipe or duct before distinguishing condensation, leakage, and water traveling from above.
Wet floor insulation can hold moisture and hide plumbing or wiring. Photograph it without pulling it down.
Step 9: identify recent changes
A rise often follows a change that is easy to overlook:
- a plumber, HVAC technician, electrician, pest professional, or cable installer entered;
- the access remained open;
- a sensor moved;
- the liner was punctured;
- a drain line was displaced;
- landscaping changed grade;
- a downspout extension was removed;
- a filter loaded quickly after construction;
- power was lost;
- HVAC cooling began for the season;
- a door, vent closure, or equipment setting changed.
Record dates. Avoid assigning blame without evidence. The purpose is to restore the system and prevent recurrence.
Read recovery, not just the peak
After a verified safe correction, keep sensors in the same locations and document:
- time of the change;
- temperature and RH;
- equipment operation;
- material condition;
- weather;
- rate and consistency of recovery;
- whether water returns.
Do not expect every area to respond at the same speed. Wet wood, soil beneath a liner, insulation, and masonry can retain moisture after the air reading begins to fall.
A falling RH does not prove all materials are dry. A flat reading does not prove the unit is operating correctly. Compare the graph with inspection.
Keep the original high reading and photographs in the record. Deleting an outlier removes the chance to compare it with a later storm, outage, open access, or equipment change.
Common responses that can make diagnosis harder
Opening the access to “air it out”
Outdoor air may have a higher dew point and can add moisture. Opening the boundary also changes the condition you are trying to evaluate.
Lowering the set point immediately
This may increase equipment run time without correcting water, airflow restriction, or drain failure. Record the original setting first and follow equipment guidance.
Adding a portable fan
A fan can move humid air, spread dust or suspected growth, and alter sensor readings. Air movement should be part of a safe drying plan.
Taping every visible liner mark
Tape applied over water, dirt, incompatible material, or an active source may fail and hide evidence. Repair follows cleaning, drying, source control, and compatible detailing.
Installing more equipment
Another dehumidifier does not repair a pipe, drain, downspout, or open access. Calculate and verify moisture load before treating capacity as the first conclusion.
Limitations and when to arrange an inspection
Arrange an inspection when:
- confirmed readings remain above 60 percent across multiple locations;
- the trend continues after weather clears;
- standing water or water beneath the liner appears;
- dehumidifier, drain, pump, or alarm behavior changes;
- equipment is wet or near electrical water exposure;
- condensation repeatedly wets ducts, pipes, insulation, or framing;
- the access, vents, seams, or wall attachments are damaged;
- odor or suspected growth increases;
- recent trade work affected the system;
- the source cannot be traced safely.
The reading does not establish mold, structural damage, equipment failure, or code compliance. An inspection should state the evidence, limitations, and next system to evaluate.
Frequently asked questions
Is 61 percent very different from 59 percent?
Not by itself. Sensor accuracy, rounding, temperature, and placement can exceed that small difference. Confirm the device and watch the trend. Physical moisture and duration matter more than treating one percentage point as a hard diagnosis.
Should I lower the dehumidifier set point right away?
First record the setting, confirm the reading, and inspect for water, airflow restriction, filter condition, and drain problems. Follow equipment instructions. Lowering the set point cannot correct an active source and can obscure the original pattern.
Why is one end of the crawl space above 60 percent?
The area may have different airflow, a damp wall, exposed soil, a drain, cold ducts, or a local sensor effect. Compare a second verified sensor and inspect that zone. Do not assume the whole crawl space matches one end.
How long should humidity take to return to baseline?
Recovery depends on moisture source, weather, space volume, air movement, equipment, and how wet materials became. There is no reliable universal time. Record the rate of change and arrange an inspection when it stalls or wet materials remain.
Can humidity be high with no visible water?
Yes. Damp soil, open seams, humid air leakage, wet hidden materials, and sensor placement can raise RH without a puddle. Inspect the complete boundary and moisture-control system rather than relying on visible water alone.
Sources and further reading
- NC State Extension: Mold and Moisture Checklist
- U.S. EPA: A Brief Guide to Mold, Moisture and Your Home
- U.S. Department of Energy: Unvented, Conditioned Crawlspaces
- North Carolina OSFM: Closed Crawl Space Moisture Control, Permitting, and Licensure Interpretation
How this applies in Clayton, NC
For a home in Clayton, NC, keep this observation with the maintenance record for the actual liner, access, drain, sump, and dehumidification equipment in place. A location-specific record helps an inspection start with what changed instead of treating every encapsulated crawl space as the same system. Compare the high crawl space humidity with the How to Read a Crawl Space Hygrometer Without Chasing Every Number in Apex, NC before choosing a property-specific next step.