Short answer
An encapsulated crawl space can still smell musty when the liner controls ground vapor but another moisture or odor source remains. Damp framing, old insulation residue, trapped water, a blocked condensate drain, plumbing seepage, wet masonry, or air moving from an overlooked cavity can all contribute. The useful response is not to cover the odor. Record when and where it is strongest, check humidity and equipment operation, and trace the remaining source through a systematic inspection.
Encapsulation controls a pathway, not every past condition
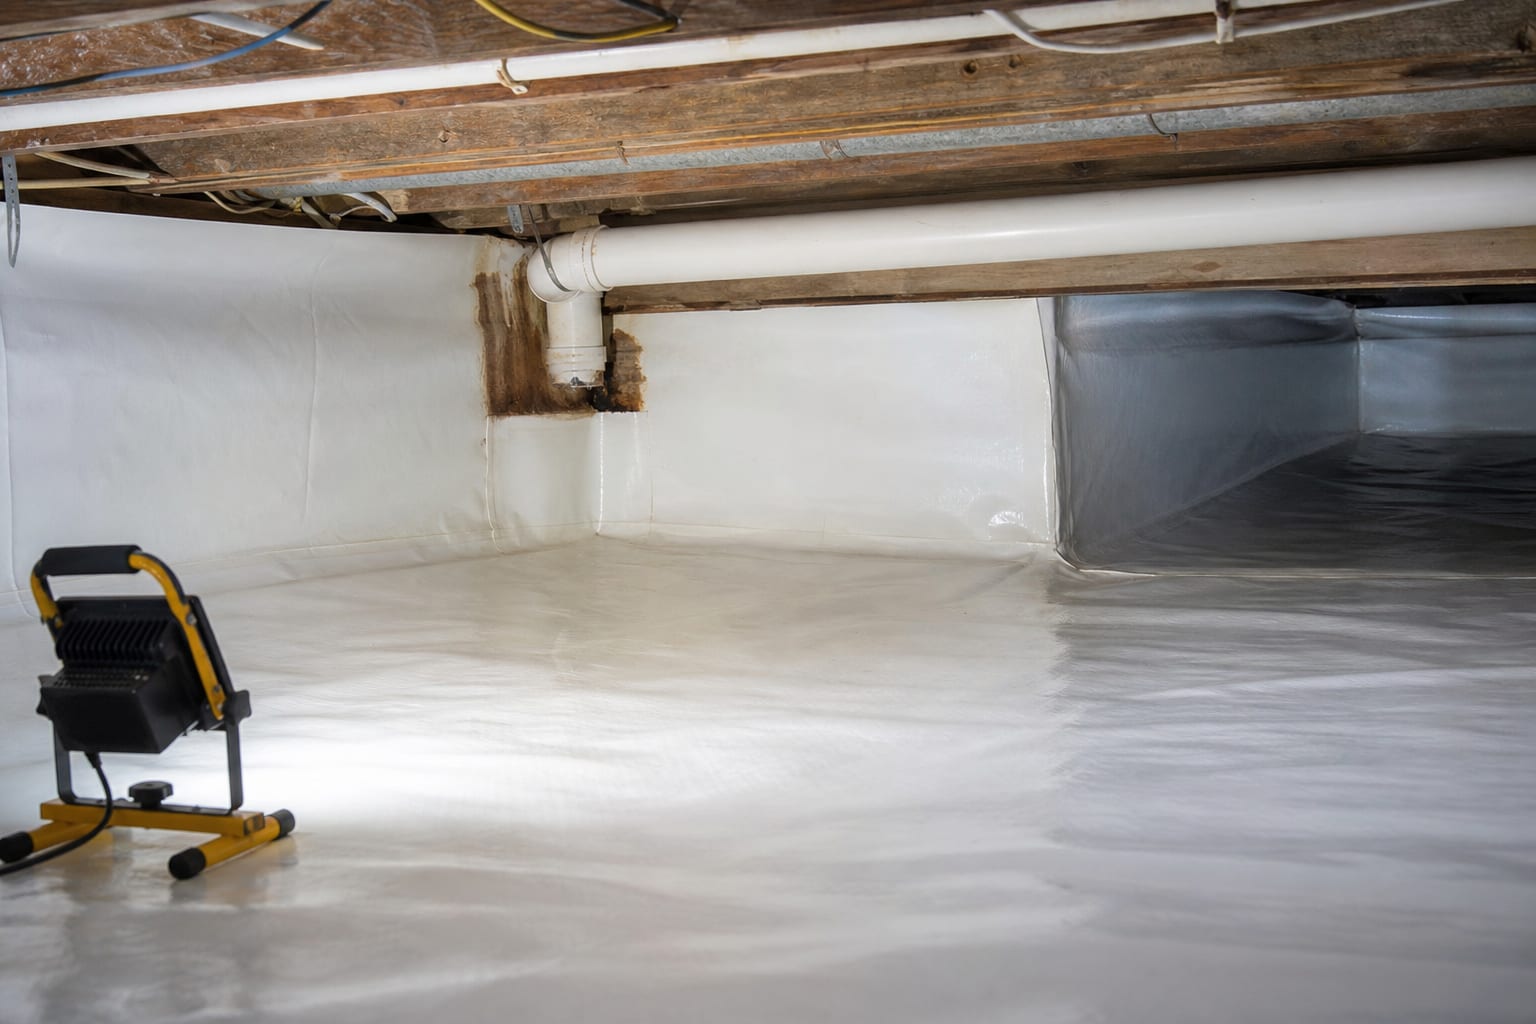
A complete crawl space encapsulation system is intended to separate the space from exposed soil and uncontrolled outdoor air. That changes two major moisture pathways: vapor rising from the ground and humid air entering through open vents or gaps. Wall and pier details, access points, drainage, and active humidity control may also be part of the system.
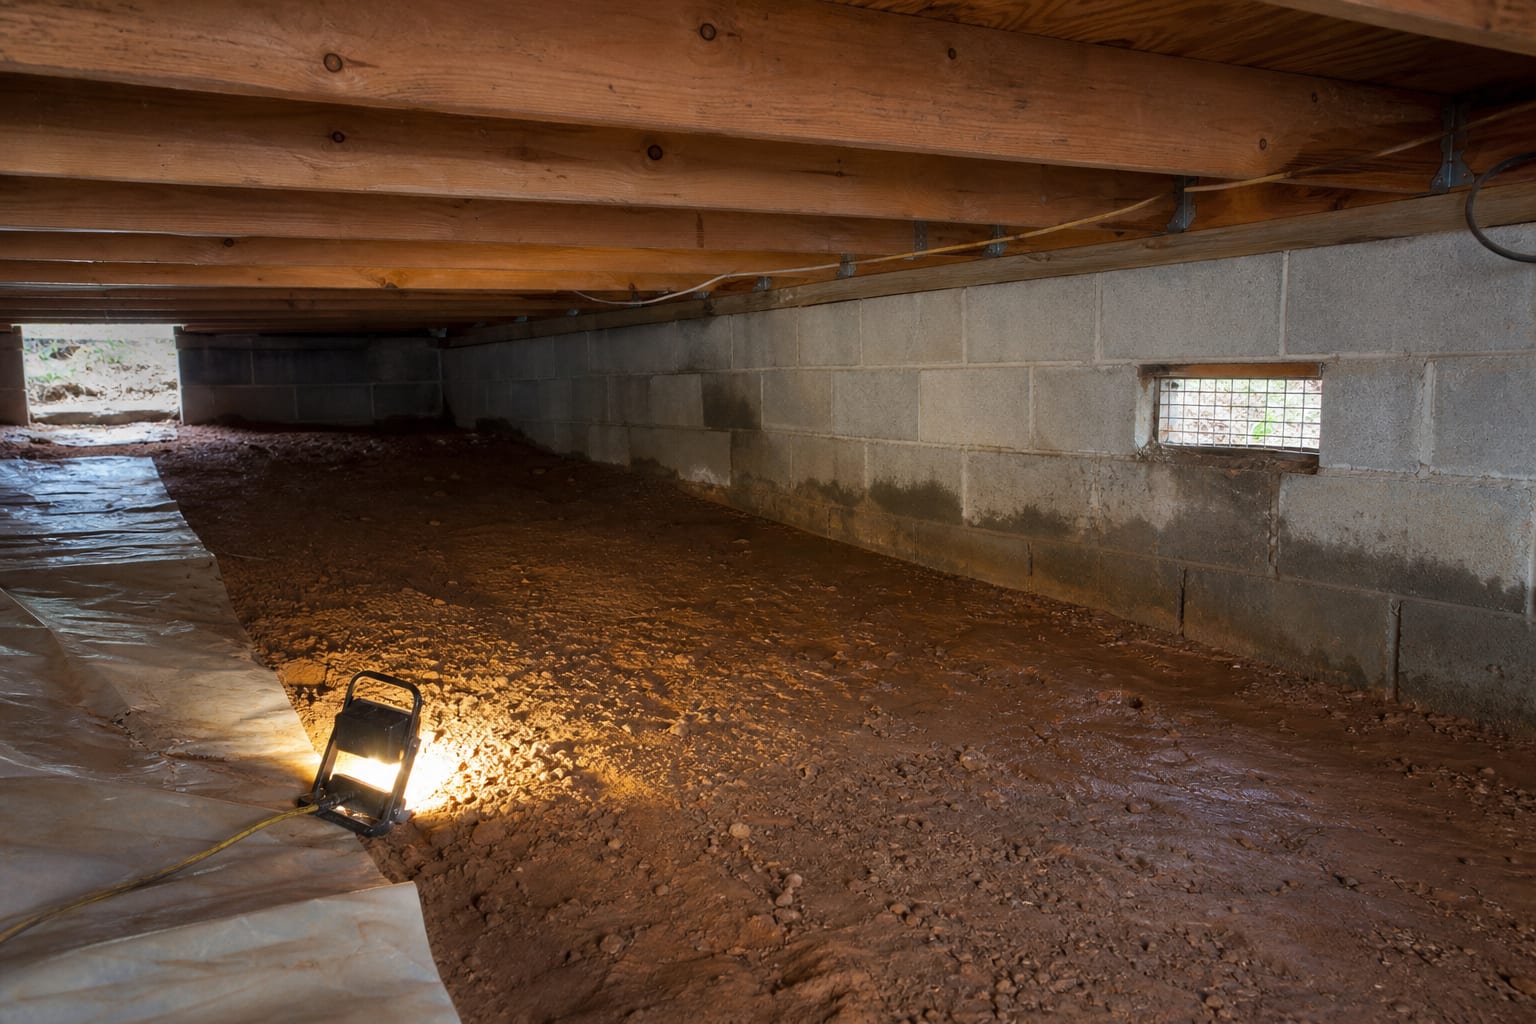
Those measures do not instantly dry every material or remove every residue left by earlier moisture. Wood, masonry, insulation fragments, dust, and stored debris may have absorbed water before the work. A liner can also conceal shallow depressions in the soil where liquid water collects underneath it. If exterior runoff, a plumbing leak, or groundwater was not resolved, bulk water may continue arriving even though the visible floor looks clean.
This distinction matters. A musty odor after encapsulation does not automatically prove that the liner failed, and it does not prove that visible fungal growth is present. It is evidence that the space and its connected systems deserve a closer look.
Start with the timing and location of the odor
Odor is subjective, but its pattern can still organize an inspection. Write down the date, weather, indoor conditions, and exact area where the smell is noticeable. A few specific observations are more useful than a general statement that the crawl space smells bad.
Ask:
- Did the odor begin immediately after the work, or did it return after a dry period?
- Is it stronger after heavy rain, during a humid stretch, or when the air conditioner runs?
- Is it strongest at the crawl space access, near a dehumidifier, below a bathroom, or around ductwork?
- Does the smell occur only inside the crawl space, or is it noticeable at floor penetrations or mechanical chases above?
- Has the humidity trend changed, or is there only one isolated reading?
- Has a plumber, pest professional, HVAC technician, or other trade entered the space recently?
Rain timing points attention toward roof runoff, grade, wall entry, or groundwater. A pattern tied to fixture use points toward plumbing or a drain. An odor near cold ductwork may justify checking for condensation. A smell concentrated near equipment may call for a drain, filter, coil, or basin inspection. These are investigation priorities, not remote diagnoses.
Common sources that can remain after sealing
Framing and other materials may still be damp
Floor joists, subfloor, beams, and masonry do not dry at the same speed as exposed surface water. Drying depends on the amount of moisture, material thickness, temperature, airflow, and humidity. If encapsulation was completed while wood or masonry was still wet, the odor may persist while those materials release moisture.
An inspector can compare readings at several documented locations instead of treating one number as a verdict. The exact meter, material, location, and comparison area matter. Dark staining may show that water was present, but color alone cannot establish whether a condition is currently active.
Old debris or residue may have been left behind
Small pieces of fallen fiberglass, wood scraps, paper, cardboard, pest nesting material, and dust can hold odor. Cleaning the visible floor is not the same as inspecting ledges, pier tops, plumbing penetrations, sill areas, and the back of the access door. If earlier growth was cleaned, remaining residue or materials that were not removed may still need evaluation.
The musty odor problem page explains why odor should be treated as a clue to moisture rather than as a stand-alone substance to spray or mask.
Water may be under the liner
Water beneath a sealed liner can create a soft, shifting, or pillowed area. It may also appear as a darker section, a localized cool spot, or water movement when gentle pressure is applied from a safe position. Do not cut the liner to investigate. A cut can damage the sealed system and turn a contained condition into exposed water.
Possible sources include rainwater entering at a wall, groundwater rising at a low point, a disconnected drain, or a plumbing leak above. The water path needs to be identified before the liner is repaired or drainage is changed. For water that appears after storms, the standing water overview provides the broader drainage context.
The dehumidifier may be running without draining correctly
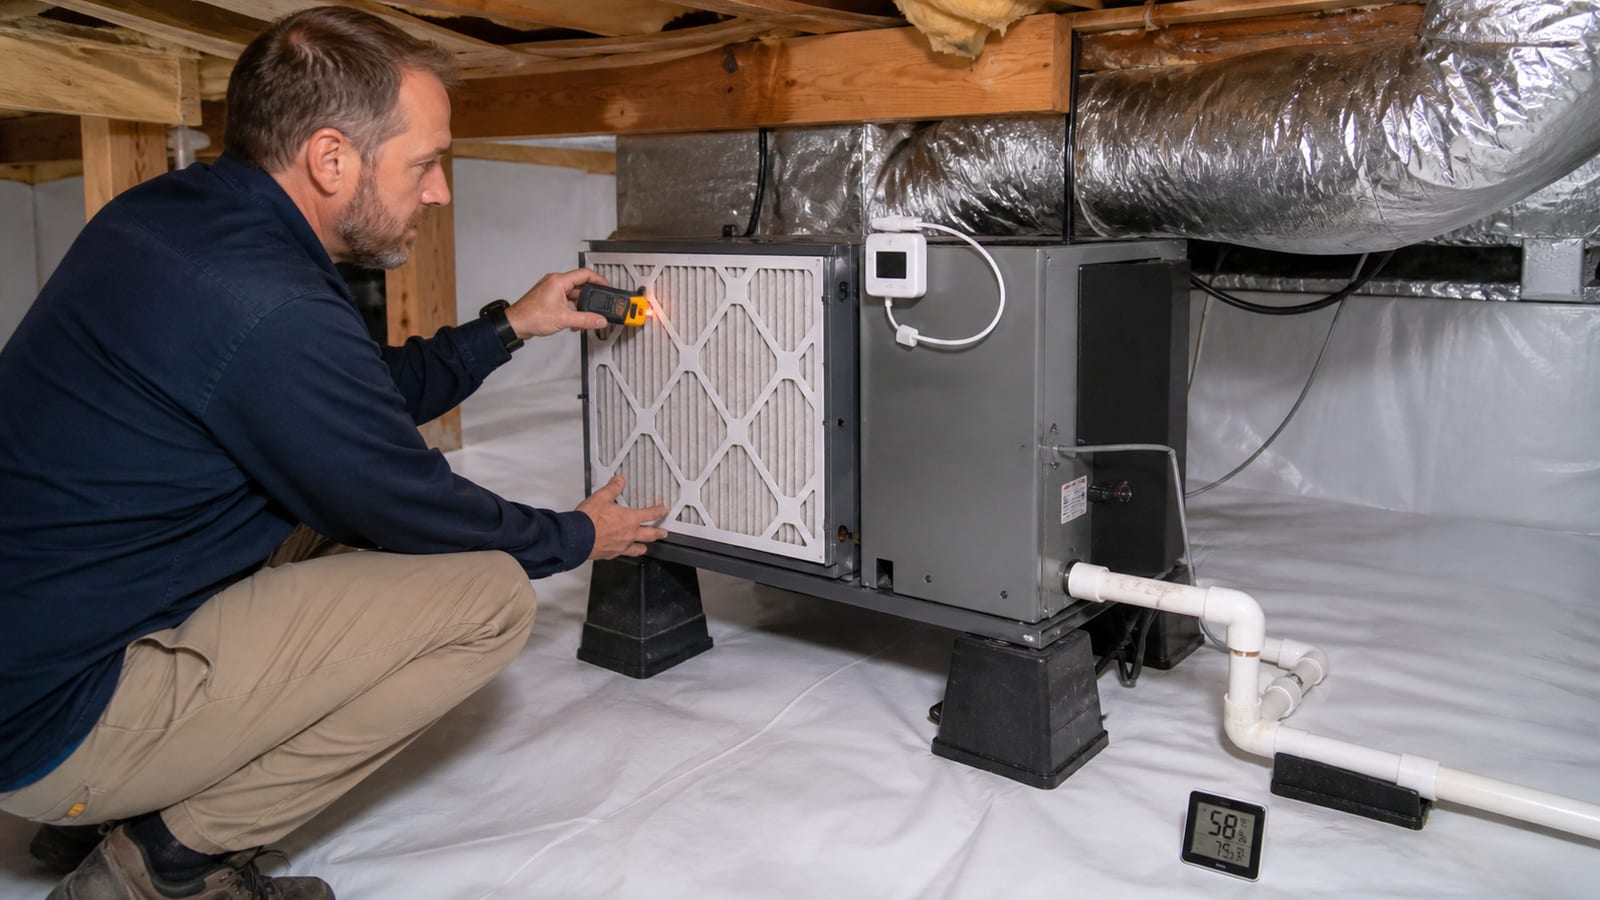
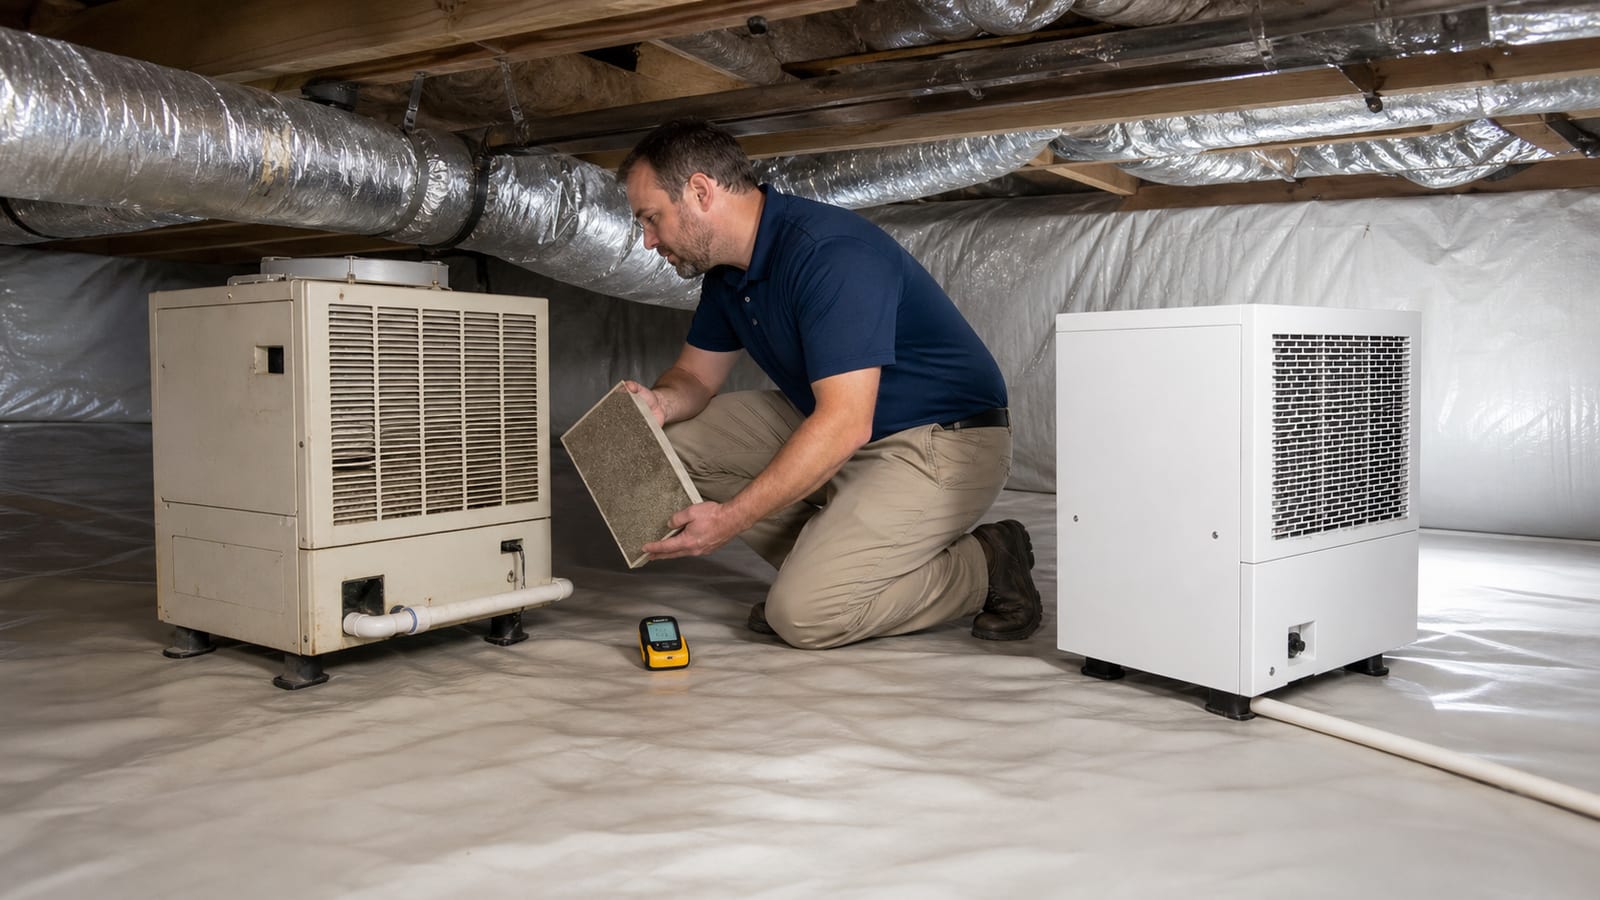
A dehumidifier removes water from the air and must discharge that condensate somewhere appropriate. A kinked tube, clogged trap, blocked outlet, failed condensate pump, dirty filter, or interrupted power supply can reduce performance or put water back into the space.
Check the equipment without opening electrical compartments:
- Confirm that the unit has power and is not displaying an obvious alarm.
- Note whether the fan and compressor appear to cycle normally.
- Look for water around the cabinet, drain tubing, or pump reservoir.
- Follow the visible drain route without pulling or disconnecting it.
- Record the humidity reading and compare it with another reliable meter if available.
- Review the manufacturer instructions for filter and drain maintenance.
The dehumidifier maintenance page describes the service role without assuming that every odor is an equipment failure.
Condensation can wet ducts, pipes, or nearby materials
Humid air can condense when it contacts a surface below its dew point. In a crawl space, cold refrigerant lines, supply ducts, water pipes, or metal fittings may collect droplets under the right conditions. Missing or damaged insulation can make that pattern easier to see.
Look for beads of water on the cold surface, a wet line directly beneath it, rust, damp insulation facing, or a pattern that increases while cooling equipment runs. Condensation is different from a pipe leak even though both can leave water on the liner. The page on condensation and sweating ducts covers that mechanism in more detail.
Plumbing can leak independently of the encapsulation
Encapsulation does not prevent a supply fitting, drain connection, appliance line, or fixture seal from leaking. A small plumbing leak may wet one section of subfloor or drip onto the liner only when a fixture is used. Record the location and timing, but do not handle wet wiring or enter standing water to test a theory.
Exterior drainage can still send water toward the foundation
Gutters, downspouts, grade, and surface drains remain part of the moisture picture after a crawl space is sealed. Overflowing gutters or a downspout terminating beside the wall can repeatedly saturate soil near the foundation. Interior drainage may manage some of that water, but exterior observations help explain why the load exists.
Walk the exterior during or shortly after safe rainfall. Look for gutter overflow, erosion, low areas beside the wall, disconnected extensions, and concentrated discharge. The goal is to document where water goes, not to assign a solution from appearance alone.
A practical inspection order
An orderly review keeps one visible symptom from dominating the diagnosis.
1. Review the system documents
Gather the original scope, photos, equipment manuals, drain route, service notes, and any moisture readings taken before or after work. Determine what the project actually included. A ground liner, a fully sealed enclosure, drainage, and active humidity control are different scopes.
2. Check safety and access
Do not enter if there is standing water near electrical equipment, exposed wiring, suspected sewage, animal activity, structural movement, or an access condition you cannot navigate safely. Use the crawl space inspection checklist to organize observations without turning a homeowner check into invasive work.
3. Record humidity as a trend
Note the meter location, time, and reading. Compare it with earlier readings and, if practical, a second meter. Humidity naturally changes with temperature and operation. A sustained pattern is more useful than repeatedly reacting to a single moment.
4. Inspect visible water pathways
Begin above the liner. Check plumbing, ducts, masonry, the access perimeter, equipment drains, and the lowest visible areas. Then look for signs that water may be trapped below the liner. Photograph the location from the same angle so change can be compared later.
5. Check the perimeter outside
Observe gutters, downspouts, grading, discharge outlets, and any recent landscaping changes. A new planting bed, settled soil, damaged extension, or clogged outlet can change drainage even if the crawl space system itself has not been altered.
6. Separate source correction from odor cleanup
Drying, removal, cleaning, and odor reduction should follow source identification. Cleaning a surface while water continues to arrive rarely resolves the pattern. Likewise, adding fragrance or ozone-like treatments without evaluating moisture can obscure a useful warning sign and introduce other concerns.
What not to assume from a musty smell
A smell cannot establish the species, amount, or location of fungal growth. It cannot tell whether a stain is active, whether a liner seam is leaking, or whether the source is plumbing rather than groundwater. Visual and moisture evidence still matter.
Avoid these shortcuts:
- Do not assume every odor means the entire encapsulation must be replaced.
- Do not assume a normal-looking liner proves the space is dry underneath.
- Do not spray fragrance, bleach, or another chemical over an unidentified source.
- Do not cut, peel, or unseal liner seams for a casual check.
- Do not redirect condensate or sump discharge without confirming an acceptable outlet.
- Do not treat an equipment setpoint as proof that actual conditions match it.
Limitations and when to schedule an inspection
A homeowner can record odor timing, humidity, visible water, equipment status, and exterior drainage. That information can shorten the path to the source. It does not replace access to concealed areas, moisture measurements, drain testing, plumbing evaluation, or equipment service.
Schedule a crawl space inspection when the odor persists through dry weather, returns after every rain, grows stronger, or appears with visible water, wet insulation, soft materials, repeated equipment alarms, or rising humidity. Bring the original project scope and your dated observations. If water is near electrical equipment, sewage is suspected, or structural materials appear unsafe, stay out of the area and contact the appropriate qualified professional.
If you need the whole system reviewed, a free crawl space inspection can be requested without first deciding which component is responsible.
Frequently asked questions
Does a musty smell mean the encapsulation failed?
No. The odor may come from damp materials, hidden water, residue, plumbing, condensation, drainage, or equipment. The liner and sealed details should be inspected, but failure should not be assumed until the remaining moisture path is traced.
How long should a crawl space take to smell better after encapsulation?
There is no reliable universal timeline. Drying depends on starting moisture, material thickness, humidity control, temperature, airflow, and whether water is still entering. Persistent or worsening odor deserves measurements and inspection rather than a guessed deadline.
Can water collect under an encapsulation liner?
Yes. Bulk water can move beneath a liner when groundwater rises, rain enters at a wall, drainage is incomplete, or plumbing leaks. Do not cut the liner. Document the area and have the entry path and sealed system evaluated.
Should I lower the dehumidifier setting to remove the smell?
Not automatically. First confirm the unit is operating, draining, and receiving representative air. Follow its manual and compare humidity readings. A lower setting will not repair a leak, remove wet debris, or correct exterior drainage.
Can odor enter the living area from a crawl space?
Air can move through plumbing penetrations, duct or wiring openings, access points, and other connections. An inspection should consider both the odor source and the air path instead of relying on fragrance or surface cleaning alone.
Sources and further reading
- U.S. Environmental Protection Agency: A Brief Guide to Mold, Moisture and Your Home
- U.S. Environmental Protection Agency: Mold Course Chapter 2, including crawl spaces
- U.S. Environmental Protection Agency: Finding Mold and Moisture
- North Carolina State Extension: Mold and Moisture Checklist
- U.S. Department of Energy: Unvented Conditioned Crawlspaces
How this applies in Apex, NC
For a home in Apex, NC, keep this observation with the maintenance record for the actual liner, access, drain, sump, and dehumidification equipment in place. A location-specific record helps an inspection start with what changed instead of treating every encapsulated crawl space as the same system. Compare the musty odors with the How to Read a Crawl Space Hygrometer Without Chasing Every Number in Apex, NC before choosing a property-specific next step.