Short answer
Change or clean a crawl space dehumidifier filter at the interval specified by the equipment manufacturer, and inspect it sooner when crawl space conditions add dust or debris. There is no reliable universal schedule for every unit. Filter type, surface area, runtime, recent construction, pest activity, liner condition, airflow, and the amount of material entering the crawl space can shorten or lengthen the interval.
Use a simple routine: locate the correct manual, record the filter type and installation direction, check it monthly at first without opening powered compartments, and adjust the inspection schedule based on what you actually find. A filter that looks restricted, is damaged, does not fit correctly, or has reached the manufacturer’s interval needs the approved service action. Some filters are disposable; others may be cleaned only by the method stated in the manual.
The dehumidifier maintenance and filter replacement page explains the service category. Filter care supports airflow, but it cannot correct standing water, an open access, active leaks, a blocked drain, or a dehumidifier that is improperly selected or damaged.
Begin with the exact equipment instructions
Find the manual that matches the model information on the unit. Do not rely on a generic online chart or another dehumidifier’s filter video.
The instructions should answer:
- where the filter is located;
- whether owner access is permitted;
- required shutdown and power-disconnection steps;
- whether the filter is washable or disposable;
- approved cleaning method;
- required drying time;
- replacement part specification;
- airflow direction;
- service interval;
- conditions that require professional service;
- warnings about operating without the filter.
Keep the manual with the property maintenance record. If the label is unreadable, the filter access is damaged, or the instructions cannot be matched confidently, arrange service rather than guessing.
Do not publish serial numbers or sensitive access information. A private photograph of the model label can help later service.
“Check,” “clean,” and “change” are different actions
Check
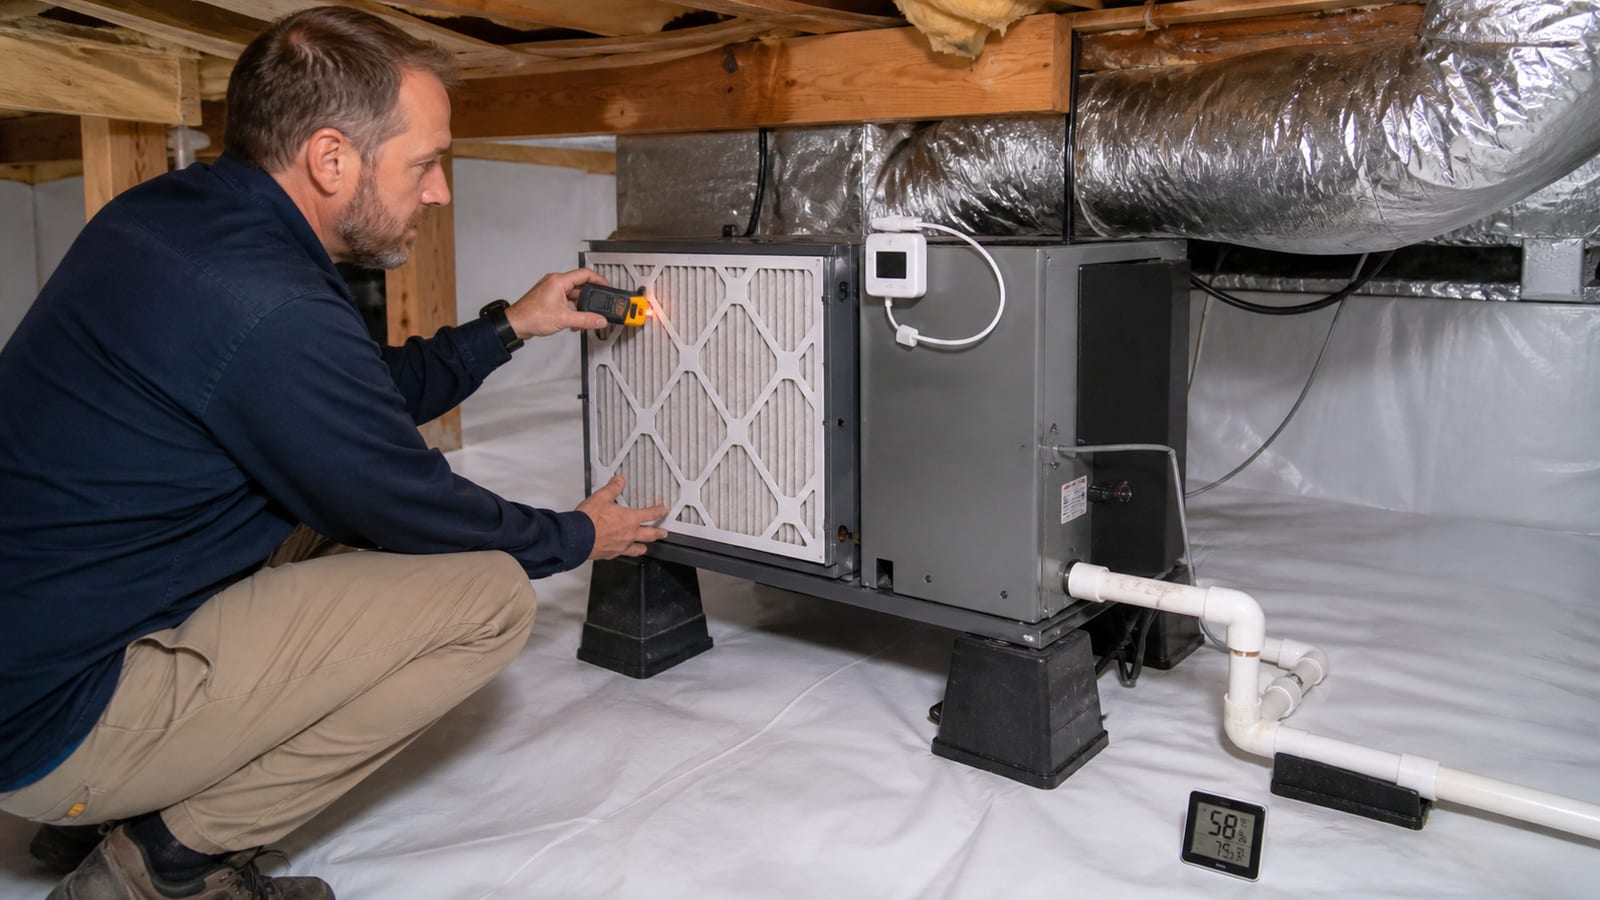
A filter check is a visual inspection performed according to the manual. You are looking for loading, damage, moisture, fit, and orientation. Checking does not always mean removing the filter.
Clean
Cleaning is appropriate only for a filter the manufacturer identifies as reusable and only by the approved method. Vacuuming, rinsing, brushing, or using chemicals can damage filter media or leave residue if not authorized.
Change
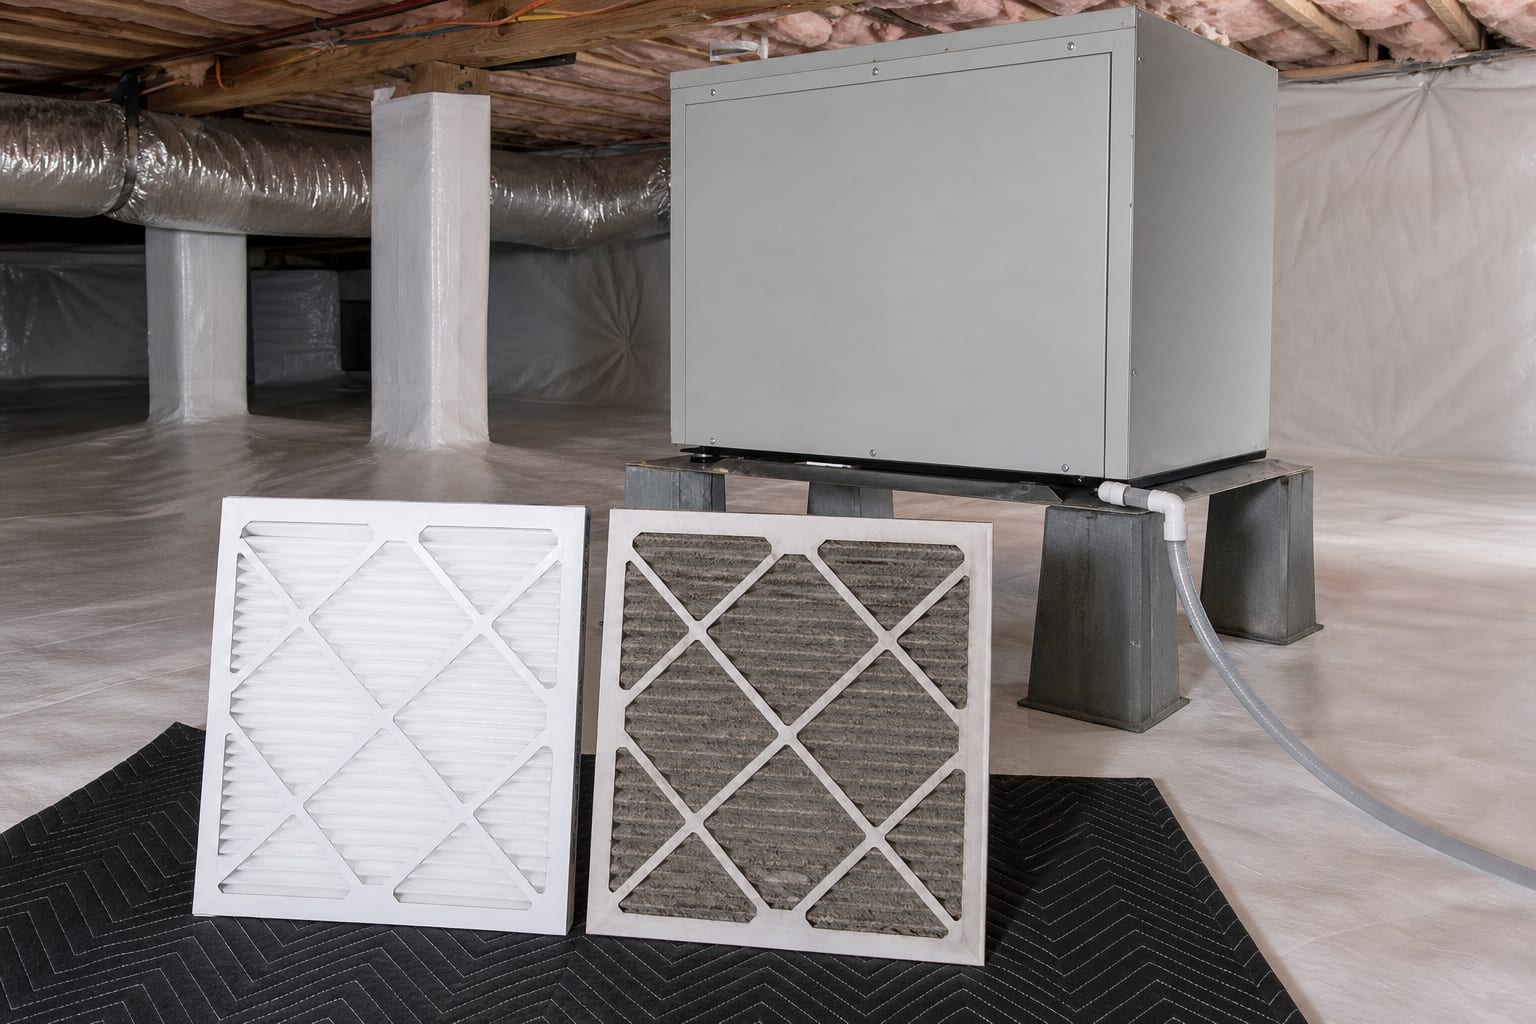
Replacement uses a compatible filter with the correct dimensions, media, frame, and airflow direction. A filter that physically fits may still be inappropriate if it creates the wrong airflow resistance or sealing condition.
Do not substitute a denser filter because it “looks better.” The dehumidifier was designed for a specific airflow range.
A practical starting schedule
When the crawl space and equipment history are unknown, inspect the filter monthly for the first several months, unless the manufacturer directs a shorter interval. Record what you find.
After you have a baseline:
- continue the manufacturer’s required interval;
- inspect sooner during dusty work or unusual conditions;
- do not extend beyond instructions because one check looked clean;
- shorten the check interval if loading repeatedly appears early;
- arrange equipment review if filters load abnormally fast.
The purpose is to learn the actual environment without replacing the manual. A calendar reminder should say “inspect according to manual,” not promise that every filter lasts a fixed number of months.
Conditions that can shorten the interval
Construction and trade work
Cutting wood, drilling masonry, removing insulation, sanding, and moving through a crawl space can release dust and fibers. Even when work occurs upstairs, debris can enter through penetrations and air paths.
After plumbing, HVAC, electrical, pest, structural, or communications work, inspect:
- the filter;
- intake and discharge clearance;
- liner for debris or punctures;
- drain connections;
- sensor location;
- access closure.
Do not blame a trade without evidence. Document before-and-after conditions and restore the system.
Falling or disturbed insulation
Fiberglass, paper facing, dust, and debris from damaged floor insulation can reach the intake. The filter may load quickly while the actual source remains overhead. The falling insulation problem page explains why insulation condition needs its own assessment.
Pest activity
Nesting material, droppings, hair, damaged insulation, and disturbed soil can increase debris. Do not handle droppings or nesting material without appropriate safety procedures. Pest exclusion and cleanup should preserve the liner and inspection access.
Open access or damaged vent closure
An open access can admit outdoor debris, pollen, insects, and humid air. It can also change the dehumidifier’s moisture load. Correct the boundary rather than treating repeated filter changes as the full solution.
Bare soil or damaged liner
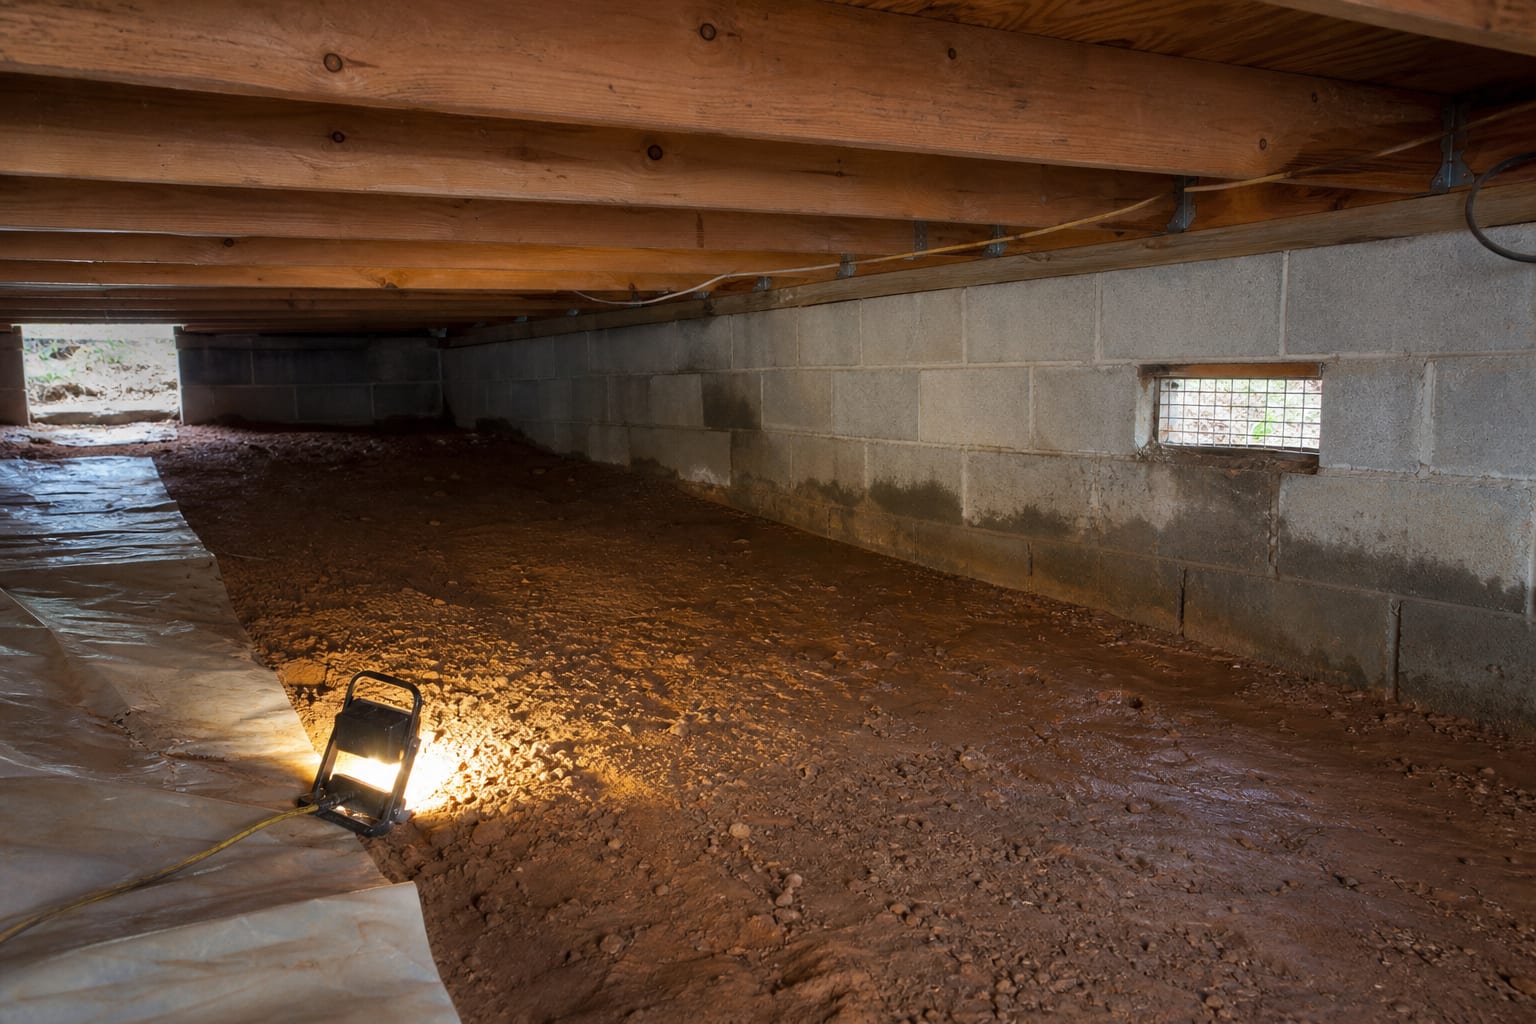
Exposed soil and dusty surfaces can contribute particles. A liner puncture alone may not create heavy dust, but broad exposed or disturbed ground deserves repair and moisture review.
High runtime
A unit moving air for more hours passes more particles through the filter. High runtime may follow humid weather, wet materials, an open boundary, or an equipment problem. Record runtime or cycle behavior rather than assuming filter loading is the only cause.
Landscaping and exterior work
Soil disturbance near vents or the access can introduce dust and debris. Confirm the access and closures remain intact after grading, utility, foundation, or landscape work.
How to inspect the filter safely
Follow the manual and stop if conditions conflict with it.
- Check for standing water, wet wiring, sewage, animals, or unstable access before entry.
- Photograph the display, current filter orientation, and surrounding area.
- Use the specified shutdown procedure.
- Disconnect power only as instructed and from a dry, safe position.
- Allow any required wait time.
- Open only the owner-accessible filter location.
- Avoid opening sealed electrical or refrigeration compartments.
- Remove the filter by its frame without shaking debris.
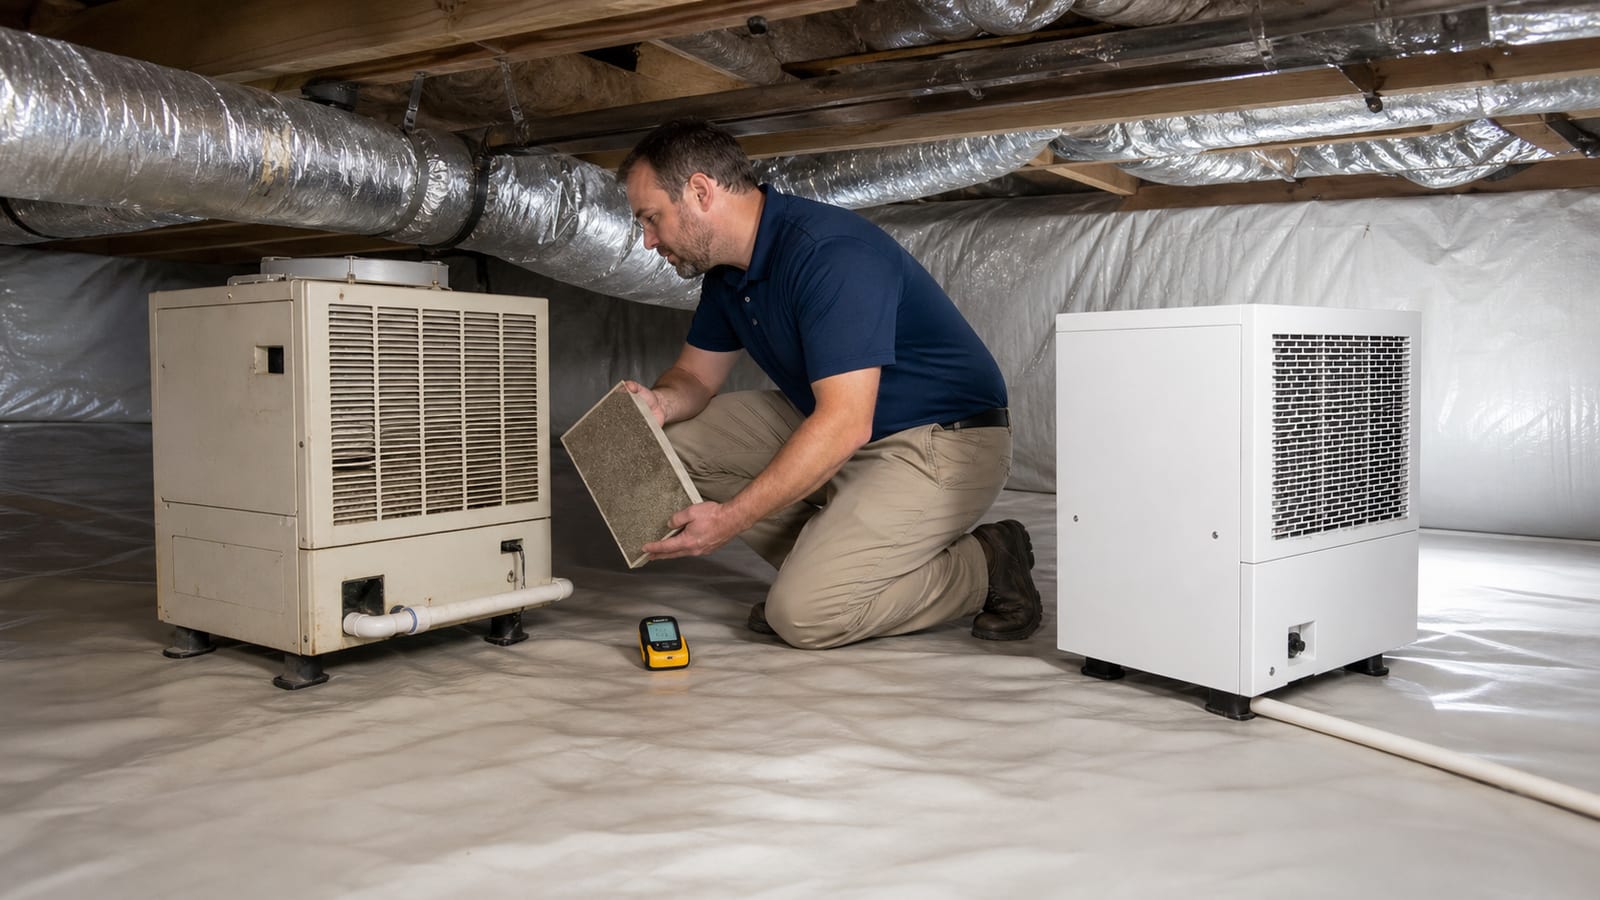
- Compare both sides in good light.
- Check for tears, collapse, dampness, poor fit, and bypass gaps.
- Clean or replace only as instructed.
- Confirm airflow direction and full seating.
- Restore covers and power according to the manual.
- Record the date and condition.
Do not service a unit that is wet, submerged, sparking, unusually hot, or producing a burning odor.
What the filter can tell you
Even gray loading
Uniform dust may fit normal filtration. Compare with time in service and the manufacturer’s instructions.
Heavy loading on one section
Uneven loading can reflect airflow pattern, a nearby debris source, poor seating, or a partially blocked intake. Inspect surrounding conditions. Do not modify the intake.
Clean edges with a dirty interior
This may be a normal flow pattern, but it can also show how the filter seals. Confirm correct fit and orientation.
Dirt downstream of the filter
Dust beyond the filter can indicate bypass, a missing seal, incorrect installation, or prior operation without a filter. Internal cleaning may require service.
Wet filter
A wet filter is not a routine dust issue. Stop and identify condensation, a plumbing or drain leak, water entry, or equipment condition. Do not reinstall wet media unless the manual explicitly permits washing and requires complete drying.
Fibers, nesting material, or droppings
These point toward another crawl space condition. Use appropriate pest and insulation evaluation rather than handling unknown material casually.
Signs the filter may be restricting airflow
Filter appearance is useful, but equipment behavior can add evidence:
- airflow at the discharge seems reduced compared with baseline;
- the unit runs longer without normal humidity recovery;
- sound or vibration changes;
- the filter is visibly bowed or collapsed;
- dust mats across the intake;
- an error indicator appears;
- the coil area shows frost or unusual moisture through a permitted view;
- the area near the intake becomes unusually warm.
These signs do not prove the filter is the only cause. Coils, fan, sensor, refrigerant circuit, room temperature, drain, and moisture load can produce similar behavior. Do not open internal compartments to investigate.
Check the drain whenever you service the filter
A dehumidifier removes water from air and must discharge condensate. Filter maintenance is a convenient time to observe:
- drain connection;
- gravity-line slope;
- kinks or compression;
- condensate-pump power and alarm;
- standing water around equipment;
- blocked or submerged exterior outlet;
- water returning toward the foundation.
Do not blow compressed air or chemicals into a line unless instructions and safe procedures allow it. A clear filter cannot compensate for a failed drain.
The crawl space dehumidifier installation page describes airflow and drainage as connected installation requirements.
Record performance after filter service
Keep sensors in the same locations. Record:
- date and time;
- old filter condition;
- cleaning or replacement action;
- approved filter specification;
- temperature and RH;
- equipment status;
- sound and airflow observations;
- drain status;
- weather;
- follow-up trend.
Do not claim success based on an immediate display change. Humidity recovery depends on moisture load, wet materials, air movement, and conditions beyond the filter. Compare over a useful period consistent with the equipment instructions.
Save a photograph of unusual loading. Dispose of used filters according to local requirements and the manufacturer’s guidance. Avoid carrying an uncovered dirty filter through living areas.
When faster loading points to a crawl space problem
If a filter that previously stayed relatively clean becomes restricted quickly, inspect the environment:
- Did insulation fall?
- Was wood, masonry, or soil disturbed?
- Is the access closing?
- Did pests enter?
- Is debris stored near the intake?
- Has the liner torn?
- Is airflow drawing from an unintended area?
- Is there suspected material growth or residue?
- Did the unit begin running much longer?
The filter is downstream evidence. Replacing it repeatedly without correcting the debris source creates ongoing maintenance and may hide a larger issue.
What not to do
- Do not run the unit without its specified filter.
- Do not stack multiple filters.
- Do not install a higher-resistance filter without approval.
- Do not trim media that is not designed to be cut.
- Do not wash a disposable filter.
- Do not reinstall a washable filter before it is fully dry as required.
- Do not spray fragrance, disinfectant, oil, or cleaner on the media.
- Do not vacuum internal components through a narrow opening.
- Do not bypass a safety switch.
- Do not open electrical or refrigeration sections.
- Do not service equipment in standing water.
If the manual and physical setup conflict, stop and arrange service.
Connect filter care to the encapsulation calendar
Filter maintenance works best within a broader routine. A crawl space encapsulation maintenance plan should include liner, access, vents, drains, sump, exterior runoff, sensors, ducts, plumbing, and equipment. A clean filter is one indicator, not proof that the moisture-control system is complete.
After storms, power outages, trade visits, and unusual humidity changes, perform an event-driven check even if the normal filter date is weeks away.
Limitations and when to arrange service
Arrange equipment service when:
- the correct manual or filter cannot be identified;
- filter access is damaged;
- the filter is wet, collapsed, or repeatedly bypassed;
- loading returns unusually quickly;
- airflow remains low after correct filter service;
- an error, unusual noise, overheating, or burning odor occurs;
- the unit runs without expected humidity recovery;
- condensate does not drain;
- electrical components or the unit became wet;
- internal cleaning or component access is required;
- the crawl space contains contamination, animals, or unsafe access.
Filter service cannot diagnose refrigerant, fan, electrical, sensor, or control failures. It also cannot determine the crawl space’s full moisture load.
Frequently asked questions
Is there one replacement interval for every crawl space dehumidifier?
No. The manufacturer’s instructions control the interval. Runtime, filter design, dust, construction, pest activity, and crawl space condition vary. Inspect more often when conditions change, but do not extend beyond required service guidance.
Can I rinse a crawl space dehumidifier filter?
Only if the exact filter is identified as washable and the manual provides a rinsing and drying procedure. Rinsing disposable media can damage it. Never reinstall a wet filter unless the instructions specifically allow the condition.
Why is a new filter dirty after only a short time?
Recent construction, falling insulation, pests, open access, exposed soil, stored debris, or longer equipment runtime can add particles. Inspect the environment and filter fit rather than assuming the short interval is normal.
Will changing the filter lower humidity immediately?
A restricted filter can affect airflow, but humidity recovery also depends on water sources, equipment condition, temperature, drain function, space volume, and wet materials. Record the trend after service and inspect the complete system.
Can I use any filter with the same dimensions?
No. Dimensions alone do not establish media type, resistance, frame, seal, or compatibility. Use the specification in the equipment instructions or an approved replacement identified by an appropriate service provider.
Sources and further reading
- ENERGY STAR: Dehumidifiers
- U.S. EPA: A Brief Guide to Mold, Moisture and Your Home
- NC State Extension: Mold and Moisture Checklist
- U.S. Department of Energy: Unvented, Conditioned Crawlspaces
How this applies in Angier, NC
For a home in Angier, NC, keep this observation with the maintenance record for the actual liner, access, drain, sump, and dehumidification equipment in place. A location-specific record helps an inspection start with what changed instead of treating every encapsulated crawl space as the same system. Compare the dehumidifier maintenance filter replacement with the How to Read a Crawl Space Hygrometer Without Chasing Every Number in Apex, NC before choosing a property-specific next step.