Short answer
Trace crawl space water by beginning at the highest wet point and comparing timing, location, temperature, staining, fixture use, weather, and the shape of the wet area. Plumbing leaks often correlate with a pipe, fitting, or fixture cycle. Groundwater and rain entry correlate with soil saturation, wall or floor pathways, and storms. Condensation forms on surfaces colder than the surrounding air’s dew point. These patterns overlap, so document them without disconnecting pipes, cutting a liner, or treating one clue as proof.
Why source identification comes before waterproofing
Water on a crawl space liner may have traveled from a pipe above, a cold duct, a foundation wall, soil below, or an equipment drain. Each source needs a different response. A pump will not repair a supply-line leak. Pipe insulation will not stop groundwater. A liner patch will not correct a blocked condensate drain.
The crawl space waterproofing page is the primary service destination for water control. A useful inspection first identifies where water enters, how it travels, and where it collects so any waterproofing or drainage work addresses the actual pathway.
Begin at the highest evidence, not the largest puddle
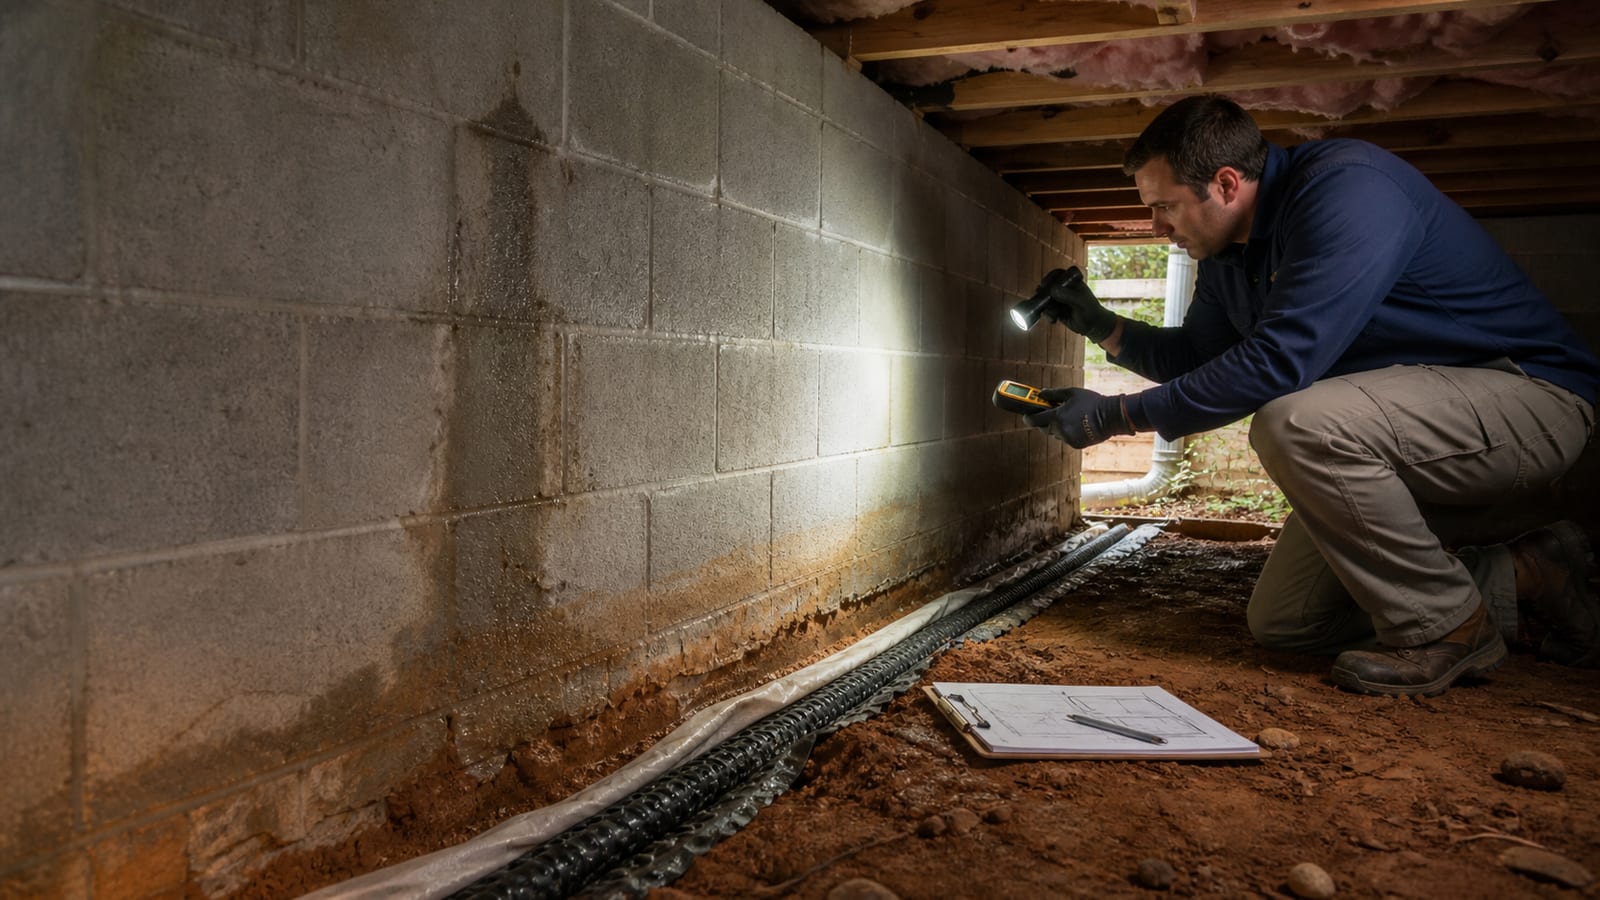
Gravity pulls liquid water downward, but the biggest puddle forms at the lowest point rather than directly below every source. Start above and around the wet area.
Look for:
- A wet pipe, valve, trap, joint, or hanger
- Droplets on a cold duct or water line
- A dark or stained path on subfloor or framing
- Water at a wall crack, joint, penetration, or access opening
- Mud, silt, or mineral deposits on masonry
- A soft or raised section beneath an encapsulation liner
- A wet line following a liner seam or soil channel
- Water around a dehumidifier, HVAC drain, sump, or pump tubing
Mark the first visible wet location on a sketch. A second person above the crawl space can record which room, fixture, appliance, or exterior feature aligns with it.
Compare the three main patterns
| Evidence | Plumbing leak | Groundwater or rain entry | Condensation |
|---|---|---|---|
| Timing | May follow fixture or appliance use; supply leaks may be continuous | Often follows storms, saturated soil, or seasonal water conditions | Often follows humid weather and operation of cold equipment |
| Starting point | Pipe, fitting, valve, fixture drain, appliance line | Soil low point, wall-floor joint, crack, penetration, wall, or beneath liner | Cold pipe, duct, fitting, cabinet, or nearby uninsulated surface |
| Water shape | Drip point, spray, narrow stain, wet framing, or localized pool | Seep line, wall wetness, silt path, broad low-area pool, or rising water | Beads on surface, repeated droplets, or narrow line directly below |
| Weather relationship | May be unrelated | Usually important | Humidity and surface temperature matter; rain may raise outdoor moisture |
| Useful test | Observe during controlled fixture use from safe locations | Compare before, during, and after rain; map exterior runoff | Record air temperature, relative humidity, surface condition, and equipment cycle |
This is a sorting table, not a diagnosis tool. More than one source can be active.
Plumbing-leak clues
Supply piping
A pressurized supply leak may drip continuously or intermittently as pressure changes. Look for beads forming at a fitting, green or white residue on metal, rust, a narrow spray mark, or repeated wetting below one joint. Water can run along the pipe before dropping, so inspect uphill along its slope.
Do not tighten a fitting from the crawl space as an experiment. Aging materials, corrosion, and concealed damage can turn a small leak into a larger one.
Drain and waste piping
A drain leak appears when the connected fixture is used. It may occur only with a full tub, a toilet flush, a washing-machine discharge, or a sink filled above a certain connection. Staining and residue can show repeated wetting, but suspected sewage changes the safety response. Do not enter or touch contaminated water.
Coordinate a controlled test only when the crawl space is dry, safe, and visible. One person observes from a dry location while another operates one fixture at a time. Stop immediately if water approaches electrical components or the leak grows.
Fixture seals and penetrations
Water from a shower enclosure, toilet seal, exterior door, or appliance can wet subfloor before appearing below. The pipe may be dry because the source is above the floor. Map stains to the room and inspect with the appropriate trade.
HVAC and dehumidifier drains
A blocked, disconnected, or poorly routed condensate line can imitate a plumbing leak. Follow visible tubing without pulling it. Check for water around the cabinet, pump reservoir, trap, or outlet. The dehumidifier maintenance page covers routine equipment checks.
Groundwater and rain-entry clues
Wall and joint seepage
Water may appear at mortar joints, cracks, penetrations, sealed vents, access thresholds, or the wall-floor junction. Look for silt, mineral deposits, dark masonry, or a clean trail through dust. The visible exit is not always the original exterior entry point.
Water rising at interior low points
When surrounding soil becomes saturated, water can emerge from low soil areas without an obvious wall stream. Multiple low points may become damp in sequence. Record which location changes first and how long it takes to recede after rain.
Do not declare a high water table from one puddle. Surface runoff held beside the foundation, a perched saturated layer, a buried drain problem, and groundwater can create similar evidence.
Water beneath the liner
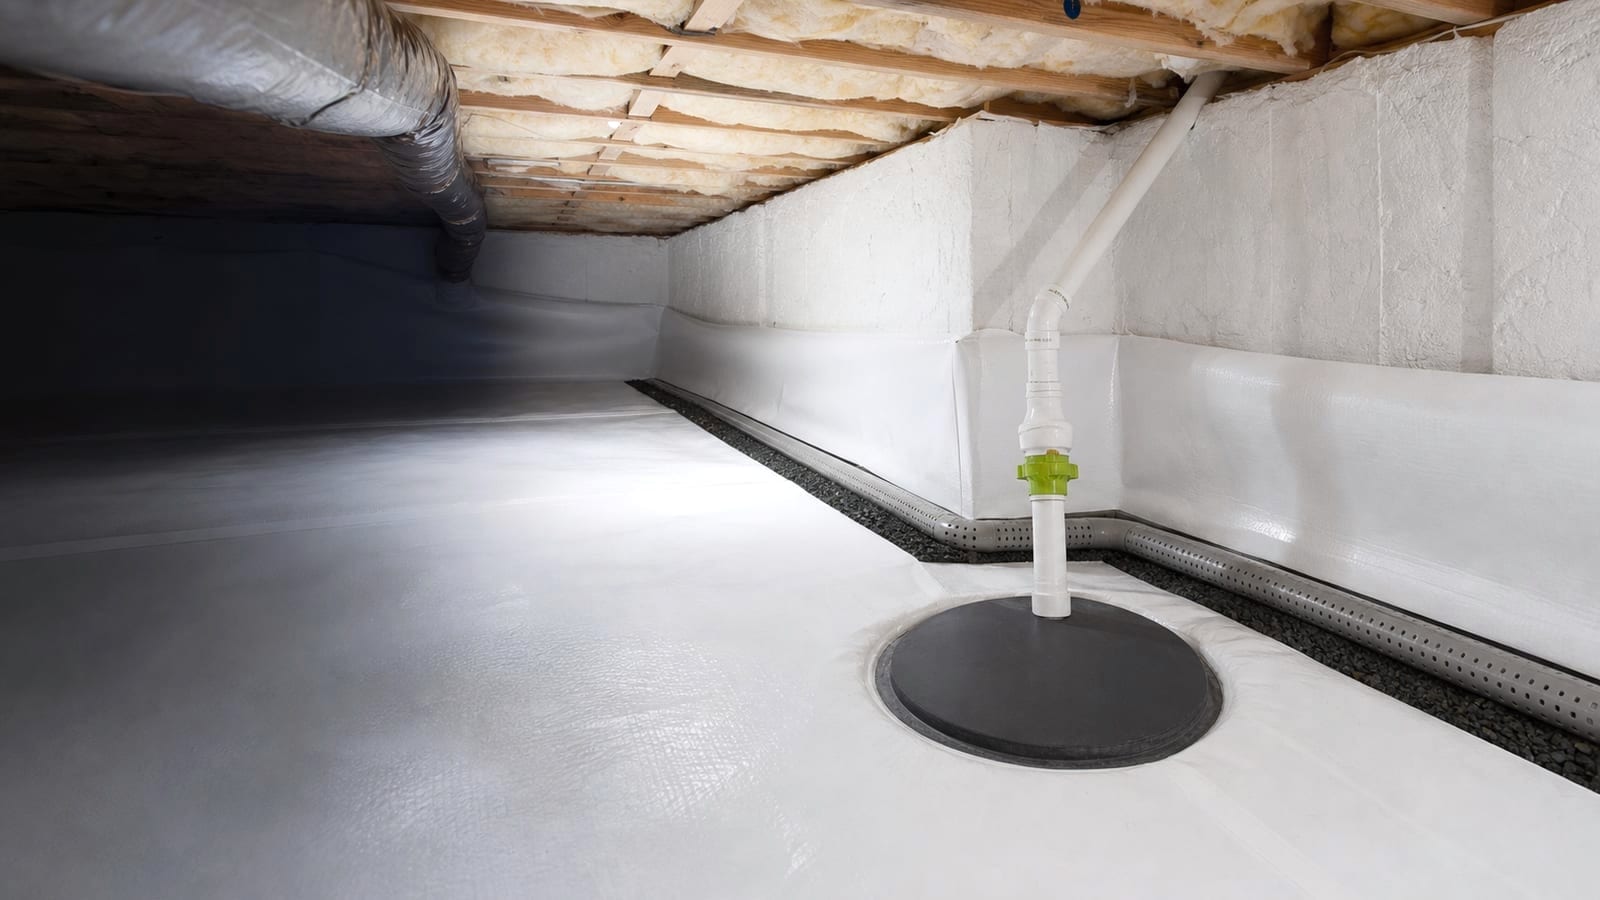
An encapsulation liner can cover a soft pool or moving water below. Do not cut it. Photograph changes, note storm timing, and have the drainage and sealed details inspected. The standing water problem page provides the larger context.
Exterior matches
Compare interior water with:
- Gutter overflow
- Downspout outlets
- Underground roof-drain backups
- Grade and landscape low points
- Patios or drives sloping toward the house
- Erosion and splash marks
- Foundation cracks and penetrations
The article on foundation drainage improvements is the internal resource for roof runoff and grading.
Condensation clues
Condensation occurs when humid air contacts a surface at or below the air’s dew point. In a crawl space, cold supply ducts, refrigerant lines, chilled water pipes, and metal fittings can provide those surfaces.
Beads across a cold surface
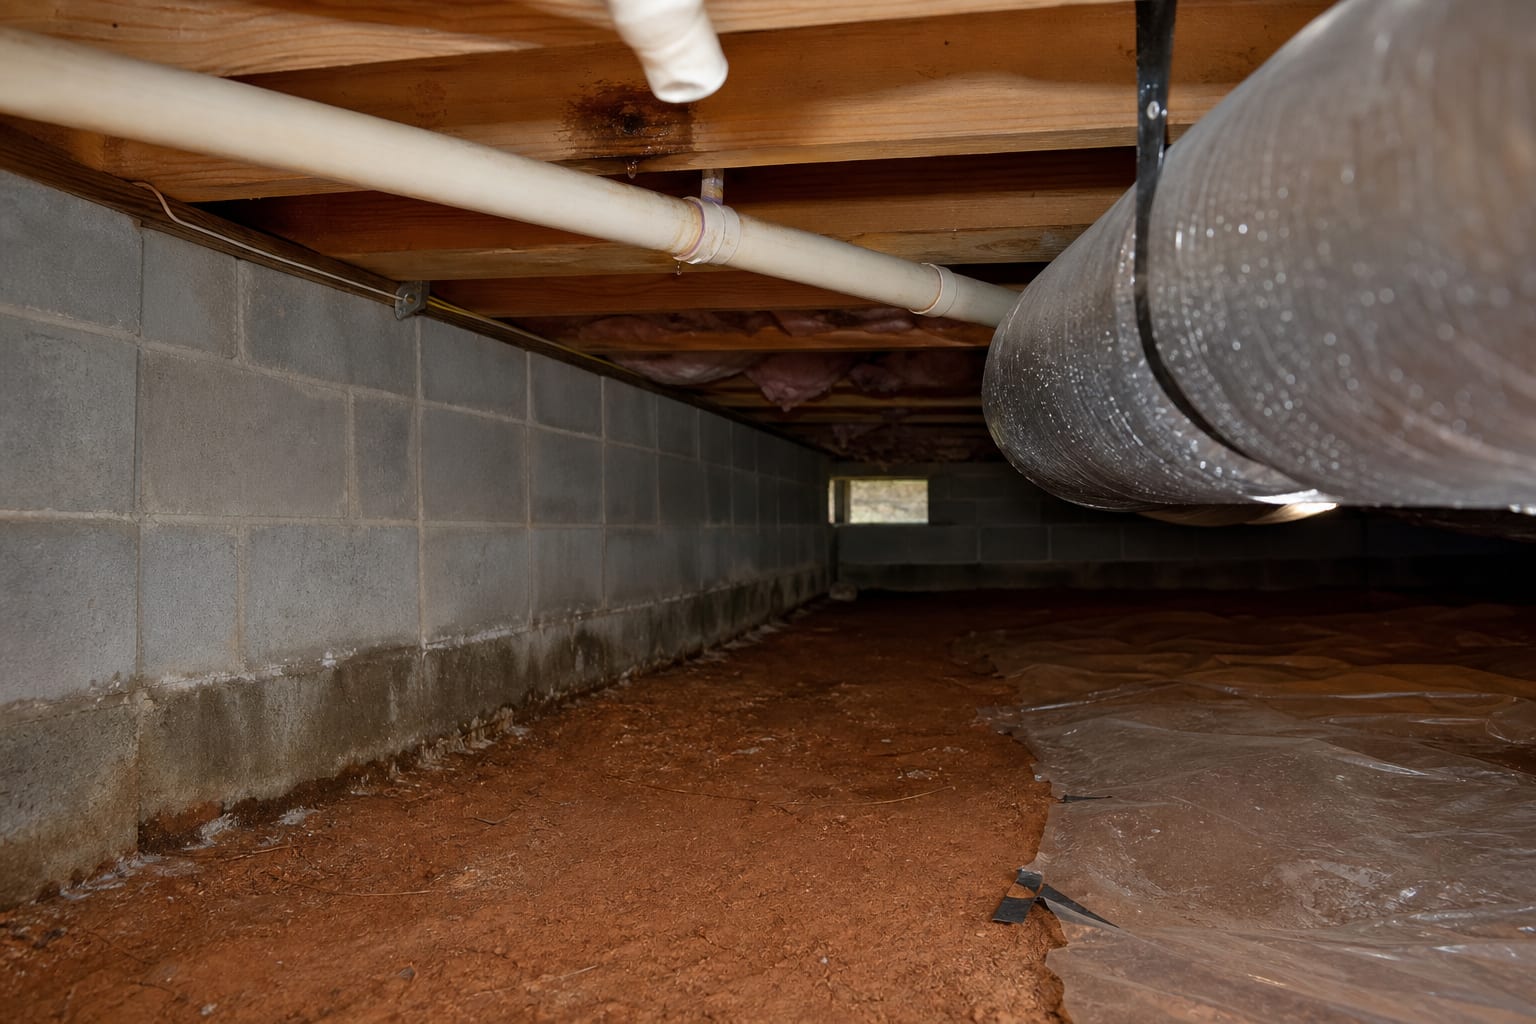
Condensation often appears as many small droplets over a section rather than one originating joint. Droplets may merge and fall onto the liner, creating a line of wet spots beneath the duct or pipe.
Damaged or missing insulation
An exposed metal fitting, compressed duct insulation, open seam, or missing pipe insulation can create a local cold spot. Wet insulation may hold water and drip after equipment cycles off.
Cooling-cycle timing
If droplets increase while the air conditioner runs and the pipe or duct is cold, condensation moves higher on the inspection list. It is still necessary to check for HVAC condensate leaks and plumbing above.
Humidity context
Record relative humidity, air temperature, meter location, and time. A single humidity value does not calculate the exact surface condition without temperature context. Repeated high humidity and visible cold-surface droplets are more useful than one reading.
The condensation and sweating ducts page remains the primary site explanation for this pattern.
A controlled observation sequence
1. Establish a dry baseline
If safe, dry or mark only the edge of a small clean-water wet area after photographing it. Do not disturb suspected contamination. Note all existing stains separately from active droplets.
2. Watch without operating fixtures
Observe whether water forms while no one uses plumbing. A continuous supply leak may still appear. Condensation may form when cooling runs. Rain entry may continue after the storm ends.
3. Change one condition at a time
If plumbing testing is appropriate, use one fixture or appliance cycle at a time. Do not run several sources together. Record start time and the first change below.
4. Compare with weather
Photograph exterior runoff during safe conditions and inspect the crawl space when entry is safe. Repeat during a dry period. A pattern that follows rain but not fixture use supports exterior or groundwater investigation.
5. Check equipment drainage
Confirm visible dehumidifier and HVAC drain routes, condensate pumps, and outlets. Do not disconnect or force a pump.
6. Recheck the lowest area
Water may take time to travel. Revisit the mapped low point and record recession. A puddle that remains does not necessarily mean water is still entering; it may have no drainage path.
Use stains carefully
Stains preserve history but do not always show current activity.
- A dark ring around a pipe penetration can come from an old repaired leak.
- Rust may show repeated condensation or an earlier spill.
- White deposits on masonry can indicate moisture-carried salts.
- A mud line can show a previous high-water level.
- Wood discoloration may remain after drying.
Pair appearance with active moisture, timing, and comparative readings. Do not claim wood rot, mold, or structural damage from color alone.
Why several sources may overlap
A heavy storm can raise crawl space humidity, saturate soil, and cause a power interruption. The sump may stop, cold ducts may sweat, and wall seepage may occur during the same event. A plumbing leak can drip onto a liner already holding groundwater beneath it.
The repair plan should separate:
- The source of each water pathway
- The materials each pathway wet
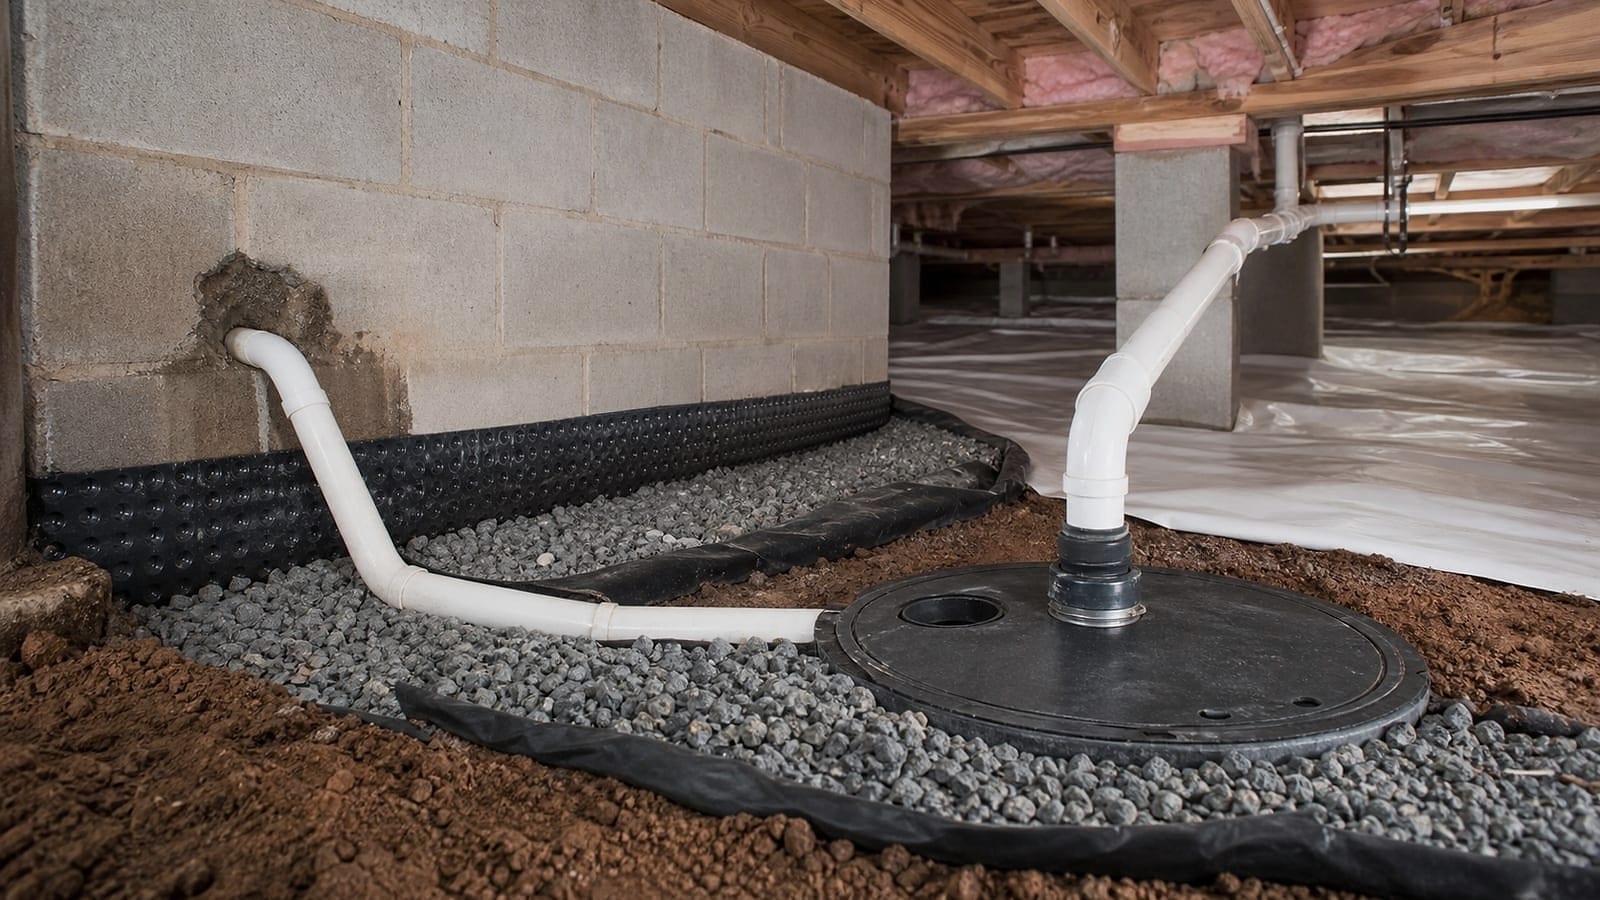
- The collection and discharge route
- Humidity control after bulk water is resolved
- Monitoring that will show recurrence
The crawl space moisture control page connects these layers without treating one product as the answer to every source.
What not to do during source tracing
- Do not cut a liner to inspect water beneath it.
- Do not handle plugs, pumps, or cords in damp conditions.
- Do not tighten or disassemble pressurized plumbing as a test.
- Do not enter suspected sewage or chemically contaminated water.
- Do not spray cleaner over stains before documenting them.
- Do not run every fixture at once.
- Do not assume the nearest pipe caused the puddle.
- Do not seal a wall deposit before checking the moisture route.
Limitations and when to schedule an inspection
A homeowner can map water, compare weather and fixture use, photograph stains, check exterior drainage, and observe equipment from a dry location. Pressure testing, drain testing, concealed-leak investigation, dew-point measurement, subsurface water analysis, and electrical service require qualified professionals.
Schedule an inspection when the source remains unclear, water returns, plumbing tests create wetting, condensation repeatedly wets insulation or framing, or storm water appears beneath a liner. Contact the appropriate trade promptly for suspected sewage, an active supply leak, electrical exposure, or structural movement.
For an inspection that organizes water source, drainage, and moisture control, request a free crawl space inspection and bring the dated observation record.
Frequently asked questions
How can I tell whether crawl space water is from plumbing or rain?
Compare controlled fixture use with dry weather and rain events. Plumbing water often begins at a pipe, fixture area, or appliance cycle. Rain-related water often begins at a wall, soil low point, or drainage path. Overlap is possible.
Can condensation make a puddle?
Yes. Repeated droplets from a long cold duct or pipe can collect in a low area. Look for beads on the cold surface and a wet line below, while also ruling out an HVAC drain or plumbing leak.
Does water coming through the soil mean the water table is high?
Not by itself. Groundwater, perched saturated soil, surface runoff, and a blocked drainage route can look similar. Timing, topography, multiple observation points, and professional evaluation help distinguish them.
Can a plumbing leak be intermittent?
Yes. Drain leaks may occur only during fixture use, and some supply or fixture leaks change with pressure or movement. A controlled one-fixture-at-a-time observation can preserve useful evidence.
Should I remove the water before the source is inspected?
Safety and preventing continued wetting come first, but document the location and pattern before evidence disappears when practical. Water removal should use a safe method and should be followed by source correction and material evaluation.
Sources and further reading
- U.S. Environmental Protection Agency: Moisture Control Guidance for Building Design, Construction and Maintenance
- U.S. Environmental Protection Agency: Mold Course Chapter 2
- U.S. Environmental Protection Agency: Finding Mold and Moisture
- U.S. Environmental Protection Agency: What Are the Main Ways to Control Moisture in Your Home?
- North Carolina State Extension: Mold and Moisture Checklist
How this applies in Durham, NC
In Durham, NC, document water timing, roof runoff, grade, the entry point, the low point, and the discharge route before naming a drainage solution. A wet area can be where water collects rather than where it entered, so the location of each observation matters. Compare the crawl space waterproofing with the Crawl Space Drainage Systems: From Water Entry to Discharge in Garner, NC before choosing a property-specific next step.