Short answer
A crawl space encapsulation should be checked as a working moisture-control system, not treated as a sheet of plastic that can be forgotten. A useful calendar combines brief monthly observations with deeper seasonal reviews. Check humidity trends, liner condition, access closure, wall and pier attachments, drains, dehumidifier, filter, condensate route, sump equipment, ductwork, plumbing, insulation, exterior gutters, downspouts, and grade.
The equipment manufacturer’s instructions control filter, cleaning, and service intervals. Storms, pest activity, construction, plumbing work, and trade access can create a need for an extra inspection before the calendar date. Never open powered equipment or handle wet electrical components.
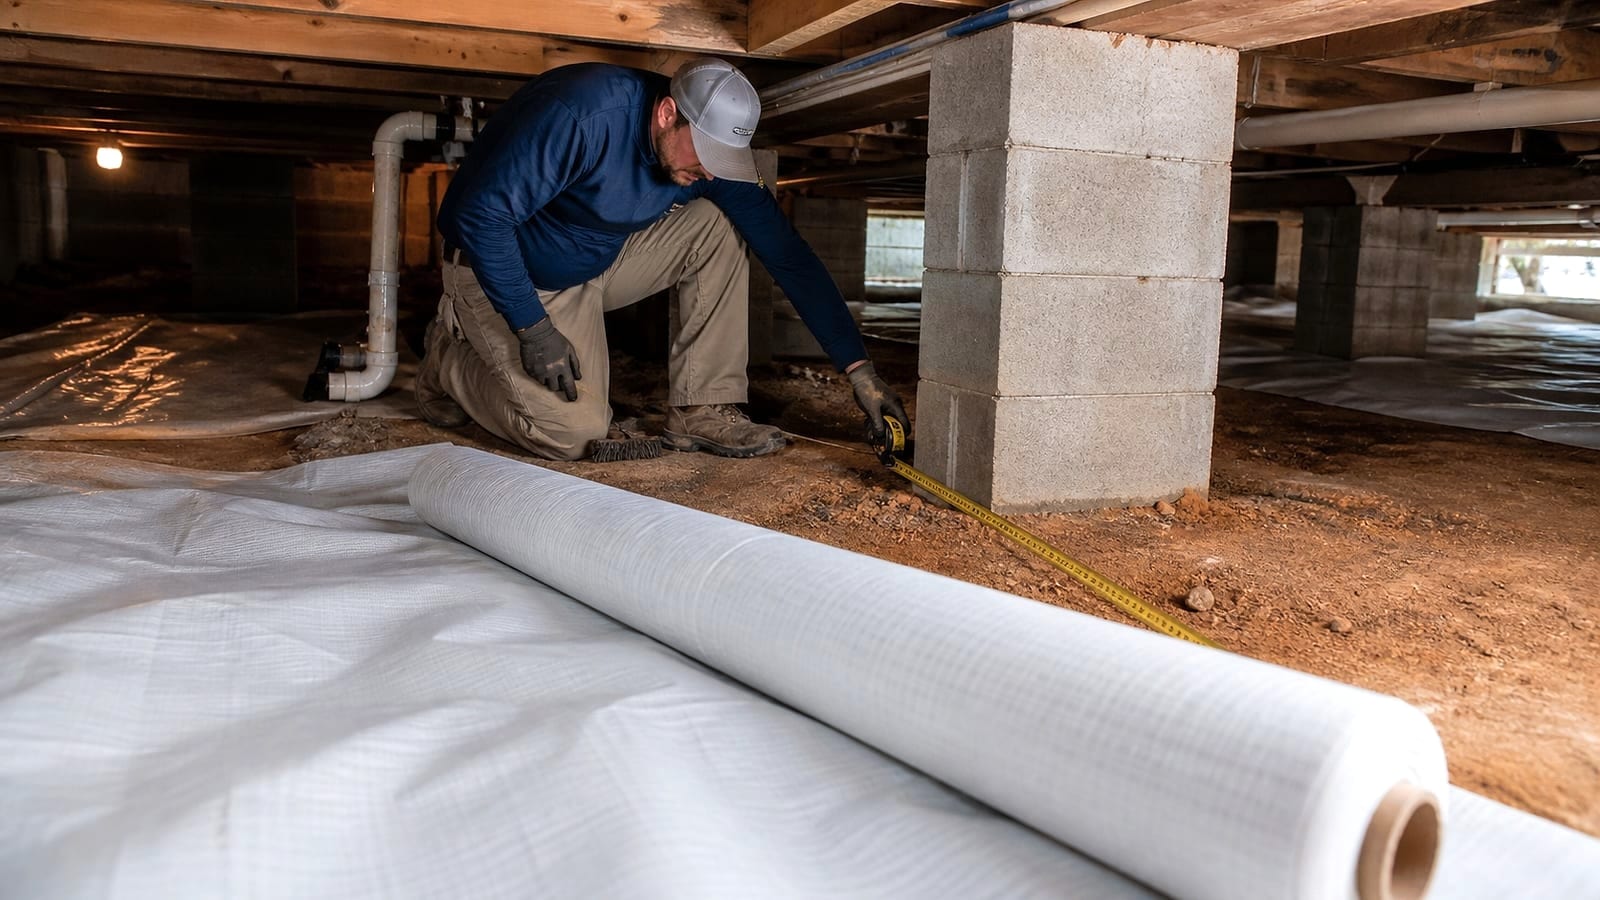
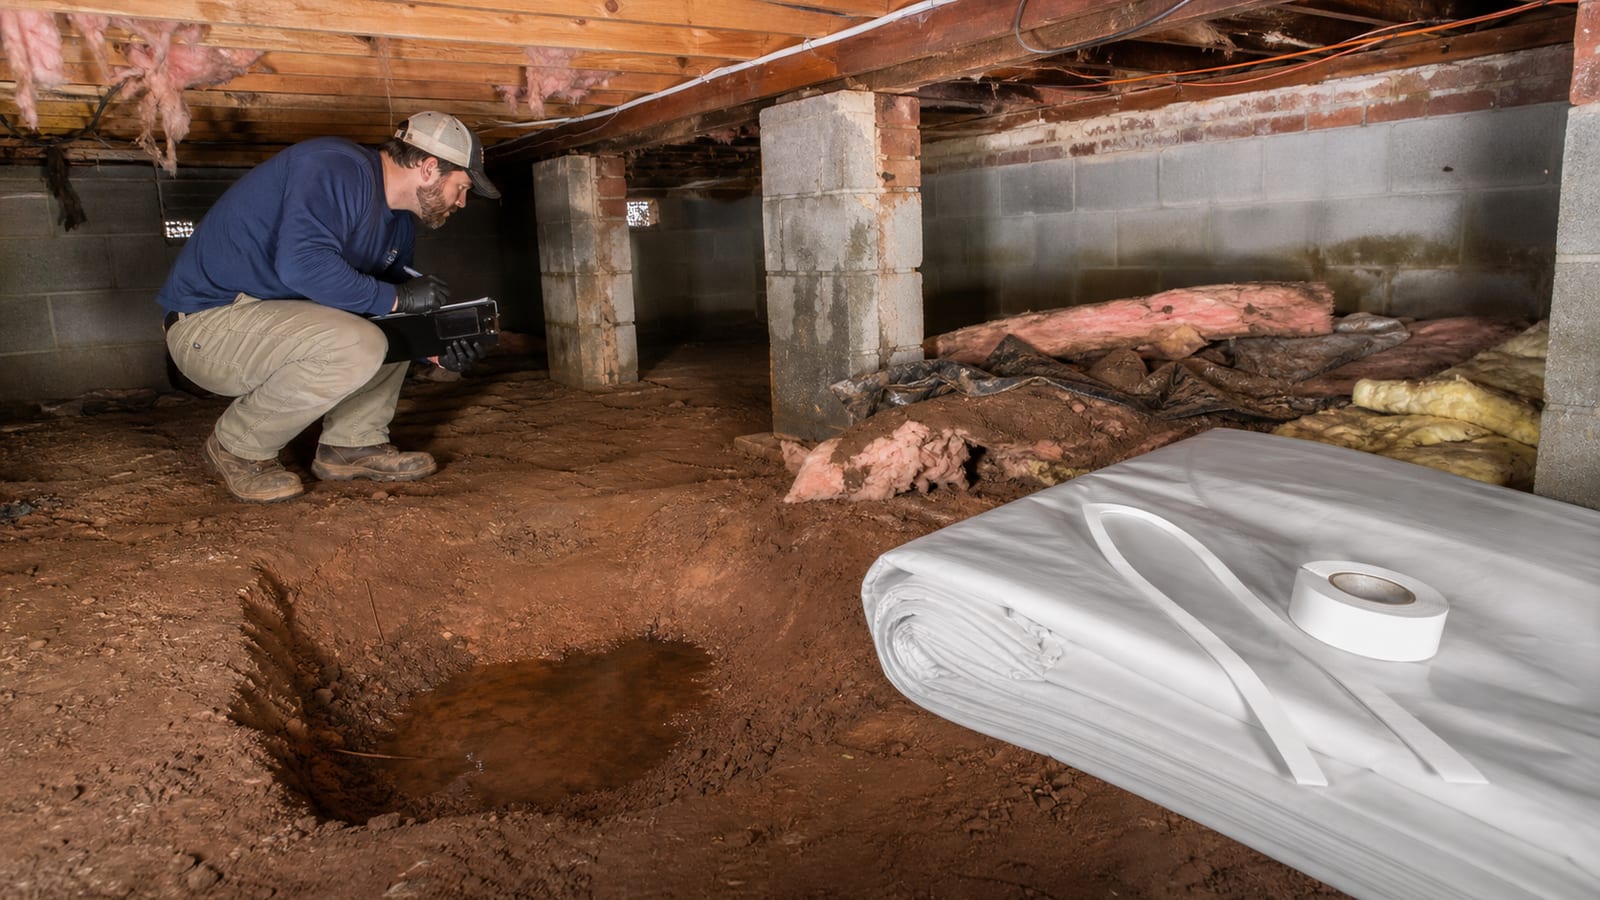
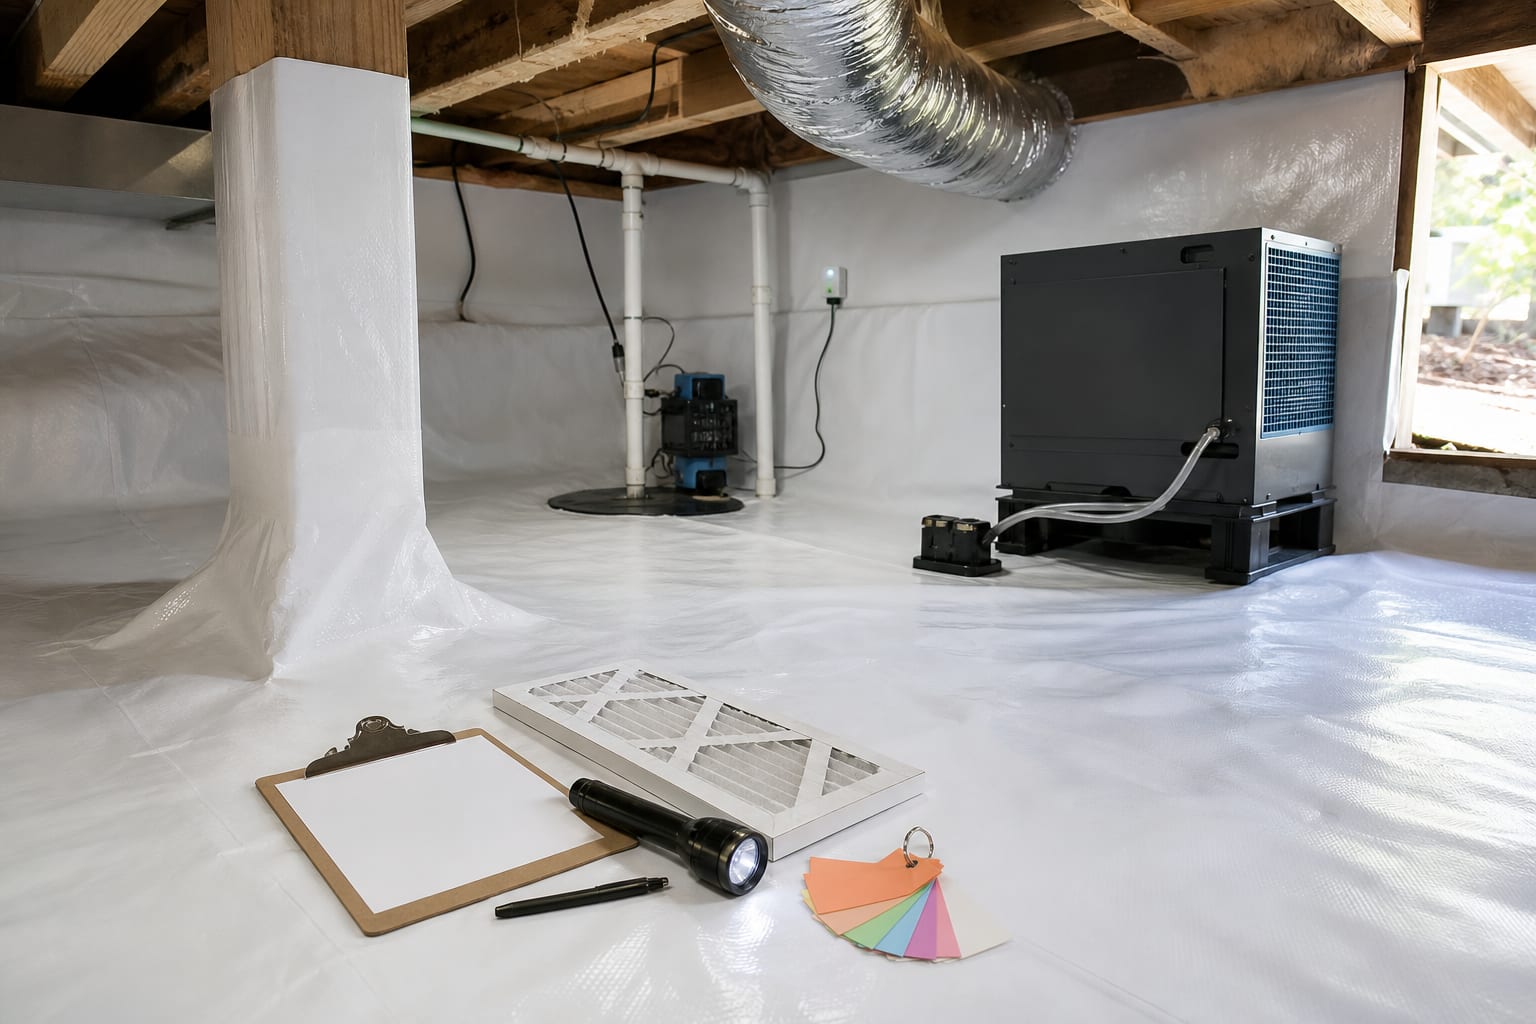
The crawl space encapsulation service page explains the system’s core layers. Maintenance is the process of confirming those layers still work together. Keep dated photographs and readings from consistent locations so gradual changes are easier to see.
Set up a baseline before using the calendar
A calendar works only if you know what “normal” looks like for this specific crawl space. Create a baseline record when the space is dry and the system is operating as intended.
Record:
- access-door position and seal;
- liner color, seams, perimeter attachment, and pier details;
- location of every drain and low point;
- dehumidifier model information without publishing or promoting the brand;
- filter type and manufacturer instructions;
- drain route or condensate-pump location;
- sump basin, lid, alarm, power, and discharge route if present;
- hygrometer locations;
- typical temperature and relative-humidity trend;
- visible plumbing, duct, insulation, wiring, and supports;
- exterior downspout and drainage locations;
- any areas intentionally left visible for inspection or service.
Photograph wide views before close-ups. A close image of a seam is hard to locate later without a wall, pier, or direction reference.
Do not publish equipment serial numbers, access details, or sensitive property information. The record is for maintenance and inspection.
Every month: a short no-disassembly check
Choose a consistent date and use the same route. A monthly check can be brief when no change is present.
Review the humidity record
Look at trends, not one isolated number. Record temperature, RH, sensor location, weather, and whether the dehumidifier is running. A sudden shift may reflect sensor placement, an open access, a storm, equipment status, or a new moisture source.
If the reading is unexpectedly high, confirm the sensor before changing equipment. The ideal crawl space humidity guide explains how to interpret a trend.
Look from the access
Before entering, confirm that the door closes correctly and has not warped, shifted, or been left open. Scan for:
- standing water;
- a raised liner;
- disconnected drains;
- alarms or error displays;
- fallen insulation;
- new debris;
- animal activity;
- unusual odor;
- tools or materials left by another trade.
Stop if the space is unsafe.
Check equipment status without opening it
Observe the dehumidifier intake and discharge for obstruction. Look for visible filter restriction, drain kinks, water around the unit, and an error indicator. Observe sump and condensate equipment from a safe position. Do not place hands in basins or remove energized covers.
January: review cold-weather condensation and access
Cold weather can reveal air leaks, pipe condensation, plumbing problems, wet insulation, and cold masonry. Compare floor comfort complaints with the crawl space below.
Check:
- droplets or frost on pipes and metal;
- wet or sagging floor insulation;
- air gaps at the access and visible penetrations;
- water after winter rain;
- dehumidifier and drain operation in colder conditions;
- evidence of rodents seeking shelter.
Do not seal vents or openings as an isolated winter experiment. Closed-crawl-space details must fit the building, equipment, and applicable requirements.
February: inspect liner seams and high-traffic routes
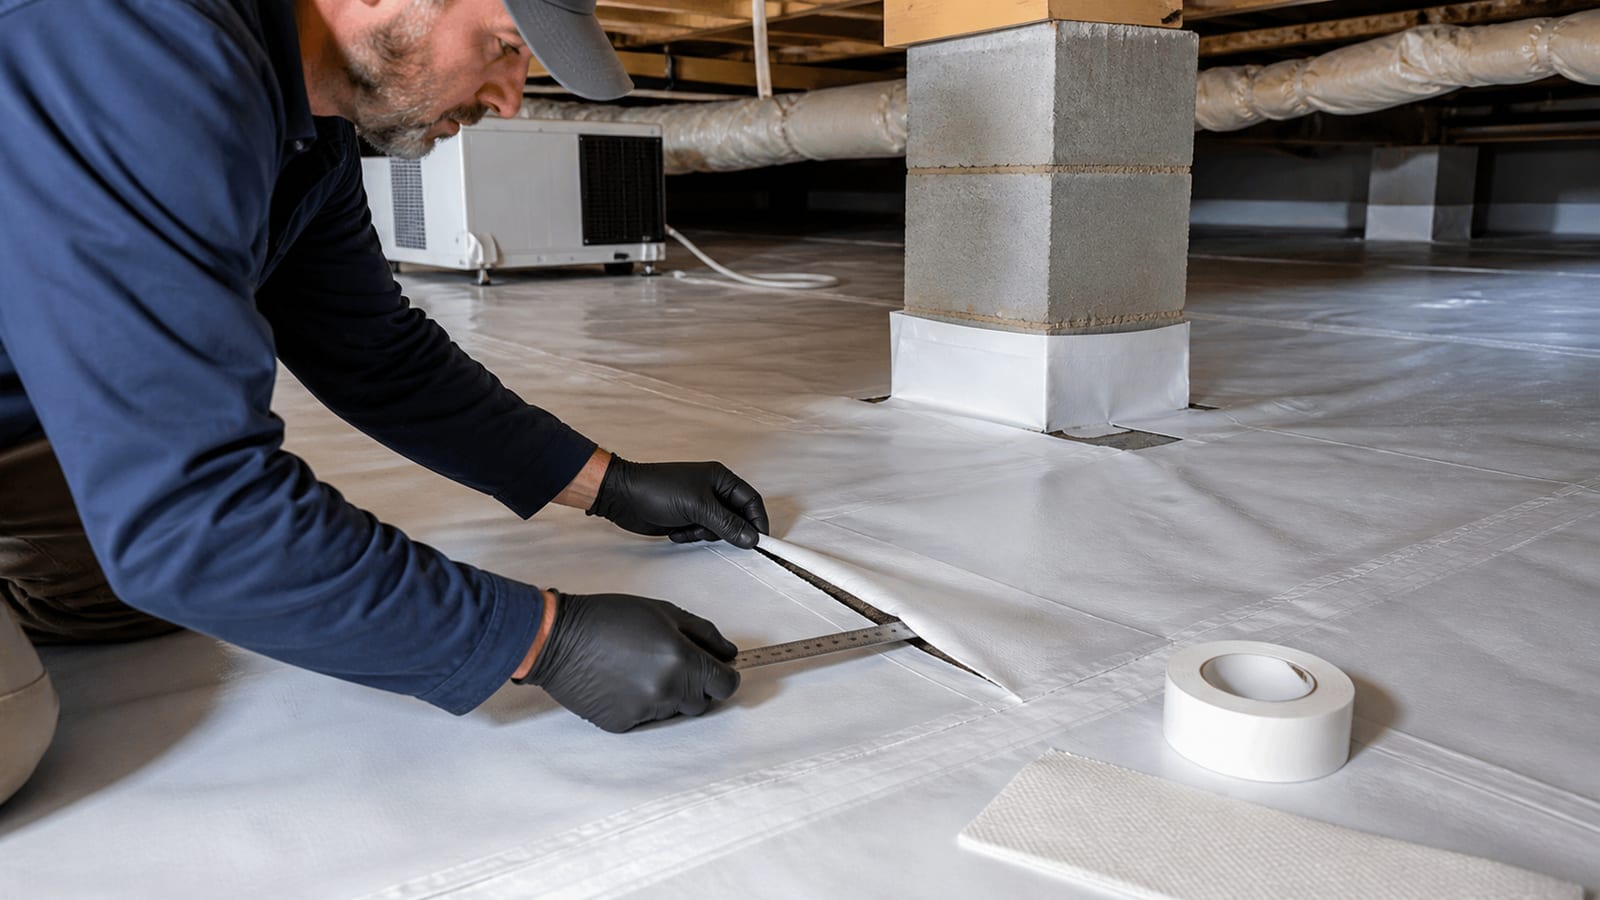
Use a flashlight held at a low angle to reveal punctures, raised seams, wrinkles, and scuffs. Focus on the route between the access and mechanical or plumbing equipment.
Look for:
- punctures from tools or fasteners;
- seam tape lifting;
- liner pulled away from a pier;
- wall attachment changes;
- abrasion at a sharp masonry edge;
- wetness or sediment beneath a loose area;
- temporary boards or storage that could damage the liner.
Do not tape over water or contamination. Clean, dry, compatible surfaces and system-appropriate repair materials matter.
March: prepare exterior drainage for spring rain
Inspect gutters, downspouts, extensions, grade, swales, and discharge points once weather conditions are safe. Winter debris and soil settlement can change water movement.
Confirm that:
- roof water has a clear route;
- downspout extensions remain connected;
- outlets are not blocked by leaves or soil;
- mulch and beds do not direct water toward the wall;
- the access threshold remains above runoff;
- sump or drain discharge does not return toward the foundation.
The foundation drainage improvement page provides context if exterior water repeatedly reaches the crawl space.
April: confirm sensors before humidity season
Place sensors together in a stable indoor location long enough to compare them, then return each to its labeled crawl space position. Note any consistent difference.
Review data logging, batteries, time settings, and remote connectivity if used. Avoid placing a sensor beside a duct, dehumidifier outlet, wall, or open access unless the goal is to measure that local condition.
A sensor check prevents a drifting device from triggering unnecessary system changes.
May: review dehumidifier airflow and filter
Follow the equipment manual. Turn power off only according to safe instructions before any owner-permitted filter handling. If the unit is wet, damaged, or electrically questionable, stop.
Observe:
- intake and discharge clearance;
- filter loading;
- dust around coils or grille areas without opening sealed sections;
- drain slope and connection;
- condensate-pump status if present;
- vibration, noise, or cycling changes;
- humidity trend before and after service.
The dehumidifier maintenance and filter replacement page explains when routine owner checks should give way to equipment service.
June: inspect for condensation during long cooling cycles
North Carolina summer cooling can expose cold-surface problems. During safe access, look for beads on ducts, pipes, metal collars, and equipment.
Photograph the highest wet point. Compare surface patterns with local temperature, RH, and AC operation. Fine beads across a cold surface suggest a different path from a stream at one joint.
Do not wrap wet ducts or pipes before identifying insulation gaps, air leakage, surrounding humidity, and other water sources.
July: make a midyear full-system record
Repeat the baseline photo sequence. Compare:
- liner seams and wall attachments;
- pier details;
- access closure;
- humidity trend;
- dehumidifier filter and drain;
- sump basin and discharge observations;
- visible plumbing and ducts;
- insulation;
- odor;
- exterior runoff routes.
Use side-by-side images from the same positions. A slow-growing stain or liner shift can be difficult to notice from memory.
August: check drains, low points, and sump observations
Summer storms can test drainage. Inspect after a meaningful rain when it is safe.
Record:
- water above or beneath the liner;
- sediment at drain openings;
- sump water level and alarm status;
- pump sound and visible discharge;
- low points that remain wet;
- exterior discharge erosion or return flow.
Do not reach into a basin, force a float, or use chemical drain cleaners. The sump pump maintenance page explains the equipment category.
September: document trade access and repairs
HVAC, plumbing, electrical, pest, and communications work can affect an encapsulation. After any trade visit, compare the work route with your baseline.
Look for:
- punctures or cuts;
- moved sensor;
- open access;
- displaced drain line;
- stored scrap or packaging;
- damaged wall attachment;
- insulation pulled down;
- penetrations added without appropriate detailing.
Keep invoices and photographs of any system repair. Do not attribute damage without evidence; the goal is to restore system continuity.
October: clear exterior water routes before leaf season
Leaves and debris can affect gutters, downspouts, swales, drains, and outlets. Use safe ladder and roof practices, or arrange appropriate service.
At ground level, confirm that discharge routes remain visible and that yard work has not changed grade or buried outlets. Photograph changes before they are covered by new mulch.
November: inspect access, pests, and stored items
Colder weather can increase animal activity. Inspect the access, vent closures, utility penetrations, and liner for disturbance.
Do not block termite or other required inspection areas with storage. Do not place cardboard, untreated wood, chemicals, fuel, or household storage in the crawl space. Storage can damage the liner, obstruct equipment, and hide moisture.
If pest evidence is present, coordinate pest inspection with moisture-system protection.
December: close the annual record
Summarize:
- monthly humidity range and notable events;
- filter changes based on manufacturer instructions;
- storm observations;
- repairs;
- alarm events;
- trade access;
- drainage changes;
- areas that need professional follow-up.
Save representative photographs rather than hundreds of unlabeled images. The annual record should help another owner, inspector, or service provider understand the system without guessing.
Extra checks after events
The calendar does not replace event-driven inspections. Add a check after:
- tropical storms or multi-day rain;
- a power outage;
- a plumbing leak;
- sump or dehumidifier alarm;
- HVAC or plumbing work;
- pest treatment or inspection;
- foundation or landscaping work;
- unusual odor;
- a sudden humidity shift;
- damage to the access.
Use the crawl space inspection checklist for a consistent route after a significant event.
Keep each control layer visible
Liner
The liner limits ground-vapor communication and provides a clean visual surface. It must remain continuous, attached, and protected.
Exterior water management
Gutters, downspouts, and grade should reduce water delivered to the foundation. Encapsulation does not make exterior runoff irrelevant.
Interior drainage
Drains and sump equipment manage collected liquid water. They require clear routes, power where applicable, and a reliable discharge.
Air control
Access doors, vents, wall details, and penetrations influence air exchange. Changes should preserve the intended system design.
Mechanical humidity control
A dehumidifier needs airflow, a clean filter, a functioning drain, and appropriate settings. It cannot correct active bulk water.
Inspection access
Plumbing, wiring, framing, pest-inspection areas, and equipment must remain accessible. An encapsulation should not hide a condition that needs routine observation.
Limitations and when to arrange an inspection
Arrange an inspection when:
- humidity stays elevated after sensor confirmation;
- standing water or a raised liner appears;
- dehumidifier, sump, pump, or alarm behavior changes;
- equipment or electrical components become wet;
- a drain repeatedly clogs or backs up;
- liner damage is broad or water is trapped beneath it;
- wall attachments or access closure fail;
- insulation or framing remains wet;
- odor persists;
- suspected growth, structural movement, sewage, or animal hazards are present;
- maintenance requires opening powered equipment or entering an unsafe area.
Owner observations cannot establish electrical safety, structural capacity, code compliance, or material identification. Maintenance should preserve evidence and trigger the correct specialist when conditions exceed a safe visual check.
Frequently asked questions
How often should I enter an encapsulated crawl space?
Use brief monthly observations from the access and seasonal full checks when entry is safe. Storms, alarms, leaks, power outages, and trade work justify an extra check. Access frequency also depends on equipment instructions and site conditions.
Does a clean white liner mean the crawl space is dry?
Not necessarily. Water can be trapped beneath the liner, materials above it can be wet, and humidity can be elevated without staining. Check seams, low points, walls, equipment, readings, and materials rather than liner appearance alone.
Can I store household items in an encapsulated crawl space?
Storage can puncture the liner, obstruct equipment, block inspection access, and introduce absorbent materials. Keep the space clear unless its design and applicable safety requirements explicitly support a planned use.
Should humidity stay at exactly one number all year?
No. Temperature, weather, equipment cycles, and sensor tolerances create normal variation. Track trends and material condition. A flat graph is less important than a controlled, inspectable system with no active wetting.
Who should keep the maintenance record?
The property owner should retain equipment instructions, dated readings, photographs, service records, repairs, and alarm history. Transfer the record when ownership changes so the next person can distinguish baseline conditions from new changes.
Sources and further reading
- NC State Extension: Mold and Moisture Checklist
- U.S. EPA: A Brief Guide to Mold, Moisture and Your Home
- U.S. Department of Energy: Unvented, Conditioned Crawlspaces
- North Carolina OSFM: Closed Crawl Space Moisture Control, Permitting, and Licensure Interpretation
How this applies in Angier, NC
For a home in Angier, NC, keep this observation with the maintenance record for the actual liner, access, drain, sump, and dehumidification equipment in place. A location-specific record helps an inspection start with what changed instead of treating every encapsulated crawl space as the same system. Compare the crawl space encapsulation with the Crawl Space Encapsulation Systems: A Component-by-Component Guide in Sanford, NC before choosing a property-specific next step.