Short answer
Protecting an encapsulation liner during plumbing or HVAC work comes down to preparation, communication, and inspection. Before a crew enters, document the liner, agree on a route, add compatible temporary protection, and confirm who will report and repair damage. During work, contain tools and debris and preserve equipment clearance. Afterward, check the route, seams, and penetrations. Tears and loose perimeter details interrupt the system described on the crawl space encapsulation page.
Why service visits are the moment liners get damaged
Service visits create concentrated traffic over a liner. Knees, tool bags, dropped fittings, cut pipe, and dragged equipment can puncture or pull material that normally lies undisturbed. Damage may be hidden under equipment or along a wall. The goal is not to keep qualified trades out. It is to plan their route, protect the work area, and document the liner before and after access.
Take before-work photos and set expectations
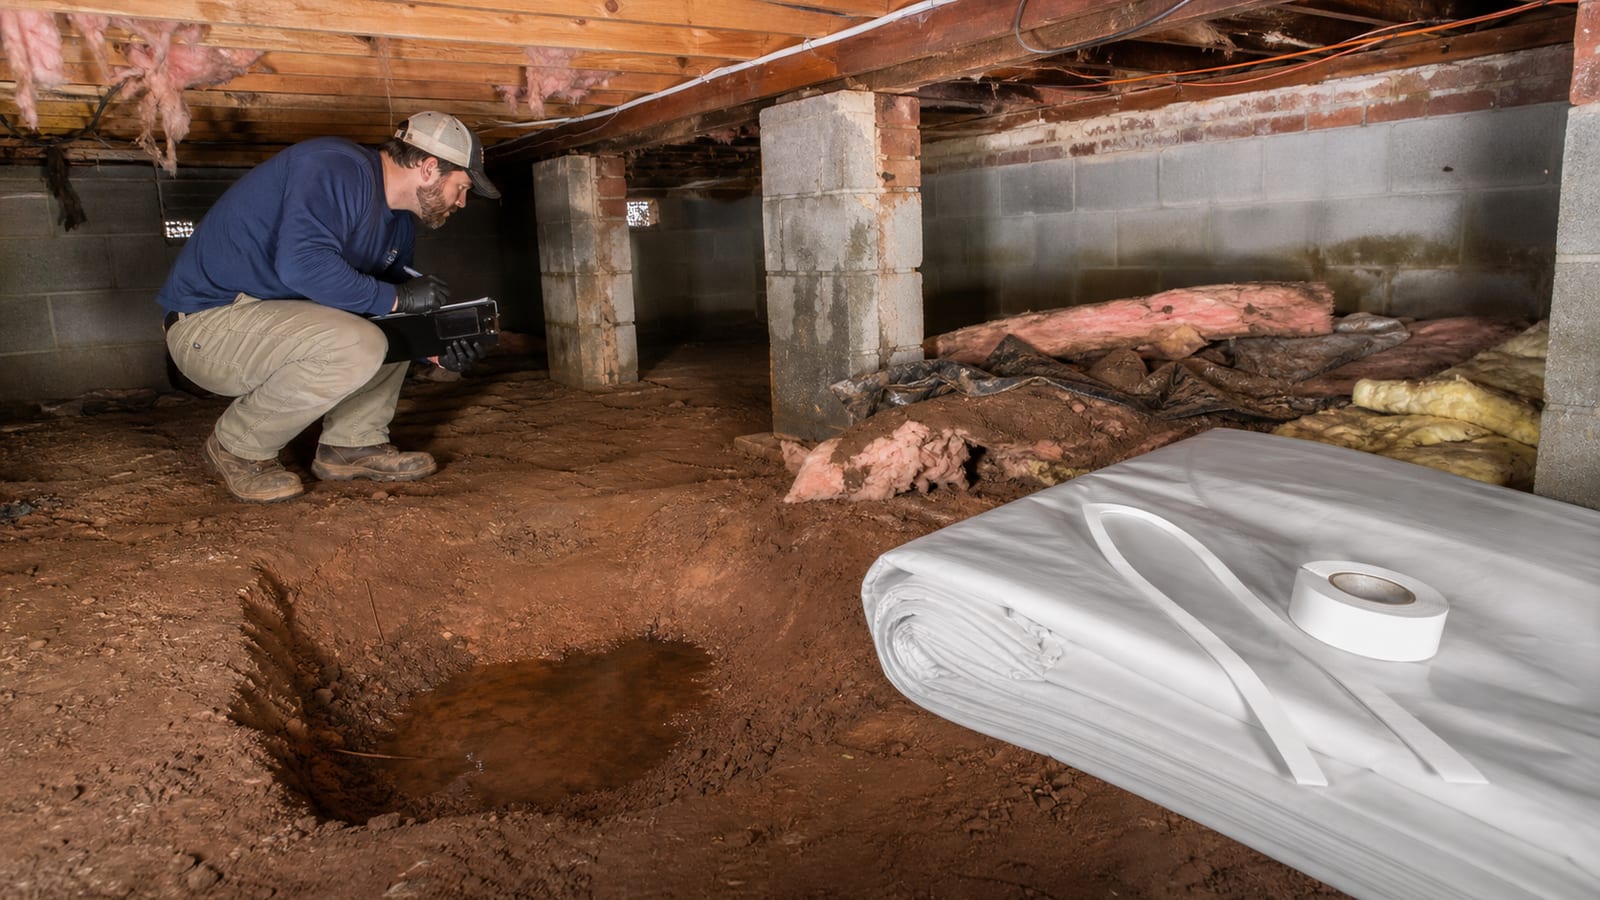
Start every service visit with a short photo record and a two-minute conversation. Photos give you a baseline. If you find a tear next month, you want to know whether it existed before the plumber arrived. A conversation sets shared expectations before anyone is on their knees in a tight space.
Capture these before the crew goes down:
- Wide shots of each corner and the main walking aisles, with the date visible in the file metadata.
- Close shots of the perimeter seal where the liner meets foundation walls, since edges are where separation shows first.
- The area around fixed equipment: dehumidifier, sump basin, water heater, air handler, and any existing pipe penetrations.
- Any spot that already looks worn, wrinkled, or lifted, so a pre-existing issue is not blamed on the new work.
Then tell the technician where the liner is, which route is protected, and that the same areas will be checked after work. The crew can also identify any additional protection its work requires.
Plan the route before anyone goes under
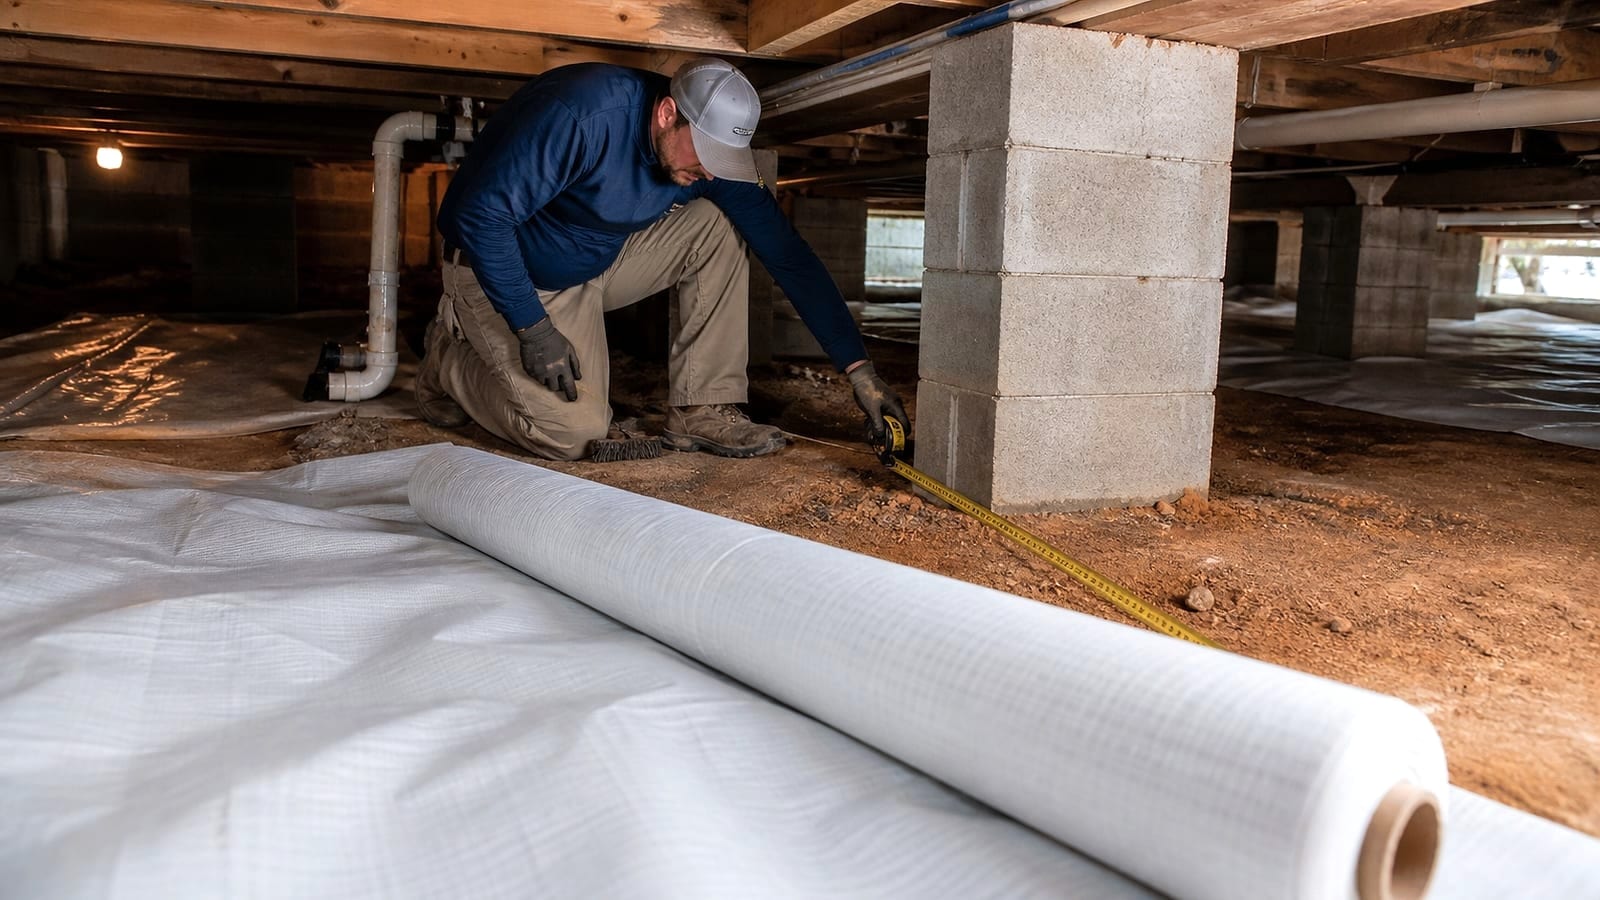
Decide the path from the access hatch to the work area before the crew enters, and pick the route that crosses the least liner and avoids equipment. A planned route prevents the common problem of a technician wandering to find the fastest line to a fixture and dragging gear across sealed film along the way.
Walk it yourself first, on paper or through the hatch, and think about:
- The shortest sensible line from the access point to the work, favoring existing pathways or higher-traffic aisles over pristine corners.
- Turns that force a crawler to pivot on one knee, since pivoting grinds grit into the film.
- Low headroom zones where a person is more likely to drop to hands and knees and put full weight on small contact points.
- Detours around the sump basin, the dehumidifier, and any drain lines so nobody crawls over them.
If the work sits in a far corner, accept that the route will cross more liner and plan protection for the whole path rather than hoping the crew stays light-footed.
Lay temporary walkway protection
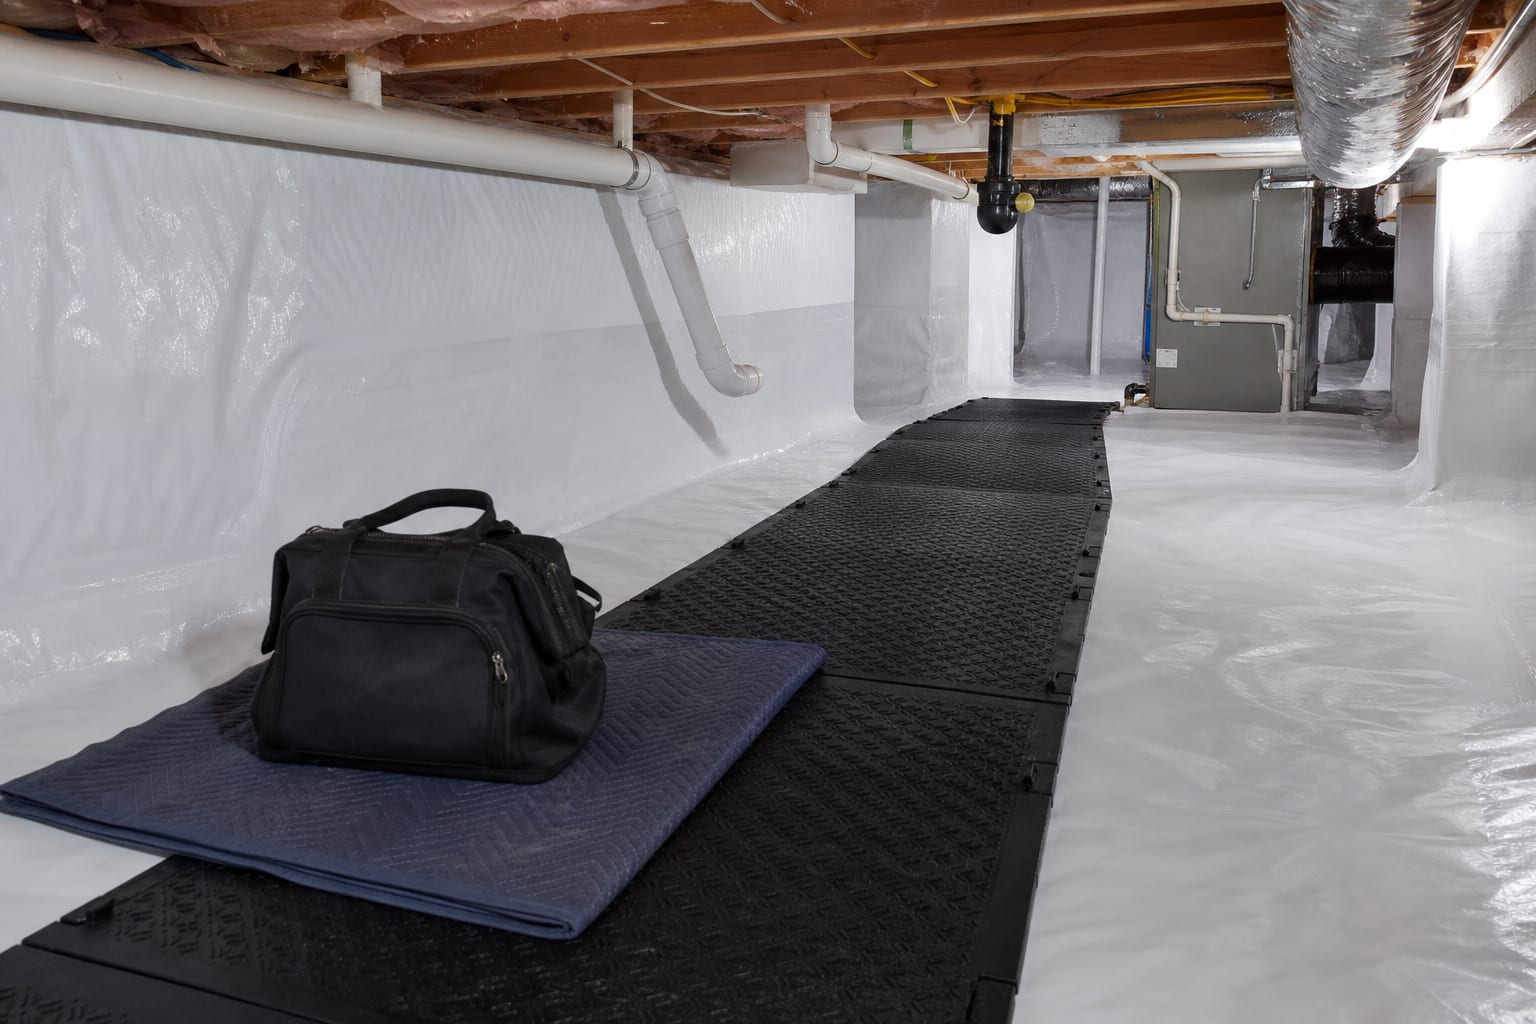
Cover the agreed route with temporary protection that spreads a person’s weight and shields against grit, and remove it when the work is done. The point of a walkway layer is to convert sharp point loads from knees, boots, and tools into distributed pressure the liner can tolerate.
Possible protection includes smooth-bottomed panels, padded crawl mats, or interlocking foam in a defined work zone. Confirm that the chosen material is compatible with the liner. It should have no sharp edges, exposed fasteners, or rough underside. Do not attach it to the liner with an unapproved adhesive. Lift covers rather than dragging them, and remove them after work. Inspect the vapor barrier installation beneath the route as each section is lifted.
Control tools, debris, and heat
Keep tools contained, catch debris before it reaches the film, and isolate the liner from work involving flame or hot metal. Loose hardware, sharp offcuts, and heated materials can puncture, abrade, or melt the surface.
Ask crews to follow a few habits:
- Stage tools on a mat, board, or foam tile rather than directly on the liner, so a dropped driver bit does not land point-down on film.
- Catch cuttings, pipe shavings, old fittings, and packaging in a bucket or bag instead of letting them fall onto the surface, where they become hidden abrasion points underfoot.
- Use a heat shield or a fireproof cloth behind and beneath any soldering, and let hot copper cool on a resistant surface, never on the barrier.
- Sweep or vacuum the work zone before packing up, since a single left-behind screw becomes tomorrow’s puncture when the next person kneels on it.
Protect penetrations, drains, and equipment clearance
Treat each place the liner meets a pipe, drain, or machine as a detail that needs to remain continuous. Plumbing and HVAC work can disturb boots, seams, and openings around these locations.
When a crew works near these points:
- Existing pipe penetrations: ask the technician not to peel back, cut, or re-route the liner boot around a pipe unless the repair genuinely requires it, and to flag it to you if they do so it can be resealed properly. A boot left open around a supply line is an open door for soil moisture and pests, which is the same failure described in pest entry through a damaged vapor barrier.
- New penetrations: any new line, condensate drain, or duct that passes through the barrier creates a fresh hole. Confirm who will seal it and that it gets sealed before the crew leaves, not left for a later visit.
- Drains and the sump basin: keep foot traffic and tool weight off drain lines and the basin lid. If work involves the drainage system, coordinate with whoever handles your sump pump repair and maintenance so the discharge path stays intact.
- Equipment clearance: your crawl space dehumidifier needs open airflow and an unblocked condensate route. Make sure nobody stacks removed parts, old water heaters, or packaging against the unit or over its drain, and that the intake and outlet stay clear when the visit ends.
If a duct is opened or a return is disturbed, remember that the crawl space is now part of your conditioned envelope. Leaving a supply boot loose or a penetration open changes how air and moisture move through the whole house, not just the crawl space.
Agree on responsibilities before work starts
Settle in advance who repairs the liner if it is damaged, and put that understanding in plain terms. This single step prevents the most frustrating outcome, which is discovering a tear after a crew has left and having no clear path to a fix.
A workable approach:
- Tell the technician the liner is a sealed system and that punctures need to be reported, not ignored or hidden under equipment.
- Ask them to point out any spot they had to cut, lift, or work around, and photograph it together before they pack up.
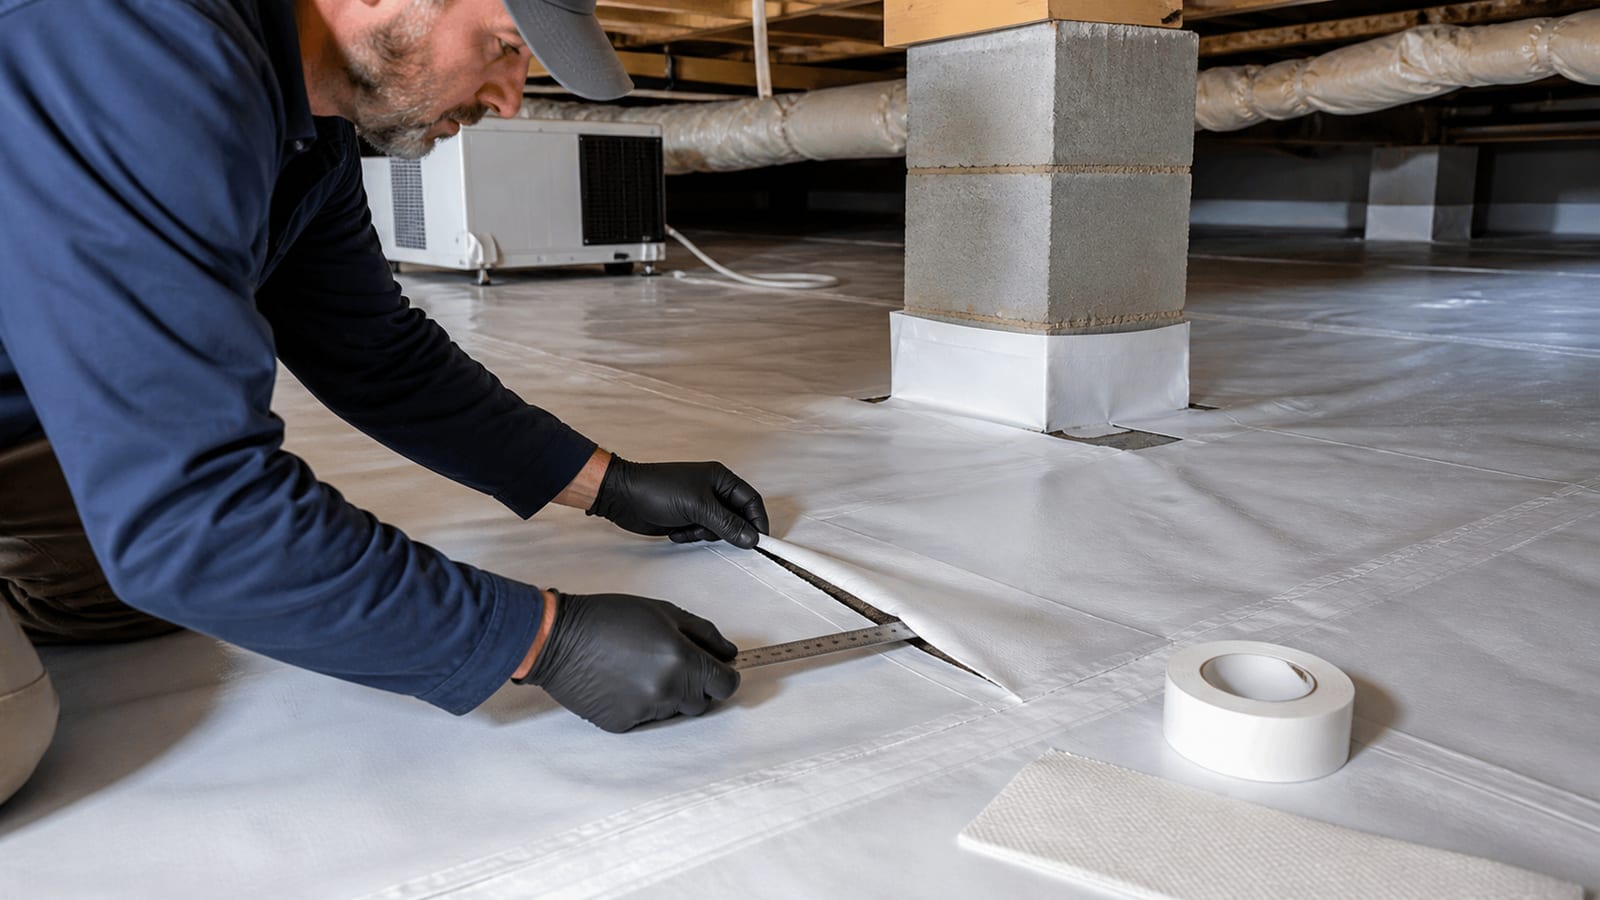
- Decide whether the trade will reseal minor damage they cause or whether your encapsulation provider should handle it, and note that some liner repairs need matching materials and technique rather than generic tape.
- Keep the contact information for whoever installed or maintains your system handy, so a needed repair can be scheduled quickly rather than left open through a humid stretch.
You do not need to be adversarial about this. Framing it as protecting a system everyone benefits from, including the next technician who has to work down there, usually gets cooperation.
Inspect the space after every visit
Walk the crawl space after the crew leaves and check the same paths, penetrations, and equipment you photographed at the start. Post-work inspection is where you catch damage while the responsible party is still reachable and the cause is still clear.
Focus on:
- The walking route, looking for scuffs, thin spots, or fresh punctures where knees and tools traveled.
- Every penetration and boot the crew touched, confirming seals are intact and nothing was left peeled back.
- The perimeter seal near the work area, since liner edges can pull loose when someone braces against a wall.
- The dehumidifier, sump basin, and any drains, checking for blocked airflow, disconnected lines, or debris left behind.
- The floor generally, for dropped hardware, offcuts, or packaging that could puncture the film later.
Compare observations with the before photographs. If damage appears, document it and contact the crew or crawl space provider so the repair scope can be determined. A crawl space inspection checklist makes the review repeatable, while dehumidifier maintenance and filter replacement keeps the equipment record current after service traffic.
Limitations and when to inspect further
These steps reduce risk, but they do not replace a professional evaluation when something looks wrong. Homeowner photos and a visual walkthrough are enough to catch obvious tears, loose boots, and blocked equipment. They are not enough to judge whether a subtle separation at the perimeter, a slow condensate leak, or a re-routed drain is performing correctly over time.
Bring in a qualified evaluation when you notice standing water returning, a musty smell that lingers after a service visit, condensation on the underside of the liner or on ductwork, or a dehumidifier that runs constantly without lowering humidity. The EPA moisture guidance and the Department of Energy material on unvented, conditioned crawl spaces both stress that a crawl space works as a system, so a single disturbed detail can shift how the whole space handles moisture. If you are unsure whether damage from a service visit compromised the barrier, arrange an inspection rather than assuming a patch of tape settled it. You can reach out through the contact page to schedule a look.
Frequently asked questions
Should I be present while a plumber or HVAC crew works in my encapsulated crawl space?
Being present at the start and end is the most useful. At the start you can show the walking route, point out the liner and equipment, and take your before photos. At the end you can walk the space with the technician while the work is fresh and confirm nothing was cut or left open. You do not need to watch the entire job, but bracketing it with a quick check makes accountability easy.
Can technicians walk directly on the liner if they are careful?
Careful footing helps, but the liner is thin so it can conform to the ground, and point loads from knees, boots, and tool bags are hard to avoid over a full service visit. Temporary walkway protection along the route spreads weight and shields against grit, which is far more reliable than asking a busy crew to tiptoe. Reserve bare crawling for short, unavoidable stretches.
What should I do if I find a puncture after the crew leaves?
Photograph it, compare the area with the before record, and contact the crew or crawl space provider. Do not assume household tape is a suitable repair. Liner material and attachment details vary, so the repair should use a compatible method and should restore continuity without blocking drains, inspection areas, or equipment.
Is it a problem if a crew cuts the liner around a pipe or drain?
Sometimes a repair genuinely requires opening the boot around a penetration. The problem is leaving it open. Ask the technician to flag any cut they make and to reseal it, or to tell you so your provider can. An open boot around a pipe is a direct path for soil moisture and pests back into the conditioned space, which defeats the purpose of the encapsulation.
How often should I inspect the crawl space if I have frequent service visits?
Inspect after every trade visit that involves crawling or working near the liner, and do a general walkthrough on a regular seasonal schedule regardless of visits. Frequent traffic means more chances for dropped hardware and worn paths, so pairing a post-visit check with a routine seasonal inspection catches both sudden damage and slow wear. Keeping a simple checklist makes each pass consistent.
Sources and further reading
- U.S. Department of Energy: Unvented, conditioned crawl spaces (Building America Top Innovation)
- U.S. Environmental Protection Agency: A Brief Guide to Mold, Moisture and Your Home
How this applies in Sanford, NC
For a home in Sanford, NC, connect the symptom above the floor with the exact framing, insulation, access, plumbing, duct, or moisture condition below it. A city-specific service area does not replace a property-specific structural or material assessment. Compare the crawl space encapsulation with the Crawl Space Encapsulation Systems: A Component-by-Component Guide in Sanford, NC before choosing a property-specific next step.