DIY crawl space encapsulation is possible only when the homeowner can safely diagnose water, prepare the space, create continuous liner and air-control details, protect inspection access, and verify humidity afterward. Rolling out plastic is the simplest step. The missed work usually involves drainage, penetrations, unsafe conditions, and system maintenance.
A crawl space can contain energized wiring, sharp debris, unstable soil, animals, sewage, wet equipment, damaged framing, and confined movement. Stop when the conditions exceed safe observation or require structural, electrical, plumbing, pest, or code judgment. A DIY plan should narrow risk, not encourage work beyond your ability.
What does a DIY crawl space encapsulation project involve?
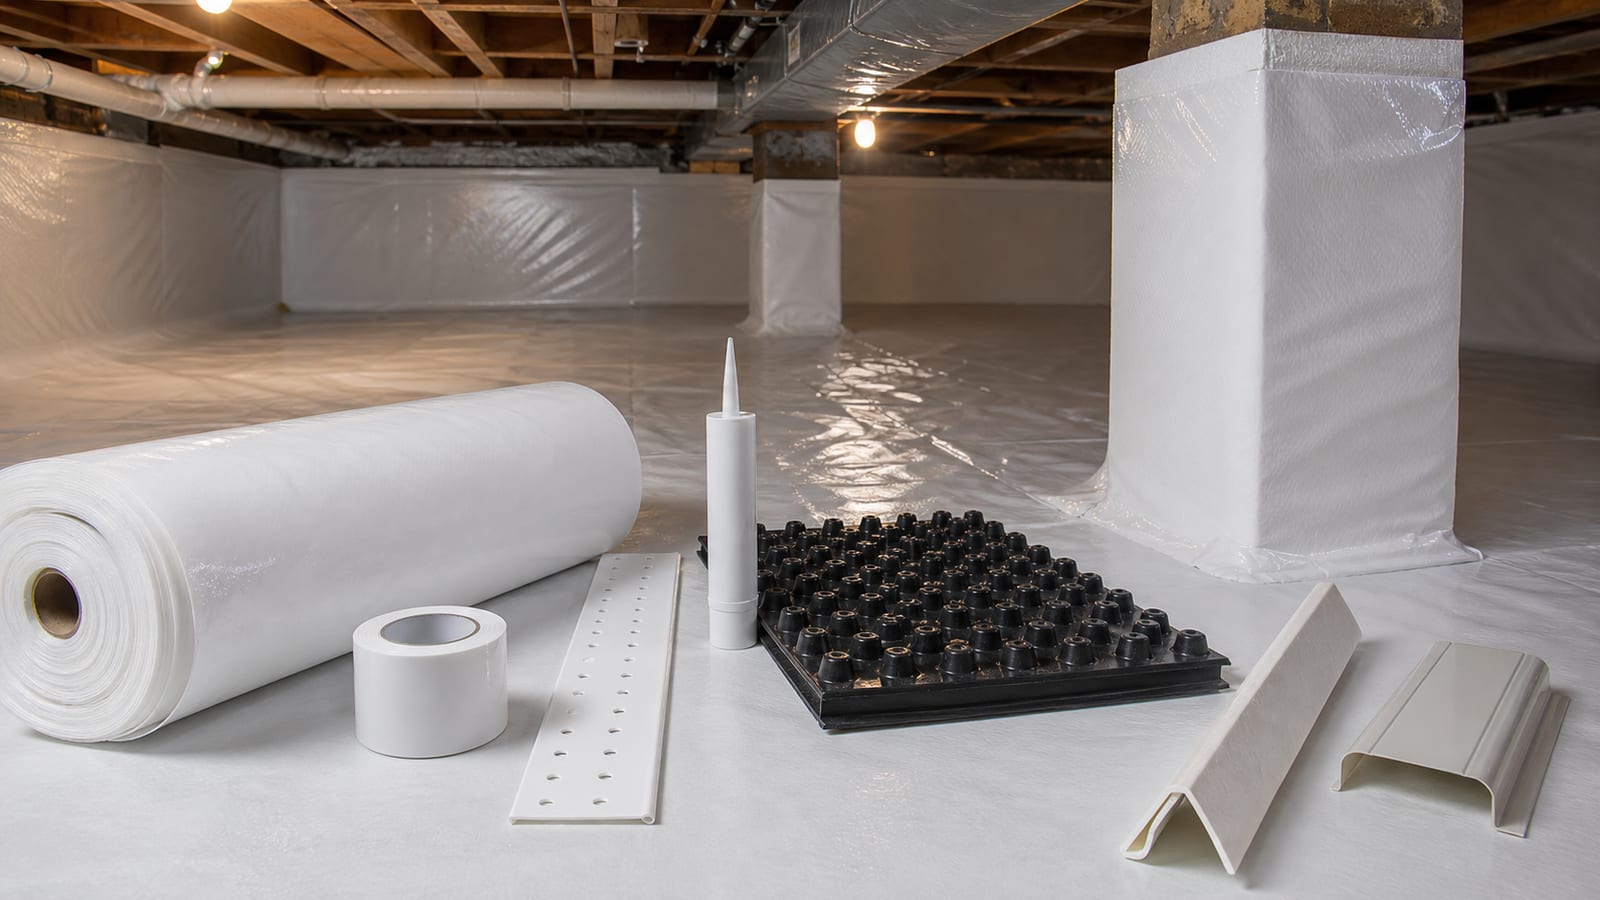
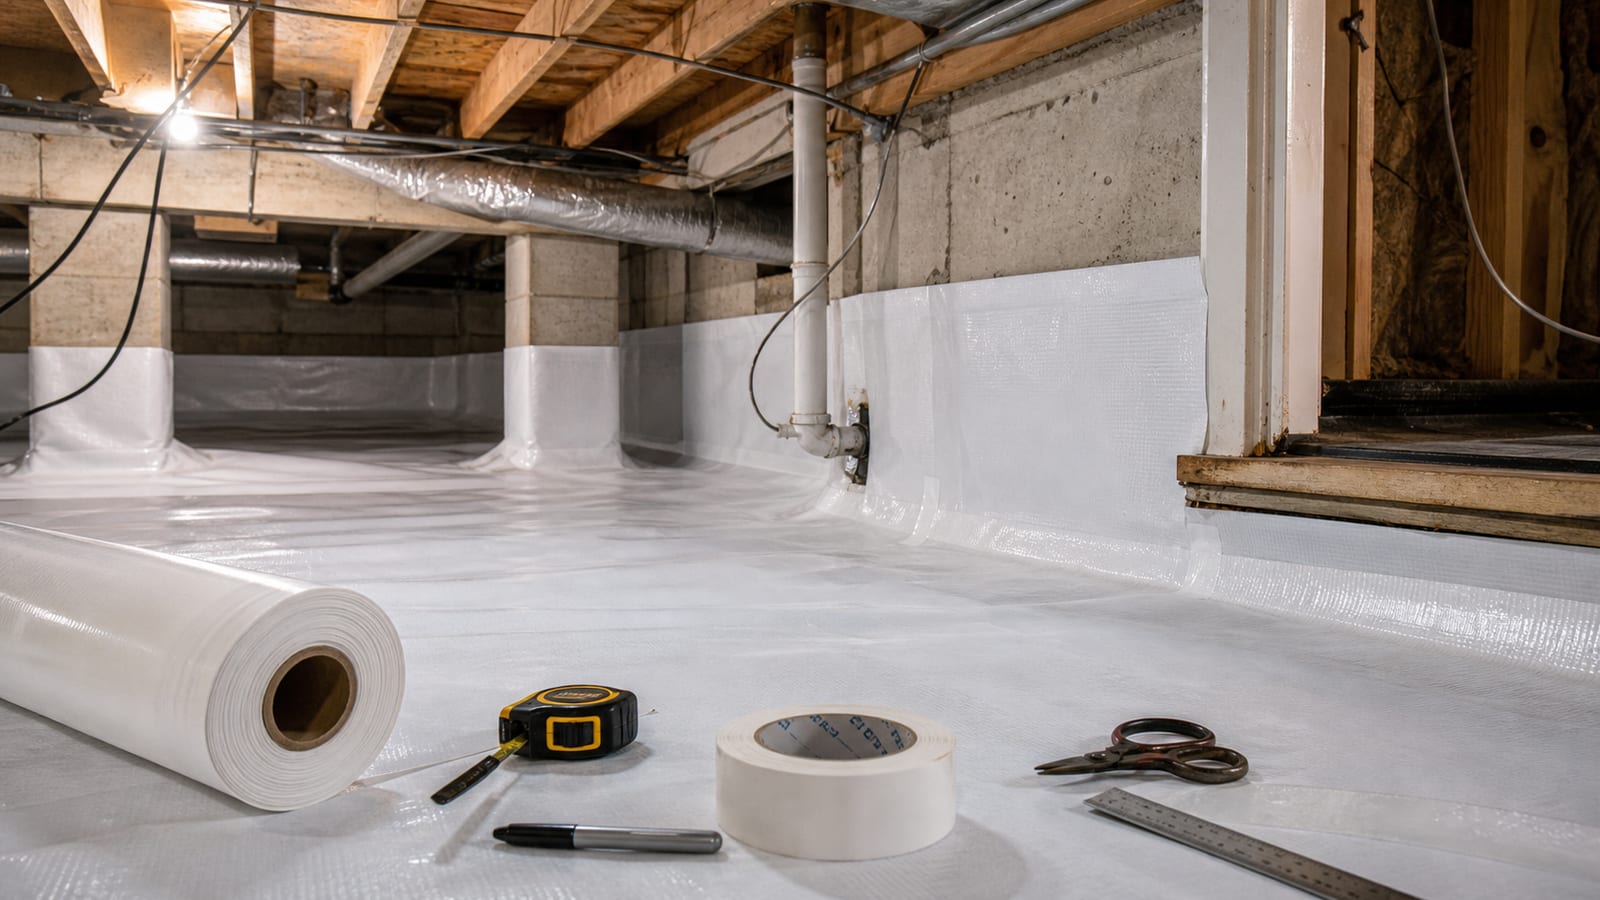
A DIY encapsulation project involves inspection, water-source control, preparation, liner fitting, seam and transition work, vent and access detailing, humidity planning, and maintenance documentation. Materials are only one part. You also need a safe work sequence and clear limits for conditions that require another trade or a professional crawl space scope.
Start by mapping the space. Sketch walls, piers, low points, utilities, drains, vents, access routes, and areas that cannot be reached safely. Photograph conditions before moving debris or existing material. Check after rain if water is part of the concern.
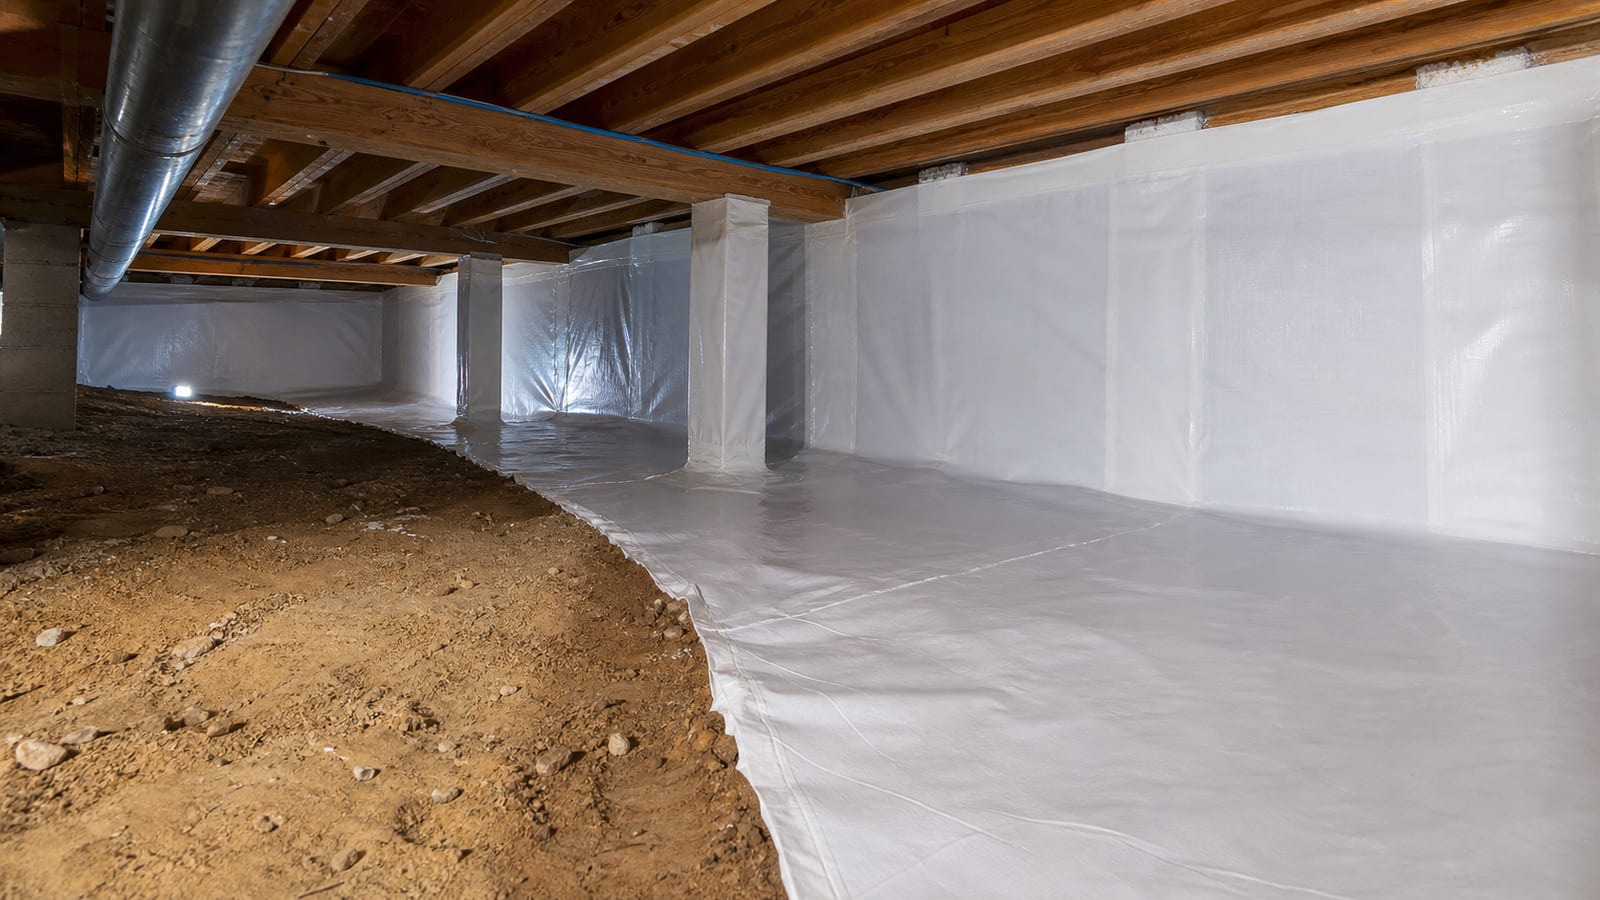
The crawl space encapsulation system guide gives each control layer a defined role. Use it to separate these questions:
- What keeps roof and surface water away?
- What collects liquid water that still enters?
- What limits vapor from exposed soil?
- What forms the intended air boundary?
- What manages remaining humidity?
- What must remain visible and serviceable?
If those answers are missing, buying liner first is premature.
What should you inspect before buying materials?
Inspect water paths, soil, existing plastic, framing, insulation, plumbing, wiring, ducts, vents, access, drainage, and exterior runoff before choosing materials. Record the highest wet point and the timing of moisture. Material quantities and details depend on actual dimensions, obstacles, attachment surfaces, and conditions that must remain accessible.
Walk the exterior first. Observe gutters, downspouts, extensions, grade, mulch, patios, driveways, and the crawl space access. Look for water directed toward the foundation. Inside, use safe lighting and avoid energized or wet components.
Record:
- floor dimensions and changes in elevation;
- wall length and height;
- pier count and shape;
- pipe, wire, duct, and drain penetrations;
- areas with standing water or sediment;
- debris and sharp surfaces;
- existing liner seams and damage;
- insulation placement and condition;
- visible wood staining or softness;
- sensor readings with date and location.
One reading cannot define a seasonal moisture pattern. If possible, compare dry weather with conditions after meaningful rain.
What are the top 7 DIY mistakes homeowners often make?
The most common DIY mistakes are covering active water, underestimating dimensions, ignoring transitions, using incompatible materials, sealing without a humidity plan, blocking inspection access, and skipping maintenance records. Each mistake can make a neat-looking installation harder to diagnose or repair later.
- Covering water before finding its route. Water beneath a new liner may spread or remain hidden. Identify entry, collection, and discharge first.
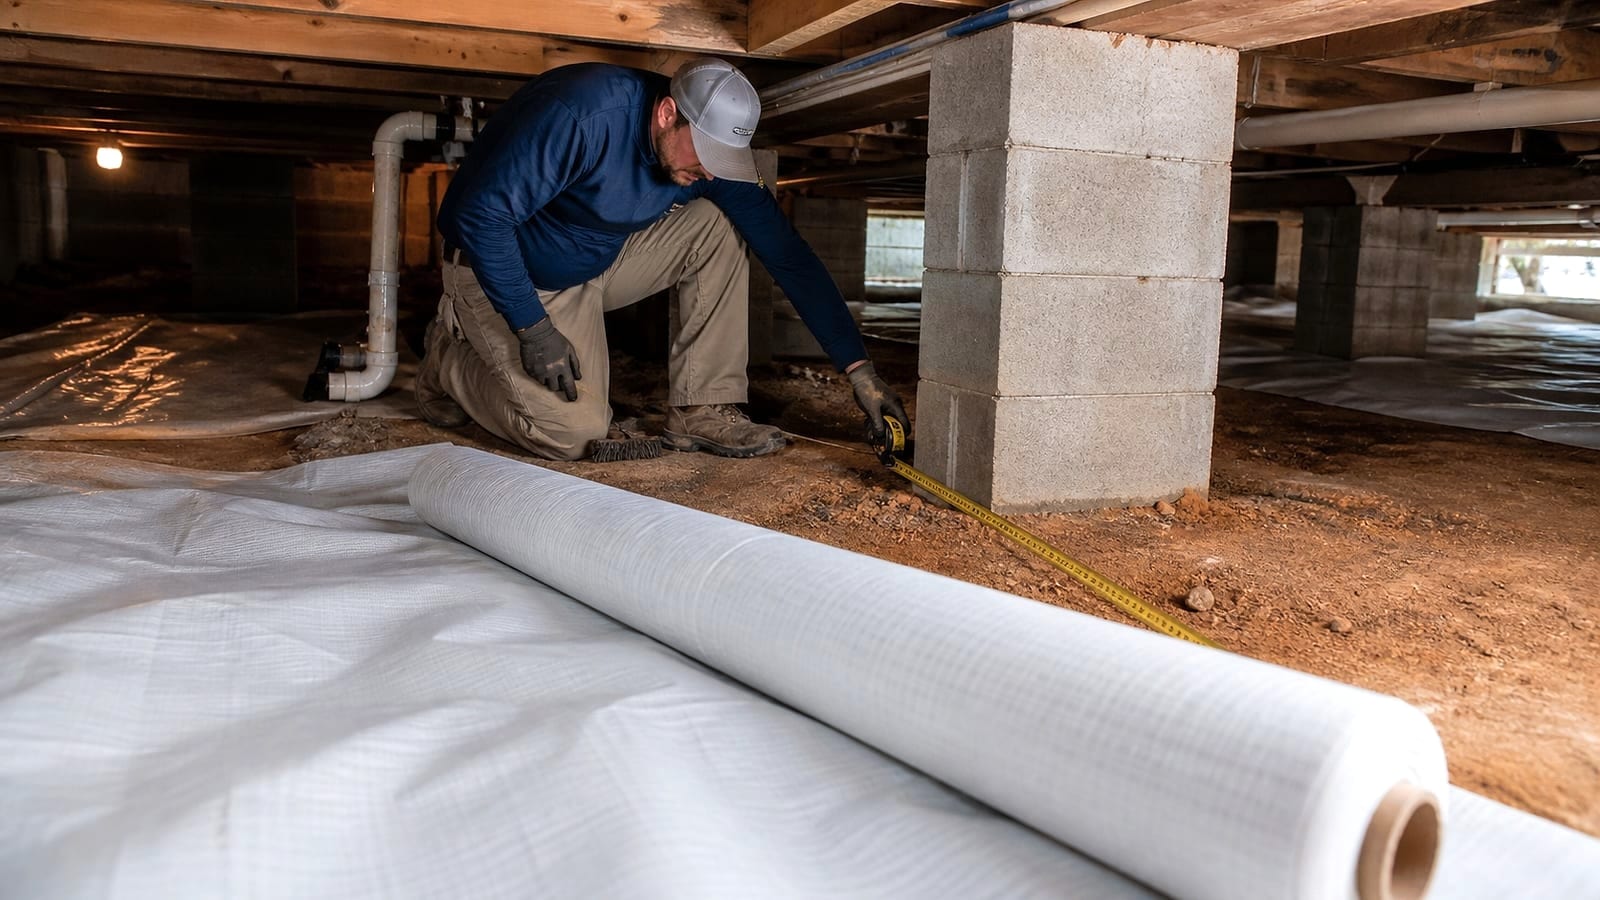
- Measuring only floor area. Overlaps, walls, piers, slopes, waste, and detailed cuts increase material needs beyond a simple length-times-width calculation.
- Treating seams as the whole boundary. Walls, corners, utilities, vents, and the access create more difficult continuity problems than open floor areas.
- Mixing unverified materials. Tape, sealant, fasteners, insulation, and liner should be compatible with their surfaces and intended service conditions.
- Closing vents without a moisture plan. A changed air boundary can leave moisture from soil, materials, leaks, or incomplete sealing inside the space.
- Blocking service and pest access. Framing, plumbing, wiring, drains, equipment, and required observation zones still need access.
- Taking no baseline photographs. Without dated views and readings, gradual seam movement, water staining, or equipment changes are difficult to recognize.
The crawl space inspection checklist provides a repeatable observation route before work begins.
How do you calculate liner and transition needs?
Calculate the floor, wall returns, piers, overlaps, slopes, obstacles, and a reasonable cutting allowance separately. Do not rely only on the house footprint. Field measurements should account for irregular foundation geometry and the way material will turn around corners, penetrations, supports, and access routes.
Create a labeled diagram rather than one total. Break the space into rectangles or other measurable shapes. Record:
- gross floor area;
- wall coverage planned;
- pier perimeter and height;
- seam overlap required by the chosen system;
- termination height and inspection clearances;
- material needed for stairs, ledges, or elevation changes;
- protection for service paths;
- patches for later compatible repairs.
Do not publish or assume one universal seam overlap or wall termination. Follow the selected material instructions and applicable project requirements. If the design requires fastening to masonry, working around electrical systems, changing insulation placement, or altering ventilation, determine whether that scope exceeds safe homeowner work.
When should DIY work stop?
DIY work should stop when the crawl space contains standing sewage, wet electrical components, suspected structural movement, extensive wood damage, unsafe access, animals, heavy contamination, active flooding, or a water path you cannot explain. Stop also when the plan depends on code interpretation, combustion safety, major drainage, or equipment work beyond manufacturer instructions.
An honest stop list protects the property and the person entering it:
- Never touch energized equipment in a wet area.
- Do not move supports or alter framing.
- Do not close openings around combustion equipment without qualified review.
- Do not disturb suspect materials without understanding the hazard.
- Do not work alone in an access-limited space.
- Do not cover visible damage to make the area look finished.
- Do not discharge collected water where it returns to the foundation or affects another property.
The North Carolina Office of State Fire Marshal explains that a permit can be required for closed crawl space work in certain situations. That source supports checking the project scope rather than assuming all DIY work is exempt or prohibited.
How do you handle water before installing a liner?
Handle water by identifying the source, reducing exterior delivery, repairing leaks, and establishing a maintainable route for any recurring entry. Letting the space dry enough for compatible installation also matters. A liner should not become the first place you discover that water still has nowhere to go.
Trace evidence uphill. A wet low point shows where water collected, not necessarily where it entered. Check walls, penetrations, access thresholds, plumbing, ducts, drains, and the area beneath existing plastic. Sediment lines and mineral deposits can show prior paths, but appearance alone does not prove timing.
After exterior improvements or repairs, observe another meaningful rain. If water still enters, the crawl space may need a planned drainage system or sump arrangement. That work must include discharge, power and alarm considerations where applicable, and access for maintenance.
How should a DIY project verify humidity?
A DIY project should verify humidity with repeatable sensor locations, temperature context, material observations, and readings over time. One device near a vent, duct, wall, or drying outlet can misrepresent the space. Establish a baseline before work, then compare conditions after the boundary and water controls are complete.
The NC State Extension mold and moisture checklist recommends keeping indoor relative humidity below 60 percent where practical. Use that guidance as one performance indicator, not as proof that every material is dry.
If humidity stays high:
- confirm the sensor against another device;
- inspect for liquid water;
- check access and vent closures;
- review exposed soil and liner continuity;
- look for wet wood or insulation;
- inspect equipment and condensate routes safely;
- document weather and HVAC operation.
Changing a dehumidifier setting cannot repair active seepage or an open seam.
How does Carolina Encapsulation Company evaluate DIY limits?
Carolina Encapsulation Company offers free crawl space inspections in Fuquay-Varina and surrounding Triangle communities. The process records visible water, soil coverage, liner condition, access, vents, drainage, insulation, framing, and equipment needs. It can help a homeowner distinguish manageable preparation from work that needs a coordinated professional scope.
The company does not need to dismiss every DIY task to explain risk honestly. Simple observation, record keeping, exterior water checks, and keeping service paths clear can be valuable homeowner work. Structural capacity, electrical safety, concealed plumbing, material identity, and permit applicability may require other qualified judgment. A clean finish should never take priority over safe diagnosis.
What should be included in a DIY maintenance record?
Include pre-work and completed photographs, dimensions, product instructions, seam and attachment locations, drain routes, sensor positions, equipment details, and dates of later observations. Record storms, plumbing work, pest service, trade access, power outages, repairs, and humidity changes so the system has a usable history.
Keep wide reference views as well as close-ups. A photo of a seam without a pier, wall, or direction marker is difficult to locate later. Protect private information such as serial numbers and access details.
Review the record monthly and after major events. Look for punctures, lifted seams, water, displaced drains, equipment alarms, fallen insulation, and new odor. Follow manufacturer instructions for equipment maintenance.
Get a second set of eyes before closing the space
If the inspection reveals water, damaged materials, uncertain ventilation, or complex transitions, request a free professional review before covering evidence. Call 704-207-9348 or use the contact page to reach Carolina Encapsulation Company.
Frequently asked questions about DIY crawl space encapsulation
DIY feasibility depends on conditions, safety, and the boundary you are trying to build. These answers identify common decision points without treating every crawl space alike.
Can I encapsulate one section at a time?
Staged work can be practical for preparation, but incomplete control layers may not perform like the final system. Plan the full boundary, water route, overlaps, and termination details before dividing the work. Protect unfinished edges and document what remains open so temporary conditions are not mistaken for completed moisture control.
Can new liner go over old crawl space plastic?
It depends on what is beneath the old material. Trapped water, debris, sharp objects, contamination, and unknown seams can affect the new installation. Lift representative areas safely, document conditions, and decide whether removal or preparation is required. Do not use a second layer only to hide an unresolved first layer.
Should I seal crawl space vents before installing the liner?
The sequence should follow a complete air and moisture plan. Closing vents while soil remains exposed or water remains active can change conditions without finishing the boundary. Determine drainage, ground coverage, access, humidity control, and any mechanical or code considerations before treating vent closure as an isolated first step.
Can ordinary household tape repair an encapsulation liner?
Use repair materials compatible with the liner and the surface condition. Household tapes may have unknown adhesion, aging, and moisture performance. Clean and dry the area as required, avoid trapping water or contamination, and follow the selected system instructions. Broad damage or failed attachments may need more than a small patch.
Do I need a respirator in a crawl space?
Protective equipment depends on the identified hazards and work. A respirator is not a substitute for hazard assessment, ventilation planning, safe entry, or professional remediation. Unknown growth, dust, animal waste, suspect materials, sewage, and chemical exposure can require specialized procedures. Stop rather than guessing at protection.
How do I know the DIY encapsulation is working?
Compare post-work humidity trends, visible material condition, liner continuity, water observations, access closure, drains, and equipment status with your documented baseline. Check after rain and through seasonal changes. A clean appearance or one favorable reading is not enough to confirm that every control layer remains effective.
DIY encapsulation is a diagnosis and detailing project before it is a material project. Map the space, control water first, define the full boundary, know your stop conditions, and preserve access. If the plan cannot explain what happens at every wall, pier, opening, drain, and wet area, pause before covering the floor.
How this applies in Wake Forest, NC
For homeowners in Wake Forest, NC, use this topic as a way to organize observations before selecting work. Carolina Encapsulation Company serves Wake Forest, NC and surrounding Triangle communities, but the appropriate scope still depends on the water, moisture, materials, access, and equipment found at the property. Compare the crawl space encapsulation with the Crawl Space Encapsulation Systems: A Component-by-Component Guide in Sanford, NC before choosing a property-specific next step.