Short answer
Crawl space encapsulation and a wood-destroying-insect inspection serve different purposes, and one can limit the other. Moisture-control materials may cover ground, foundation walls, or piers, while a pest inspection depends on seeing relevant surfaces and evidence. North Carolina homeowners should coordinate visible access with a qualified pest professional before wall or pier coverage is installed, preserve agreed inspection areas, and document conditions before, during, and after the work.
Why moisture control and termite inspection are different jobs
They overlap in location but not in purpose. Moisture control aims to stop ground water vapor and outside humidity from loading the crawl space. A termite inspection aims to find evidence of wood destroying insects and the conditions that invite them. A crawl space can be beautifully dry and still hide an active infestation behind a fresh liner, and a crawl space can be inspection ready while still holding too much moisture.
Eastern subterranean termites are common in North Carolina. NC State Extension explains that they live in soil and can travel toward wood through shelter tubes. Pest professionals look for tubes and other visible evidence at foundation walls, piers, sill areas, and soil-to-wood transitions. Wall liners and pier wraps can conceal surfaces that would otherwise be visible.
That is the tension to plan around. The goal is not to skip encapsulation, and it is not to skip inspection. The goal is to sequence and design the work so moisture control does not blind the next inspector.
What encapsulation can conceal from an inspector
Encapsulation can hide the specific evidence a WDIR relies on if wall and pier coverage is installed without an access plan. Wall liners, pier wraps, rigid or spray foam on the interior of the foundation, and taped seams all sit directly over the paths termites use. The NCDA WDIR process treats obstructed and inaccessible areas as real limitations, and inspectors are expected to note them on the report rather than guess about what lies behind them.
Where subterranean termites travel
Understanding the travel routes tells you which surfaces matter most.
- Soil to wood contact points, where structural wood or form boards meet or nearly meet the ground.
- Foundation walls, where mud tubes commonly climb from the soil line toward the sill.
- Piers and support columns, which are frequent tube routes and are easy to wrap during encapsulation.
- The sill plate, band joist, and floor framing, the wood termites are heading toward.
- Plumbing and utility penetrations, where cracks and gaps give hidden access.
The surfaces an inspection needs to read
A useful inspection depends on seeing, not assuming. When a liner covers these surfaces, an inspector loses the ability to confirm they are clear.
- The interior face of the foundation wall from the soil line up.
- The full height of each pier.
- The soil line where tubes typically begin.
- The wood members closest to the ground.
- Any prior treatment or repair evidence that helps read history.
None of this means wall coverage is wrong. Sealed and insulated foundation walls are part of a properly built unvented, conditioned crawl space, and Building America documents that approach. It means the coverage decision should be made with the person who will inspect the space next, so the concealment is deliberate and mapped rather than accidental.
Coordinate access before the liner goes up
Bring the pest professional in before surfaces are covered. Otherwise, a later WDIR may record broader access limitations at wrapped walls and piers.
A pre-work walkthrough with your pest professional
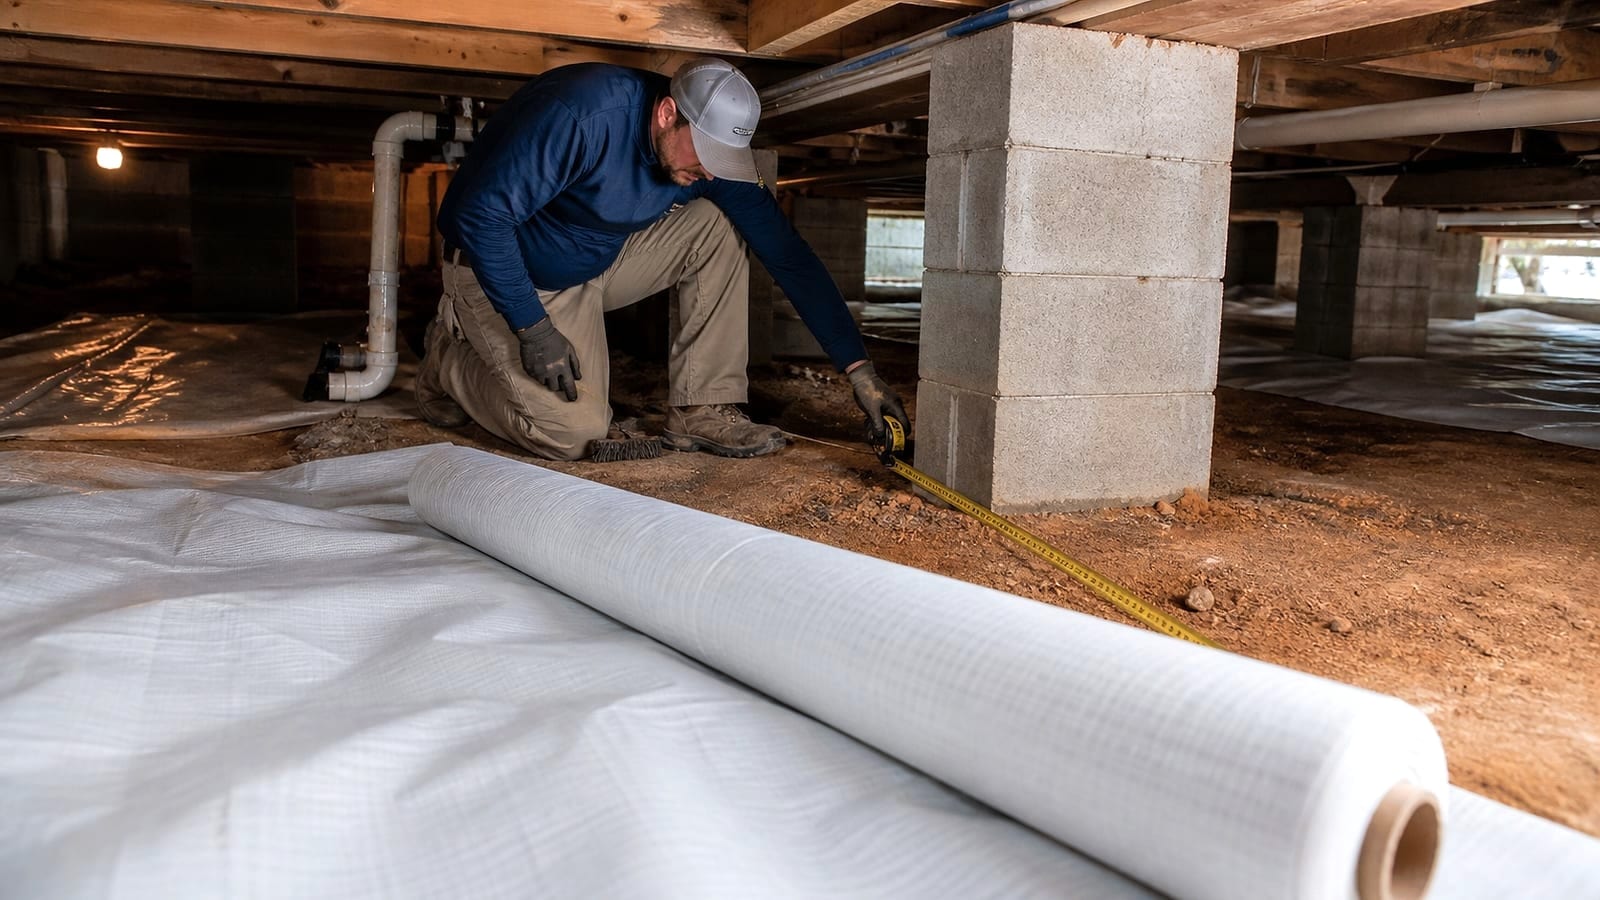
Ask a qualified pest professional to view the crawl space while relevant surfaces remain open. The visit can establish a baseline and identify which areas should stay visible or remain accessible after work. Record that plan in photographs and a location map.
Decisions to make together
Work through these questions with the pest professional and the encapsulation crew in the same conversation.
- Which surfaces will be covered and which will stay exposed or be made re-openable.
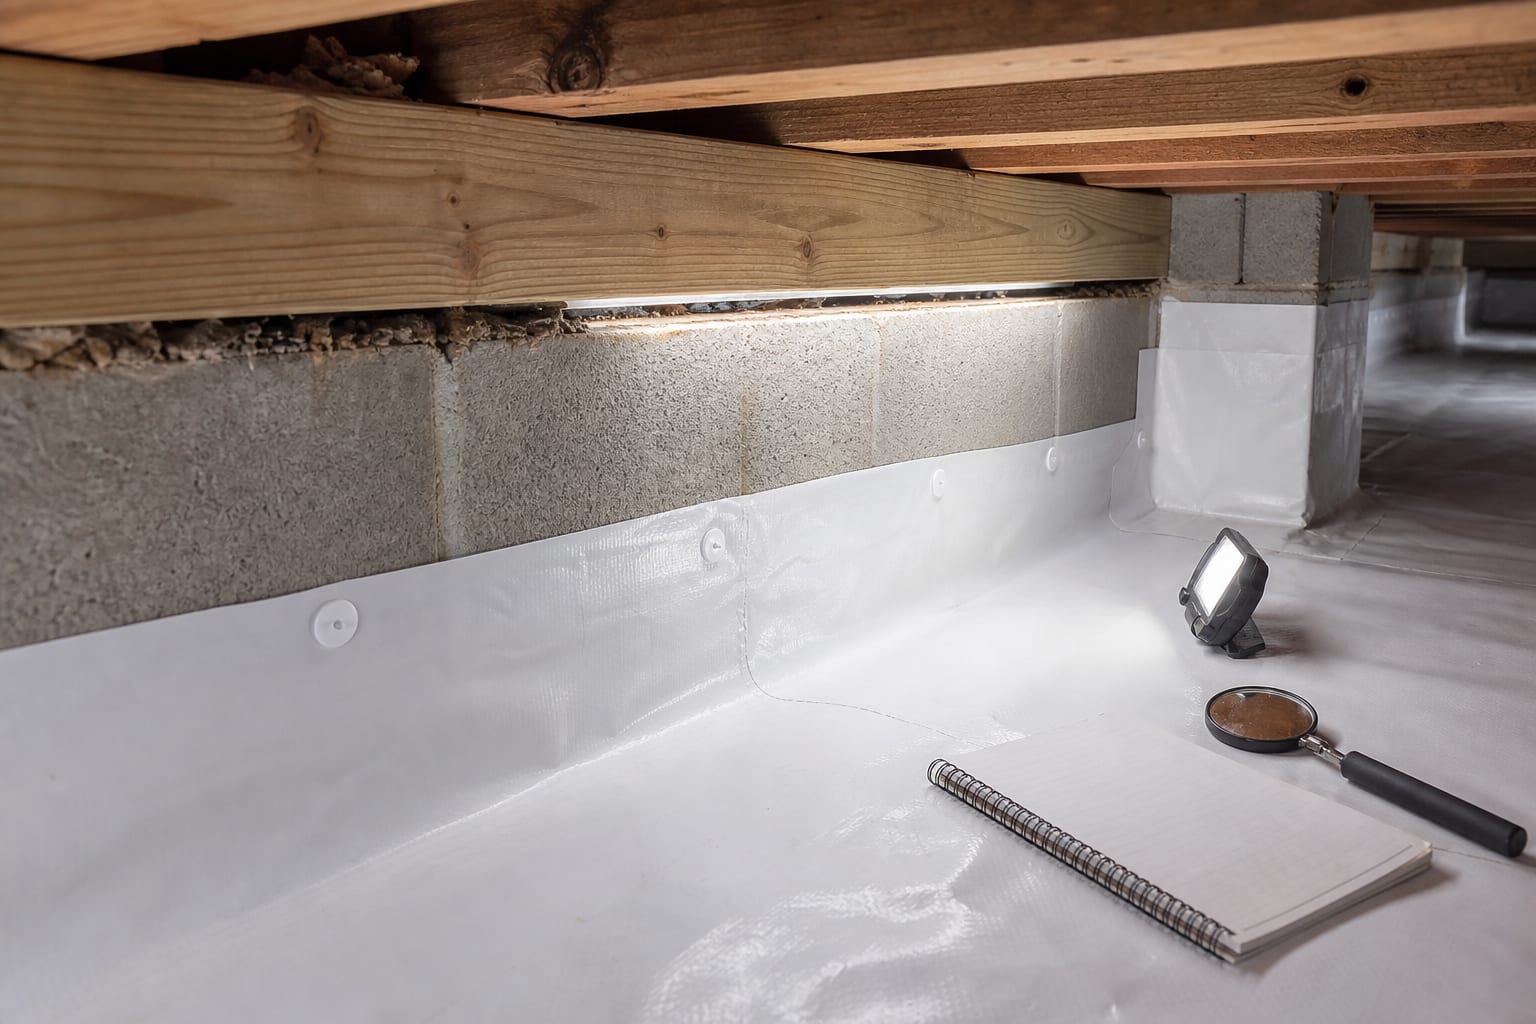
- How wall and pier liner will terminate near the top of the foundation so the sill and band joist remain viewable.
- Whether an inspection gap or a re-openable detail is appropriate for your specific foundation. Any gap detail should be set by the pest professional for your structure, not copied from a generic dimension, because assemblies and codes vary.
- How mud tubes, if found later, would be reached without tearing out the whole liner.
- How the access door and entry will support routine inspection. A well planned entry matters here, and our notes on the sealed crawl space access door cover why the door detail affects future access.
Building inspection access into the encapsulation plan
Treat inspection access as a design requirement of the encapsulation, not an afterthought. That means writing it into the plan before, keeping it in view during, and confirming it after.
Before the work
- Schedule the pre-work inspection and get any access recommendations in writing.
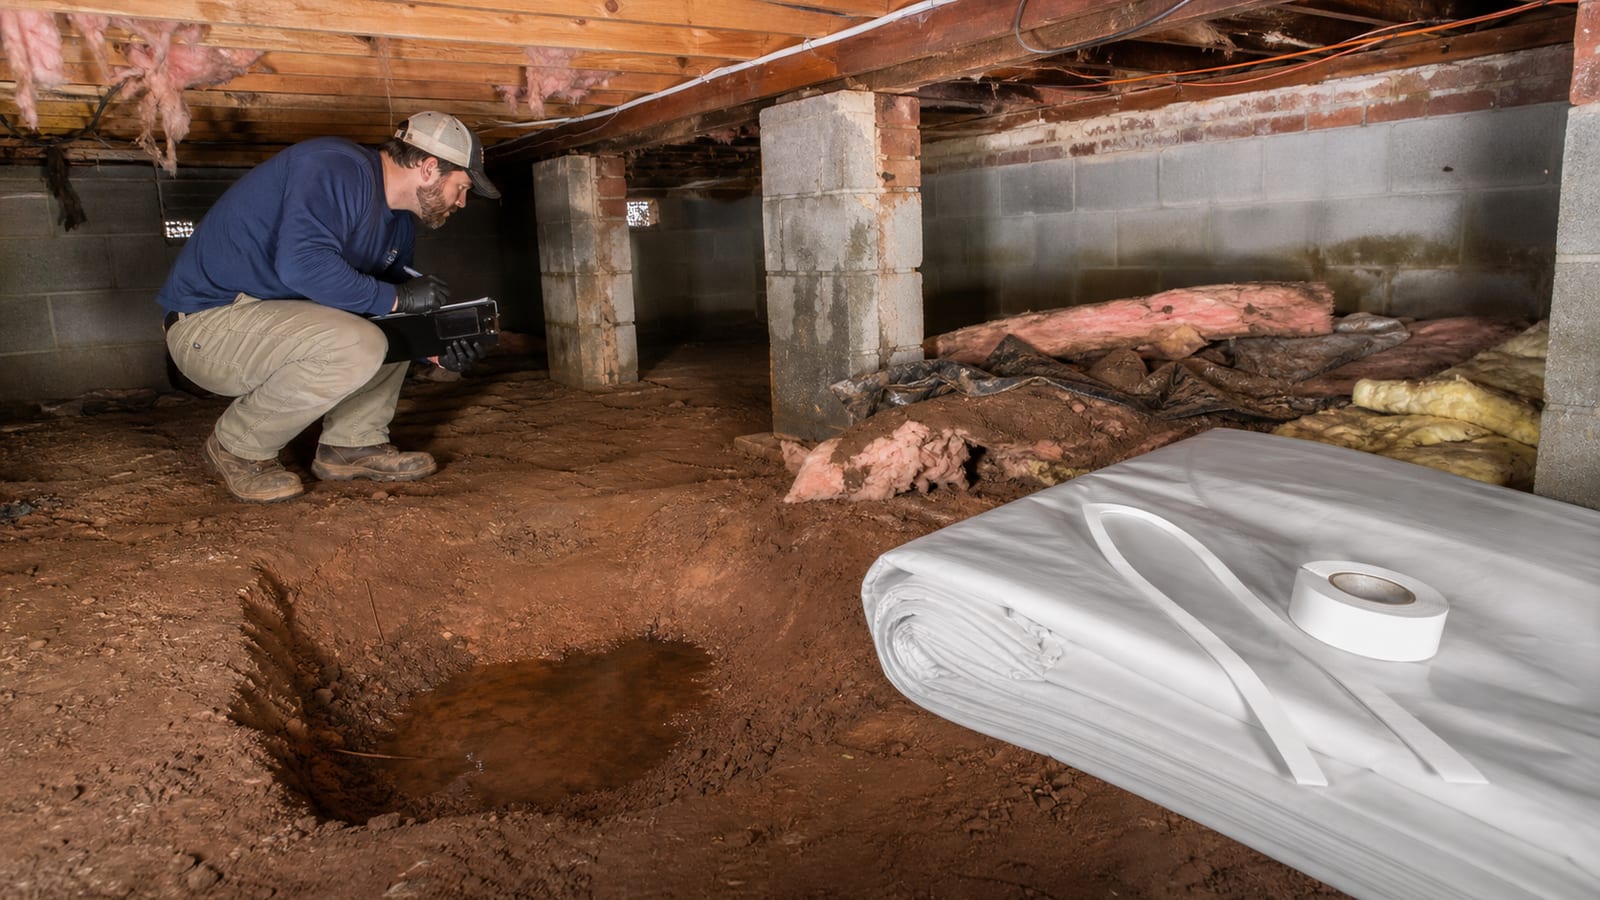
- Photograph the open crawl space: walls, piers, sill, soil line, and any existing tubes, stains, or wood damage.
- Confirm the encapsulation scope, especially whether foundation walls and piers will be lined, insulated, or both. Our overview of crawl space encapsulation explains how the full assembly fits together, and the vapor barrier installation page covers the ground liner specifically.
- Decide, with the pest professional, on any exposed strips, re-openable seams, or gap details appropriate for your foundation.
During the work
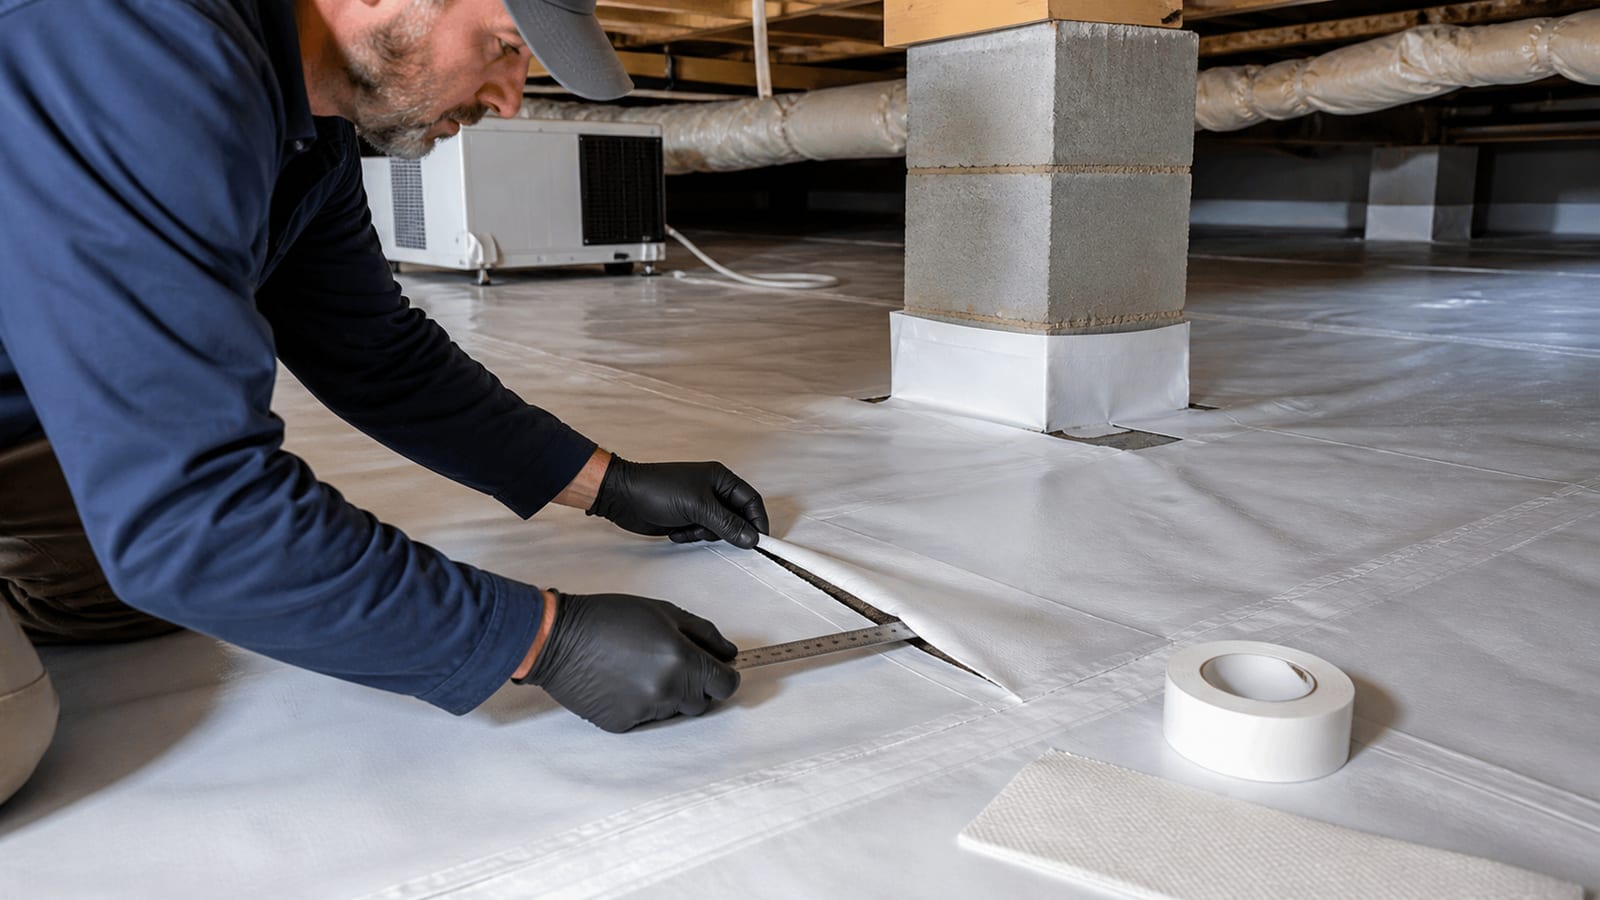
- Keep the agreed surfaces visible or re-openable as the crew installs the liner.
- Avoid permanently bonding liner over the exact spots the inspector wanted to keep readable.
- Route liner terminations so the wood framing near the top of the wall stays viewable.
- Photograph the walls and piers as they are covered, so there is a record of what sits behind the finished liner.
- Coordinate vent and air sealing details cleanly, since vent sealing and air sealing change airflow and should not create new hidden moisture pockets against wood.
After the work
- Walk the finished crawl space with the same access map you started with.
- Confirm the access door opens easily and the space can be entered for inspection.
- File the before, during, and after photos where you and future inspectors can find them.
- Note in your records exactly which surfaces are now covered, so the next WDIR can describe limitations accurately instead of over-reporting or under-reporting them.
Preserving evidence for future reports
Preserve what an inspector would want to see, because a liner does not just hide problems, it hides history. If there was a prior treatment, a repaired member, or an old tube that was already treated, that context helps the next inspector read the space correctly. Cover it without a record and every future report starts from zero.
Practical evidence to keep:
- Dated photos of walls, piers, and framing before covering.
- A simple diagram marking covered versus exposed surfaces.
- Copies of any prior WDIR and treatment records.
- Notes on where re-openable details or gaps were built in.
- Records of any moisture readings taken during the work.
This record also protects you during a future sale. A buyer’s inspector will produce a WDIR, and our walkthrough of the North Carolina WDIR for home buyers with a crawl space shows why documented access reduces friction. When the crawl space is both dry and demonstrably inspectable, the report reflects the real condition rather than a wall of access limitations.
Limitations and when to inspect
Encapsulation reduces moisture, but it does not stop termites, and it can reduce visibility unless access is planned. Keep these limits in mind.
- A liner is not a treatment. Subterranean termites move through soil and can still reach wood; encapsulation changes moisture, not the insects’ presence.
- Covered surfaces carry inspection limitations by definition. An honest WDIR will note them. That is expected, not a failure, as long as the coverage was intentional and mapped.
- Damaged or displaced liner can create new pest pathways. A torn ground barrier or gap at a penetration is worth addressing, and our page on pest entry through a damaged vapor barrier explains why.
- Gap dimensions are structure specific. Do not rely on a single universal inspection gap number; let the pest professional set the detail for your foundation and code context.
When to inspect:
- On a regular interval recommended by your pest professional, even after encapsulation.
- Before listing or buying a home, since a WDIR is commonly required at sale.
- After plumbing leaks, standing water events, or liner damage.
- Whenever you notice mud tubes, damaged wood, or discarded wings during routine checks.
A structured routine helps. Our crawl space inspection checklist gives a repeatable way to walk the space and record what you see between professional visits.
How this fits your encapsulation project
Sequence the trades so nothing important gets covered blind. The clean path is: pre-work inspection, encapsulation designed around agreed access, then documented handoff. If you are still scoping the moisture side, start with the crawl space encapsulation overview and the vapor barrier installation details, then layer in vent sealing and air sealing once the barrier plan is set. To line up a walkthrough or ask how access can be preserved for your specific crawl space, reach out through our contact page and mention that a termite inspection access plan is part of the job.
Frequently asked questions
Does encapsulation stop termites in a North Carolina crawl space?
No. Encapsulation manages moisture but does not replace pest inspection. Follow the inspection schedule recommended by the qualified pest professional, and treat the liner as a moisture-control component rather than a pest report or treatment.Will a sealed crawl space cause access limitations on a WDIR?
It can, because liner over foundation walls and piers covers surfaces used during visual inspection. A pest professional may record obstructed or inaccessible areas. Planning visible or serviceable access before installation can reduce avoidable limitations.Should I inspect for termites before or after encapsulation?
Do a pre-work inspection first so an inspector can view open walls and piers and set an access plan, then keep inspecting on the interval your pest professional recommends. The pre-work visit also creates a documented baseline of the wood and foundation before any liner exists.Can the liner be opened later to check behind the walls?
Often yes, if re-openable seams or exposed strips are designed into the installation. Decide this with the pest professional before the crew covers the walls and piers, because retrofitting access into a fully bonded liner is harder than building it in from the start.What records should I keep after encapsulation?
Keep dated photos of walls, piers, and framing before covering, a diagram of covered versus exposed surfaces, any prior WDIR and treatment records, and notes on re-openable details. These help future inspections describe the space accurately and support a smoother WDIR at sale.Sources and further reading
- NCDA&CS Homeowner’s Guide to the Wood Destroying Insect Report
- NC State Extension: Termites, Preventing Problems in Existing Homes
- NC State Extension: Biology and Behavior of Eastern Subterranean Termites
- Building America Solution Center: Unvented Insulated Crawlspaces
How this applies in Sanford, NC
For a home in Sanford, NC, connect the symptom above the floor with the exact framing, insulation, access, plumbing, duct, or moisture condition below it. A city-specific service area does not replace a property-specific structural or material assessment. Compare the crawl space encapsulation with the Crawl Space Encapsulation Systems: A Component-by-Component Guide in Sanford, NC before choosing a property-specific next step.