Crawl Space Repair
How to Choose a Crawl Space Company Near Fuquay-Varina, NC
Learn how to compare crawl space findings, measurements, exclusions, work order, access needs, and written scopes before hiring.
Browse crawl space repair crawl space guides for North Carolina homeowners. Compare practical inspection steps and next actions.
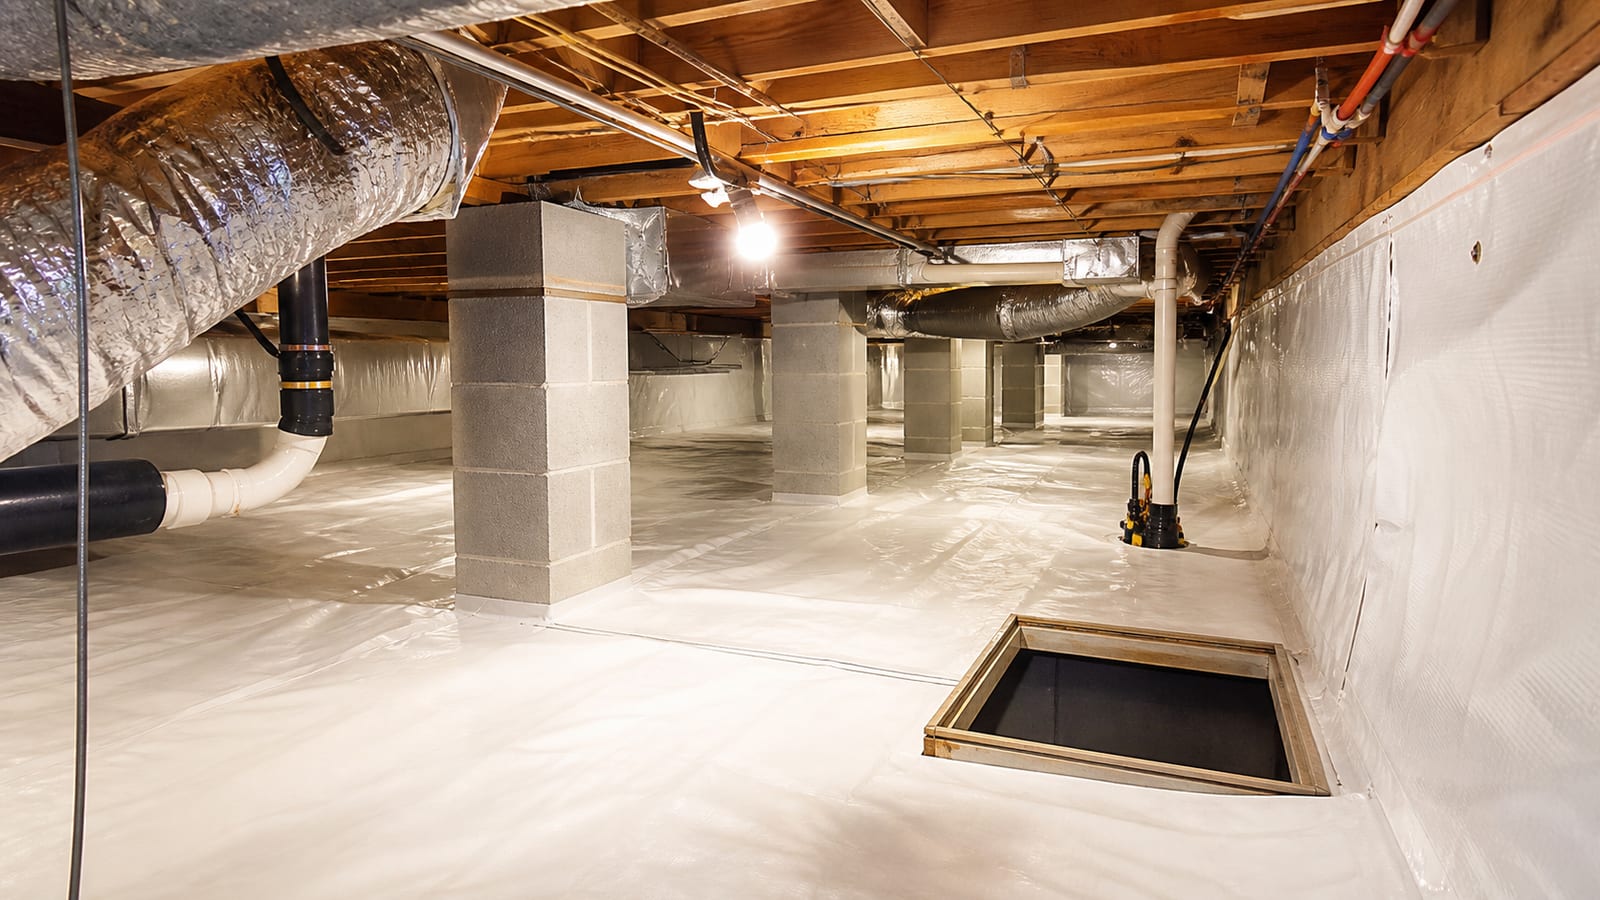
Crawl Space Repair decisions become clearer when the visible component is connected to the full crawl space system. This category examines subfloor, joists, beams, posts, piers, bearing points, fasteners, previous alterations, moisture exposure, access, and temporary support needs. Each article answers one focused question while keeping the broader water, air, vapor, heat, material, and access conditions in view. The goal is to understand which function each component performs, which observation supports the proposed scope, what remains uncertain, and how the finished work can be inspected and maintained after the immediate concern is addressed.
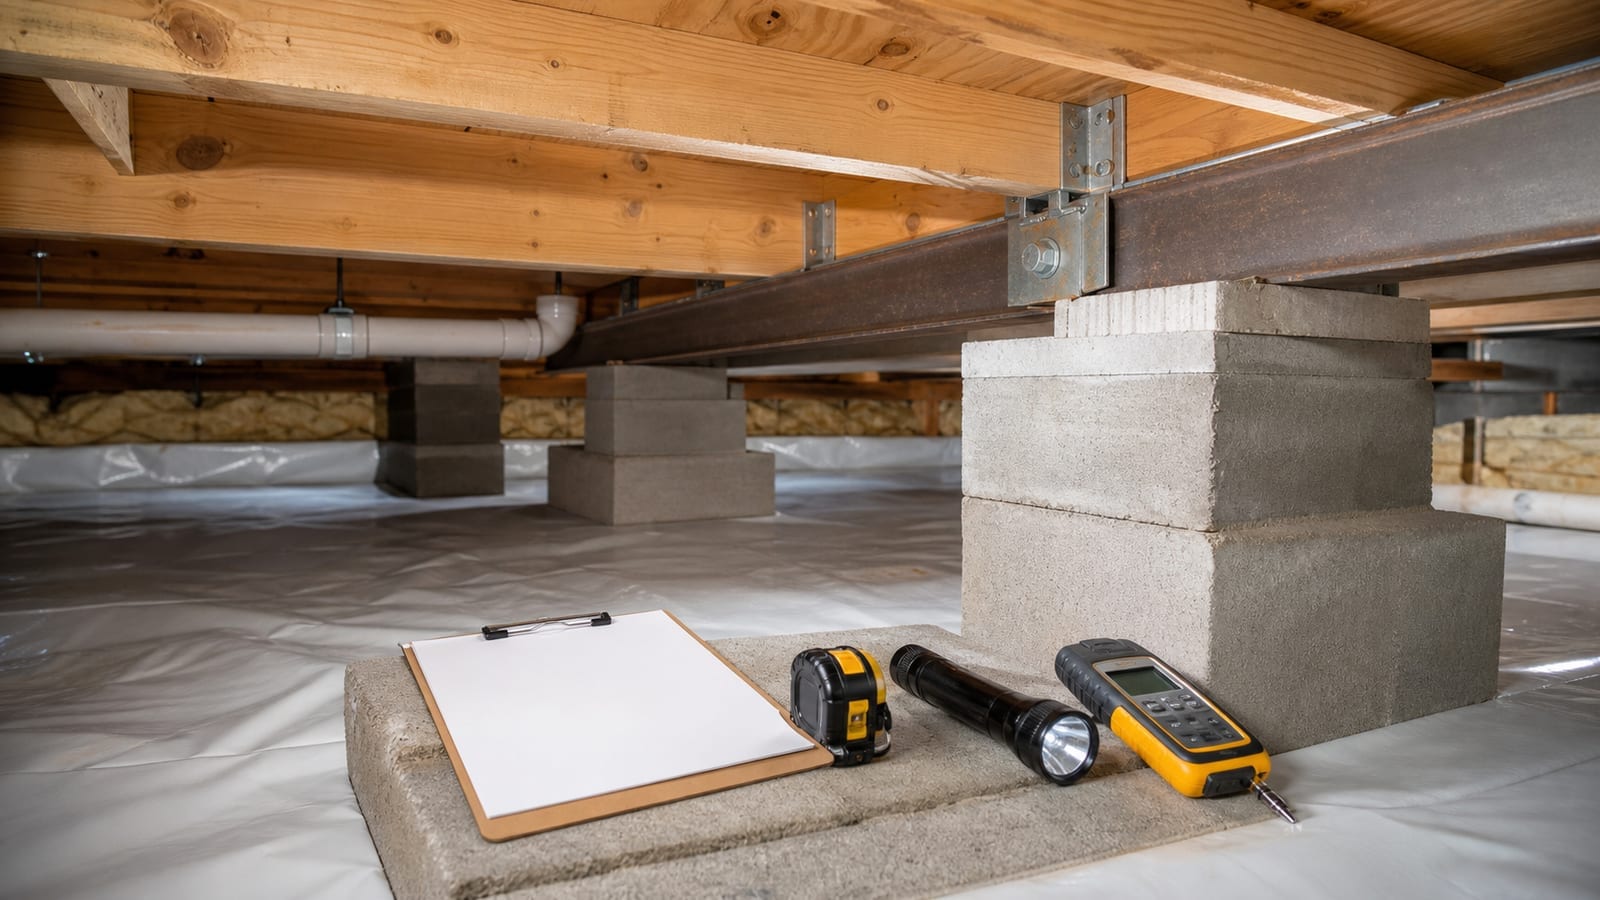
Start with evidence rather than a product label. Useful records include the symptom above, exact member below, dimensions, span, bearing, deformation, section loss, moisture, connections, adjacent reference members, and change over time. The recommended sequence is to map the symptom, identify the member, document material and moisture conditions, obtain qualified review where needed, define the repair, then verify load transfer and source correction. Read the focused articles, then use the related service and problem links to place the observation within a complete inspection path.
Learn how to compare crawl space findings, measurements, exclusions, work order, access needs, and written scopes before hiring.
Learn what happens during a free crawl space inspection, which evidence to request, and how to compare written repair scopes.
A second inspection can clarify moisture, structural, access, and scope questions before you approve crawl space work in the Raleigh area.
Ask key permit questions before crawl space work begins. Learn how to compare proof, measures, exclusions, timing, and written scopes.
Learn which photos, readings, measurements, exclusions, and work steps should appear in a crawl space proposal before you sign.
See who should inspect, approve, clean, repair, and document crawl space mold work before encapsulation begins in a Durham-area property.
Learn who repairs damaged joists and subfloors, what the written scope should include, and when other specialists may need to approve the plan.
Know which crawl space repairs need an engineer, who owns each decision, and what a clear Garner repair scope should show before work starts.
Learn how to compare crawl space scopes, assign duties, plan access, record moisture issues, and approve managed-property work in Raleigh.
A practical plan for inspecting moisture, assigning repair duties, managing resident access, approving work, and maintaining multifamily crawl spaces.
Learn how to compare crawl space repair proposals in Raleigh by checking evidence, scope boundaries, sequencing, access, and follow-up plans.
A clear repair scope links crawl space evidence to tasks, access, approvals, exclusions, change steps, and final checks before work begins.
A clear mold scope records moisture, affected areas, access, exclusions, repair needs, approvals, and work order before cleaning begins.
This focused guide explains crawl space repair contractor, the conditions that change the answer, and the observations worth documenting before work is selected.
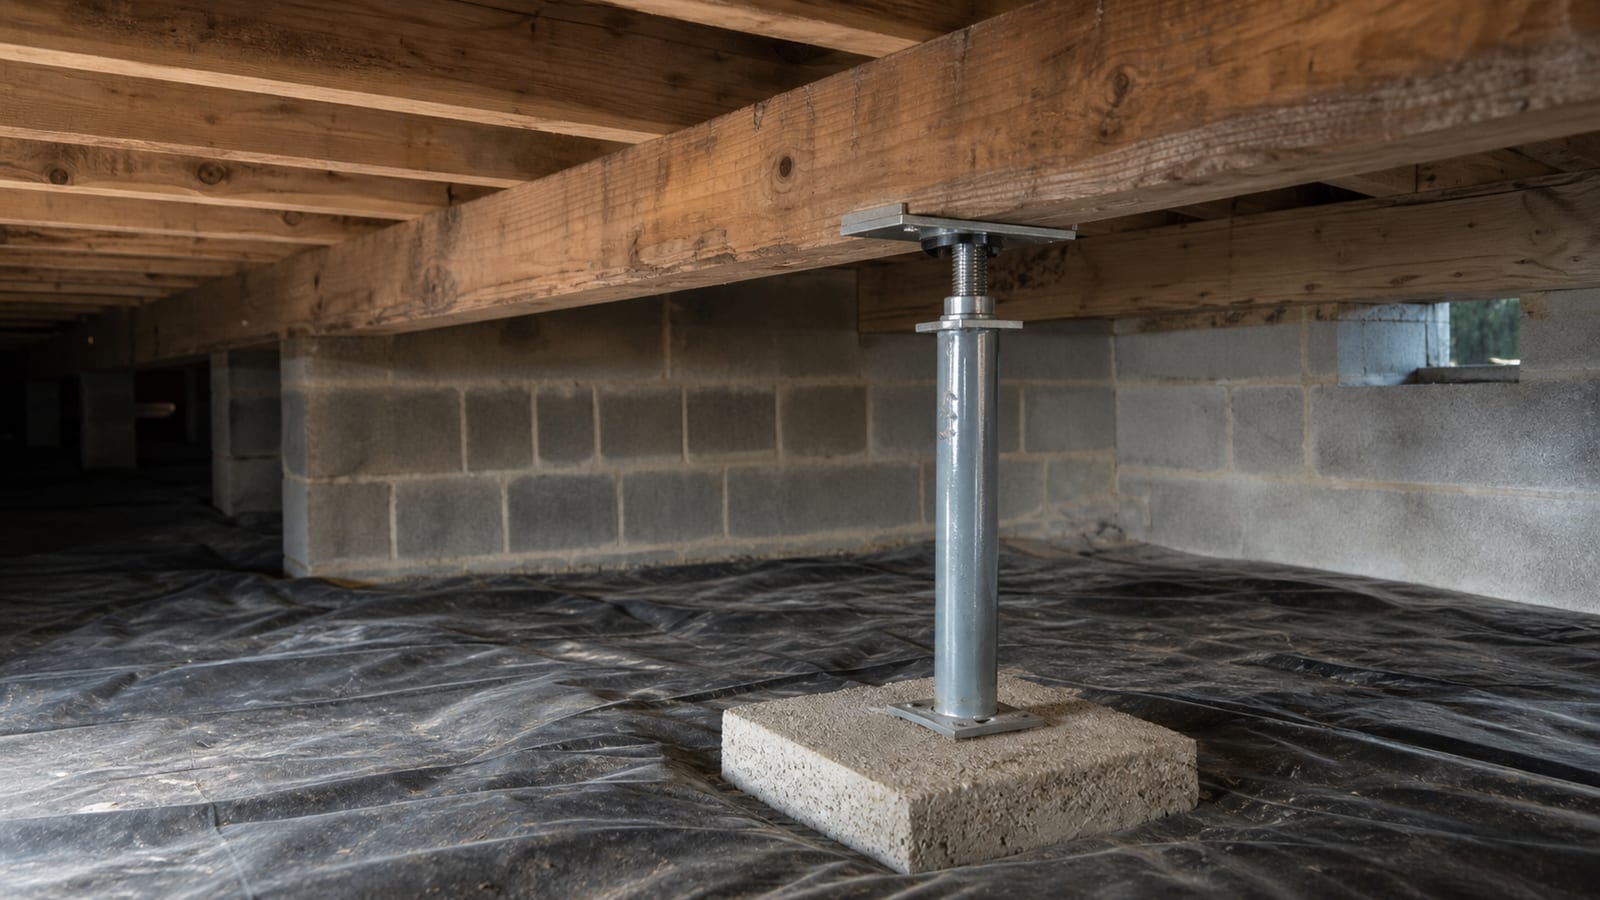
This focused guide explains crawl space jacks, the conditions that change the answer, and the observations worth documenting before work is selected.
Use this crawl space guide to connect foundation and crawl space repair with the components, evidence, limitations, and inspection sequence that shape a complete scope.
Start with what can be verified: the location, timing, weather, equipment status, visible material, odor, sound, reading, or change from an earlier condition. Include a photo when it can be taken safely. A clear observation helps an inspector test possible sources without assuming that a familiar symptom has the same cause in every home.
Use the articles in this category to improve that record and prepare questions. Then follow the contextual links to the broader problem, service, guide, cost-factor, or comparison page that owns the primary topic. That structure keeps the article focused on the situation instead of repeating a sales page.
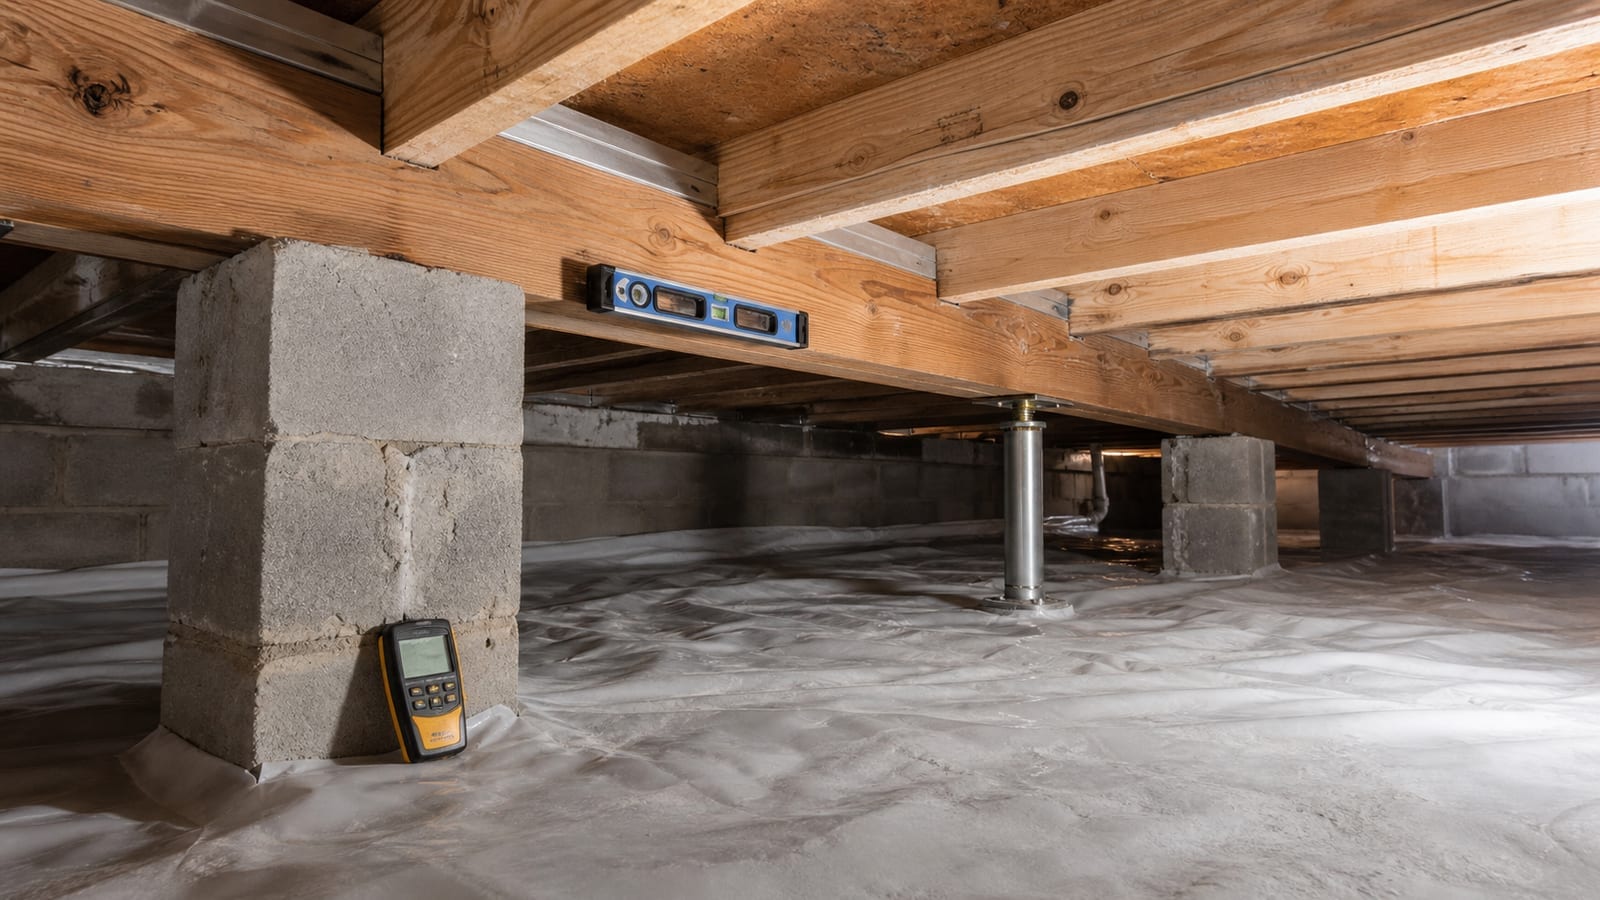
Build a location-based record before selecting work. Record the symptom above, exact member below, dimensions, span, bearing, deformation, section loss, moisture, connections, adjacent reference members, and change over time. Use the same names for components and the same photo positions when conditions change. A repeatable record helps separate a recurring pathway from a new leak, maintenance issue, or material change.
Keep the system sequence visible: map the symptom, identify the member, document material and moisture conditions, obtain qualified review where needed, define the repair, then verify load transfer and source correction. Skipping ahead can cover evidence or ask one component to perform a job it was not designed to do. The related service page explains the broader work, while these articles stay focused on the individual research question.
Do not enter standing water near electrical equipment, a space with suspected structural instability, sewage, animals, exposed hazards, or another condition that makes access unsafe. Do not disturb suspected mold, insect evidence, wiring, plumbing, combustion equipment, or structural supports to complete a checklist.
General articles cannot determine code compliance, engineering adequacy, pest status, medical risk, insurance coverage, legal duties, or the correct repair scope for a specific property. Use the qualified code official, engineer, pest professional, inspector, licensed trade, attorney, or other specialist whose scope matches the question.
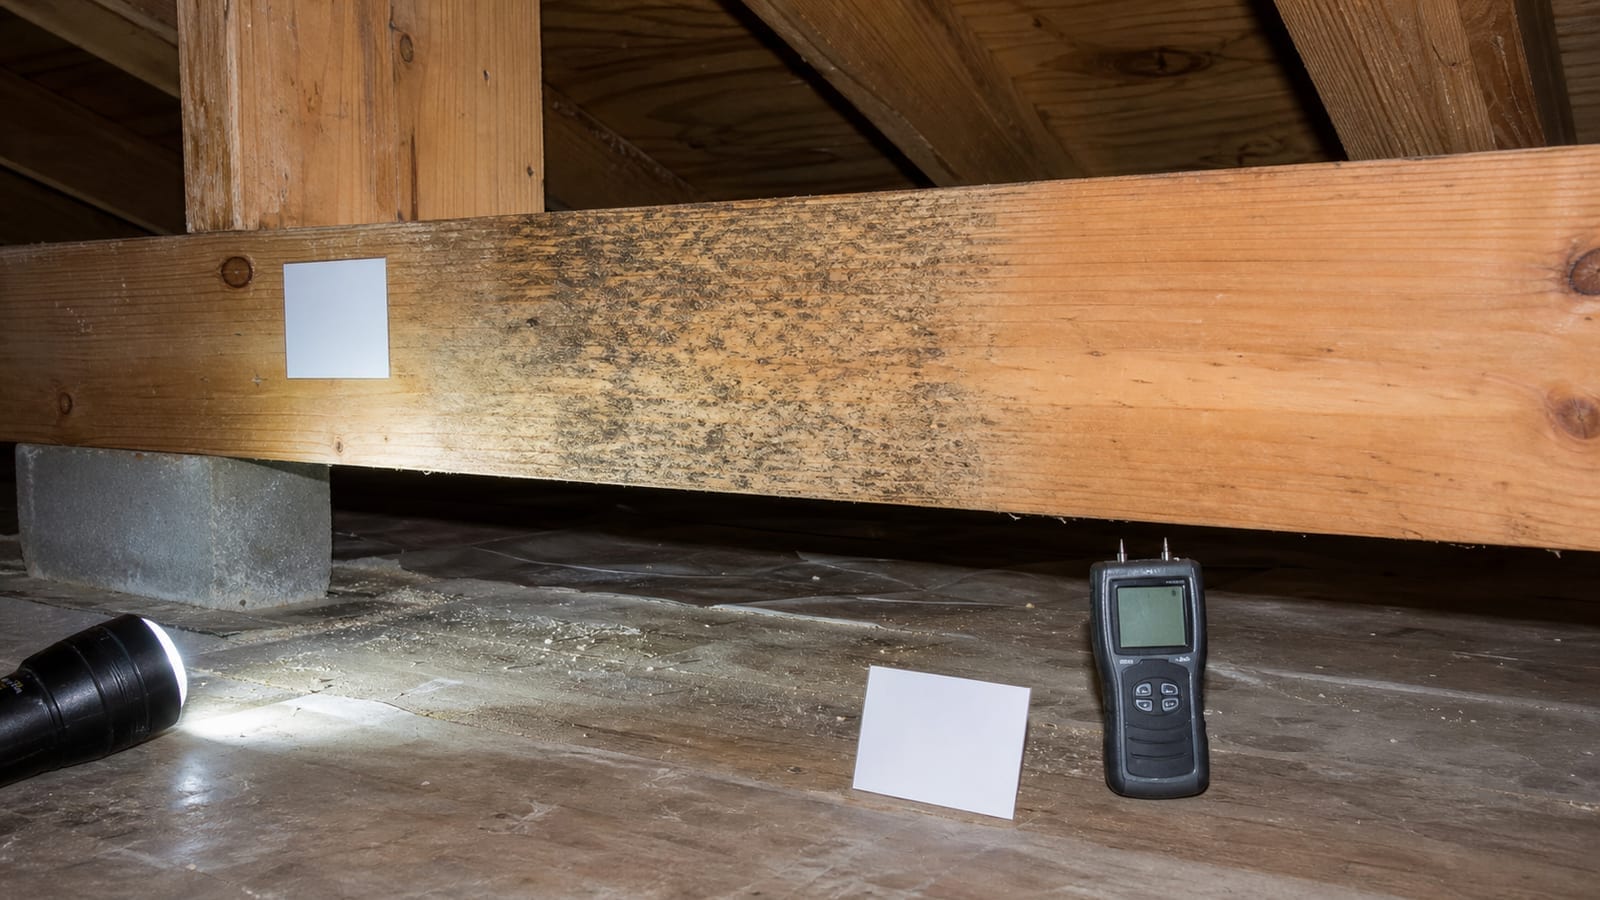
A photograph, stain, bounce, or uneven area is an observation, not a structural-capacity conclusion or a substitute for required engineering and code review. State what can be seen, what remains hidden, what has not been tested, and which decision belongs to another professional scope. That boundary makes the written recommendation easier to review and less likely to overstate the evidence.
Finish with verification and maintenance. Photograph the completed details, preserve manuals and scope documents, identify drains or equipment that require service, and note what should be checked after heavy rain or a seasonal weather change. The record should explain both what changed and what still needs observation.
First, define the question in property-specific terms. Name the room or exterior wall above the area, the crawl space member or component below it, the date, recent weather, equipment status, and the change that prompted concern. This keeps crawl space repair research tied to an observable location.
Second, follow the sequence appropriate to this category: map the symptom, identify the member, document material and moisture conditions, obtain qualified review where needed, define the repair, then verify load transfer and source correction. At each step, record the evidence that supports moving forward and any access or testing limitation. Do not treat the absence of one visible symptom as proof that the rest of the crawl space has the same condition.
Third, compare the finished scope with the original observation. Confirm that access remains available, important transitions can still be inspected, and maintenance responsibilities are documented. A photograph, stain, bounce, or uneven area is an observation, not a structural-capacity conclusion or a substitute for required engineering and code review. A free inspection can connect the general guidance to the actual components and conditions beneath the home.
Bring the record forward instead of starting over at every visit. Save the original observation, the photos, the dates, any measurements, the written scope, and what changed afterward. When the condition returns, compare it with the earlier event using the same locations and terms. That continuity helps distinguish a recurring source from a new issue and helps each professional understand what the previous person actually observed. The goal of this category is not to turn a homeowner into the inspector or designer. It is to make the handoff from observation to qualified review clearer, safer, and easier to verify.
A free inspection connects general guidance to the conditions beneath your home.